Guilt-Free Chili Cheese Fries: Healthy & Delicious Recipe
Introduction
Who says comfort food can’t be good for you? As a busy home cook, I’m always looking for ways to enjoy classic favorites without the heavy feeling afterward. That’s why I’m so excited to share my recipe for Guilt-Free Chili Cheese Fries!
These aren’t just any chili cheese fries; they’re a healthier twist on a beloved dish, packed with flavor and satisfying textures. You’ll get crispy, oven-baked fries (hello, less oil!) smothered in a rich, savory, high-protein chili, all topped with gooey, melted cheese. It’s truly a taste sensation that hits all the right spots – hearty, cheesy, and utterly delicious.
This recipe is incredibly easy to make, perfect for a weeknight dinner, a casual get-together, or even game day. It’s a fantastic way to enjoy a comforting meal without compromising on your healthy eating goals. Your family will absolutely love these Guilt-Free Chili Cheese Fries, and you’ll love how simple they are to whip up!
Why You’ll Love This Recipe
- High Protein & Low Calorie: Enjoy a hearty meal that keeps you full without the guilt.
- Guilt-Free Comfort Food: All the flavor of a classic, made healthier.
- Ready in Under an Hour: Perfect for busy weeknights or when cravings strike fast.
- Family-Friendly: A crowd-pleaser that even picky eaters will adore.
- Super Flavorful: Rich, savory chili with perfectly seasoned fries and melted cheese.
- Beginner Friendly: Simple steps mean anyone can make this delicious dish.
Ingredients
Here’s what you’ll need to create these amazing Guilt-Free Chili Cheese Fries:
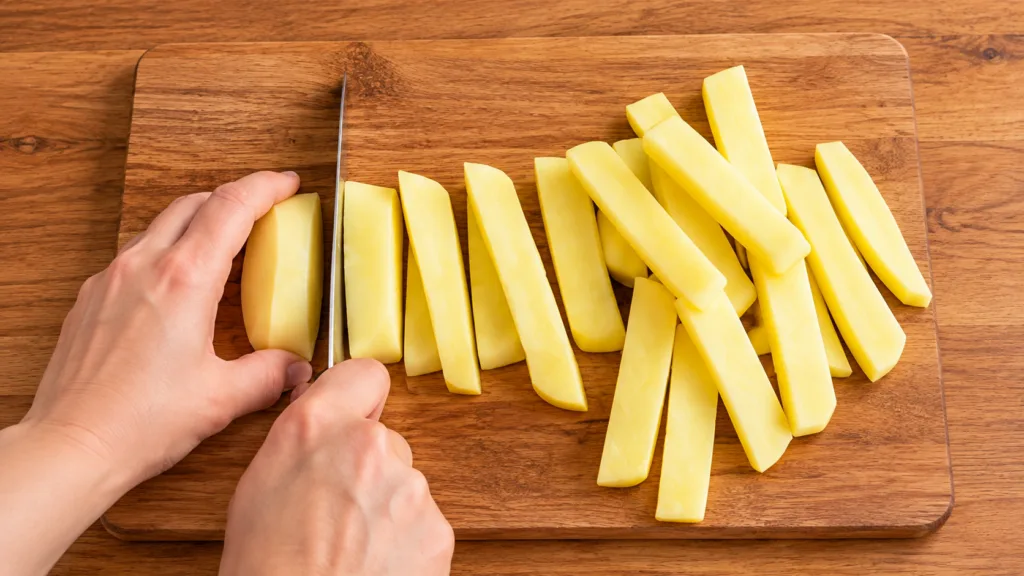
- 1 large sweet potato or 2 medium russet potatoes, scrubbed and cut into 1/2-inch thick fries or wedges
- 1 tablespoon olive oil
- 1/2 teaspoon smoked paprika
- 1/4 teaspoon garlic powder
- Salt and black pepper, to taste
- 1 pound lean ground turkey or lean ground beef (93% lean or higher)
- 1 small yellow onion, finely chopped
- 2 cloves garlic, minced
- 1/2 green bell pepper, finely chopped
- 1 (14.5 ounce) can diced tomatoes, undrained
- 1 (15 ounce) can kidney beans, rinsed and drained
- 1 cup low-sodium chicken or beef broth
- 2 tablespoons chili powder
- 1 teaspoon ground cumin
- 1/2 teaspoon dried oregano
- 1/4 teaspoon cayenne pepper, optional, for a little heat
- 1 cup shredded low-fat cheddar cheese or Monterey Jack
- Fresh green onions, sliced, for garnish
- Light sour cream or Greek yogurt, for serving (optional)
Kitchen Equipment
- Large baking sheet
- Parchment paper or silicone baking mat
- Large skillet or Dutch oven
- Cutting board
- Sharp knife
- Measuring spoons and cups
- Mixing bowls
Step-by-Step Instructions
Follow these simple steps to make your own delicious Guilt-Free Chili Cheese Fries:
- Prepare the Fries: Preheat your oven to 400°F (200°C). Line a large baking sheet with parchment paper. In a large bowl, toss the cut potato fries/wedges with olive oil, smoked paprika, garlic powder, salt, and pepper until evenly coated.
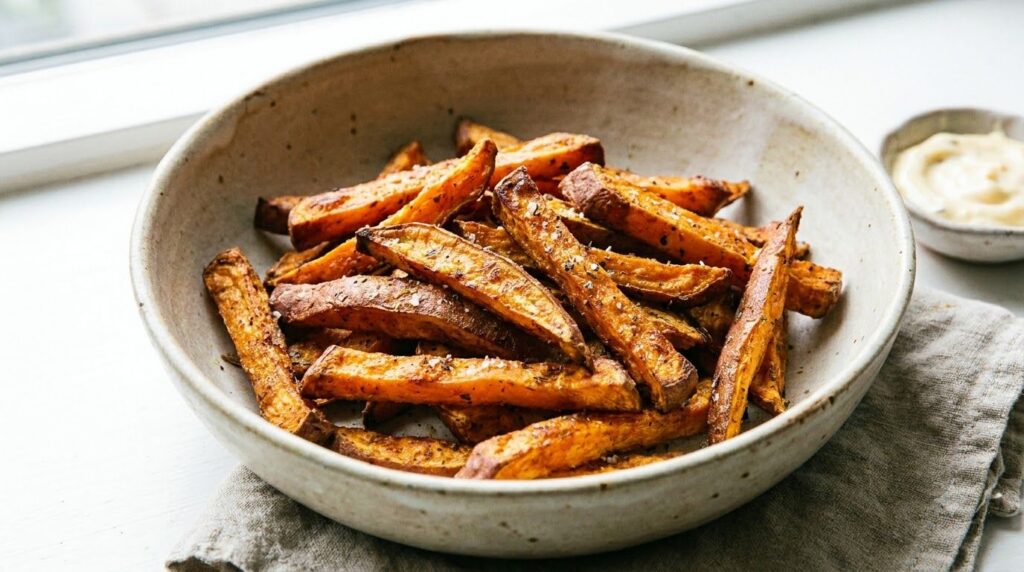
- Bake the Fries: Spread the seasoned potatoes in a single layer on the prepared baking sheet. Bake for 25-35 minutes, flipping halfway through, until golden brown and crispy.
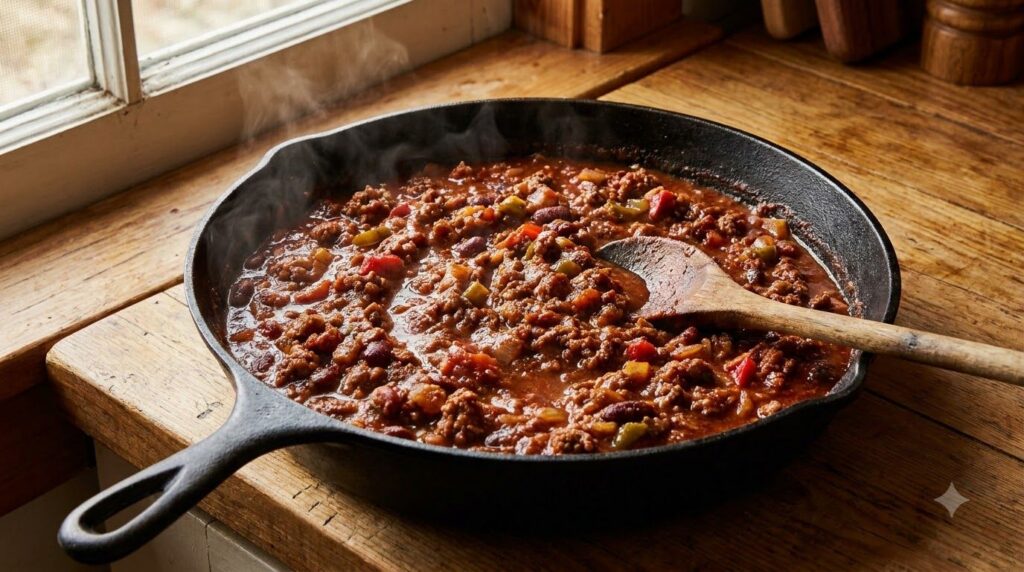
- Start the Chili: While the fries are baking, heat a large skillet over medium-high heat. Add the lean ground turkey or beef and cook, breaking it up with a spoon, until browned. Drain any excess fat.
- Sauté Aromatics: Add the chopped onion, minced garlic, and chopped green bell pepper to the skillet with the cooked meat. Cook for 5-7 minutes, until the vegetables soften and the onion becomes translucent.
- Build the Flavor: Stir in the chili powder, ground cumin, dried oregano, and cayenne pepper (if using). Cook for 1 minute, stirring constantly, to toast the spices and enhance their flavor.
- Simmer the Chili: Pour in the diced tomatoes (undrained), rinsed kidney beans, and low-sodium broth. Bring the mixture to a simmer, then reduce the heat to low, cover, and let it cook for 15-20 minutes, stirring occasionally. This allows the flavors to meld beautifully.
- Assemble and Melt: Once the fries are crispy and the chili is ready, arrange the hot fries in an oven-safe dish or individual serving bowls. Spoon the hot chili generously over the fries. Sprinkle the shredded low-fat cheddar cheese over the chili.
- Broil for Gooey Goodness: Place the dish under the broiler for 2-3 minutes, or until the cheese is melted and bubbly. Watch carefully to prevent burning!
- Garnish and Serve: Garnish with fresh sliced green onions and a dollop of light sour cream or Greek yogurt, if desired. Serve immediately and enjoy your guilt-free indulgence!
Expert Tips
- For Crispier Fries: Don’t overcrowd your baking sheet. Give the potatoes space to breathe so they can crisp up instead of steaming. A single layer is key!
- Boost Chili Flavor: For an even deeper flavor, let your chili simmer longer on low heat, if time allows. The longer it simmers, the more the flavors develop.
- Freshly Shredded Cheese: While pre-shredded cheese is convenient, block cheese shredded at home melts smoother and tastes better.
- Make Ahead: The chili can be made up to 2-3 days in advance and stored in the refrigerator. Reheat gently on the stovetop before assembling.
- Vegetable Boost: Feel free to add other finely diced vegetables to your chili, like carrots or zucchini, for extra nutrients.
Variations
Get creative with your Guilt-Free Chili Cheese Fries!
- Vegetarian Chili Fries: Skip the ground meat and use a plant-based ground substitute, or add an extra can of black beans and a cup of cooked lentils to the chili base.
- Spicy Kick: Increase the cayenne pepper, add a diced jalapeño to the chili while cooking, or top with a drizzle of your favorite hot sauce.
- Loaded Fries: Add toppings like diced avocado, a sprinkle of fresh cilantro, a dollop of homemade salsa, or even some black olives.
- Chicken Chili: Swap the ground turkey or beef for ground chicken for a different flavor profile.
- Air Fryer Version: Air fry your potato fries according to your appliance’s instructions for extra crispness, then top with the stovetop chili and cheese.
What to Serve With
These chili cheese fries are quite a meal on their own, but a light side can complement them perfectly:
- A crisp green salad with a light vinaigrette.
- Simple coleslaw.
- Steamed corn on the cob.
- For a refreshing drink, try sparkling water with lemon or lime.
- Finish your meal with a bowl of fresh fruit salad for a light dessert.

Storage
Proper storage ensures your leftovers stay delicious!
- Refrigerator: Store leftover chili and fries separately in airtight containers in the refrigerator for up to 3-4 days. Once assembled, the fries can become soggy.
- Freezer: The chili freezes beautifully! Store it in an airtight, freezer-safe container for up to 3 months. Thaw overnight in the refrigerator before reheating. I don’t recommend freezing the fries once they’re cooked and topped.
- Reheating: To reheat the chili, warm it on the stovetop over medium-low heat or in the microwave until hot. For the best results with leftover assembled chili cheese fries, reheat in the oven at 350°F (175°C) for 10-15 minutes, or in an air fryer to help crisp up the fries a bit.
Frequently Asked Questions
Can I make my own fries from scratch?
Absolutely! This recipe uses homemade oven-baked fries, which are healthier and super delicious. Feel free to use store-bought frozen sweet potato or regular potato fries if you’re short on time.
How can I make this recipe vegetarian?
To make it vegetarian, simply omit the ground meat. You can substitute it with a plant-based ground meat alternative, or add an extra can of kidney beans and a cup of cooked lentils for a hearty, protein-rich chili.
Can I use a different type of ground meat?
Yes, lean ground chicken or even extra-lean ground beef (96% lean) would work wonderfully in this recipe. Just be sure to drain any excess fat after browning.
Is this recipe truly low calorie?
Compared to traditional chili cheese fries, which often use deep-fried potatoes and higher-fat meats and cheeses, this recipe significantly reduces calories by baking the fries and using lean protein and low-fat cheese. It’s designed to be a healthier alternative.
Can I prepare the chili ahead of time?
Yes, the chili is perfect for making ahead! You can prepare it up to 2-3 days in advance and store it in the refrigerator. This makes assembly on busy days a breeze.
What kind of cheese is best for melting?
Low-fat cheddar or Monterey Jack cheeses are excellent choices for their great melting qualities and flavor. Freshly shredded cheese will melt more smoothly than pre-shredded varieties.
Nutrition
Approximate values per serving (based on 4 servings):
- Calories: 450-500 kcal
- Protein: 35-40 g
- Fat: 15-20 g
- Carbs: 45-55 g
- Fiber: 9-11 g
- Sugar: 6-8 g
- Sodium: 800-1000 mg
Nutritional information is an estimate and may vary based on specific ingredients and portion sizes.
Conclusion
There you have it – a truly satisfying and delicious way to enjoy Guilt-Free Chili Cheese Fries! This recipe proves that you don’t have to sacrifice flavor to eat well. It’s a dish that brings comfort and joy to the table, perfect for sharing with loved ones.
I hope you give this recipe a try and fall in love with it as much as my family and I have. If you do, please come back and leave a comment below to let me know how it turned out, and don’t forget to rate the recipe! Your feedback helps other home cooks discover wonderful new meals.
For more easy, family-friendly, and delicious recipes, be sure to browse the rest of our website. Happy cooking!

