Are you tired of constantly checking your plant’s soil moisture? Do you worry about your beloved green friends wilting while you’re away? If so, you’re not alone! Many gardeners face the challenge of keeping their plants consistently hydrated, especially during busy seasons or when going on vacation. But what if there was a simple, effective, and budget-friendly solution? Enter DIY self-watering containers!
Creating your own self-watering system is a game-changer for plant care, ensuring your plants receive the right amount of water exactly when they need it. It’s a fantastic garden hack that saves you time, reduces water waste, and promotes healthier, happier plants. Let’s dive into how you can make one!
Why Self-Watering Containers Are a Must-Have
Self-watering containers work on the principle of capillary action, drawing water up from a reservoir directly to the plant’s roots as needed. This method offers several fantastic benefits:
- Consistent Moisture: No more guesswork! Plants get a steady supply of water, preventing both overwatering and underwatering, which are common causes of plant stress.
- Less Frequent Watering: Fill the reservoir, and your plants can be good for days, or even weeks, depending on the plant and container size. Perfect for busy schedules or travel!
- Healthier Roots: Plants take up water from the bottom, encouraging deeper root growth and reducing surface evaporation.
- Water Efficiency: Water is used more efficiently, as less is lost to runoff or evaporation from the soil surface.
- Reduced Pest Problems: Keeping the top layer of soil drier can deter certain pests and fungi that thrive in consistently damp conditions.
How to Create Your Own Self-Watering System
This DIY project is surprisingly simple and can be adapted for various pot sizes and plant types. Here’s what you’ll need and how to put it together.
Materials You’ll Need:
- Two plastic containers of slightly different sizes (one that fits inside the other, leaving a gap for water at the bottom, or two identical ones if you’re modifying)
- A drill or sharp tool to make holes
- Wicking material (e.g., cotton rope, felt, old cotton t-shirt strips)
- Potting mix suitable for your plants
- Your chosen plants or seeds
- Water (for the reservoir)
Step-by-Step Instructions:
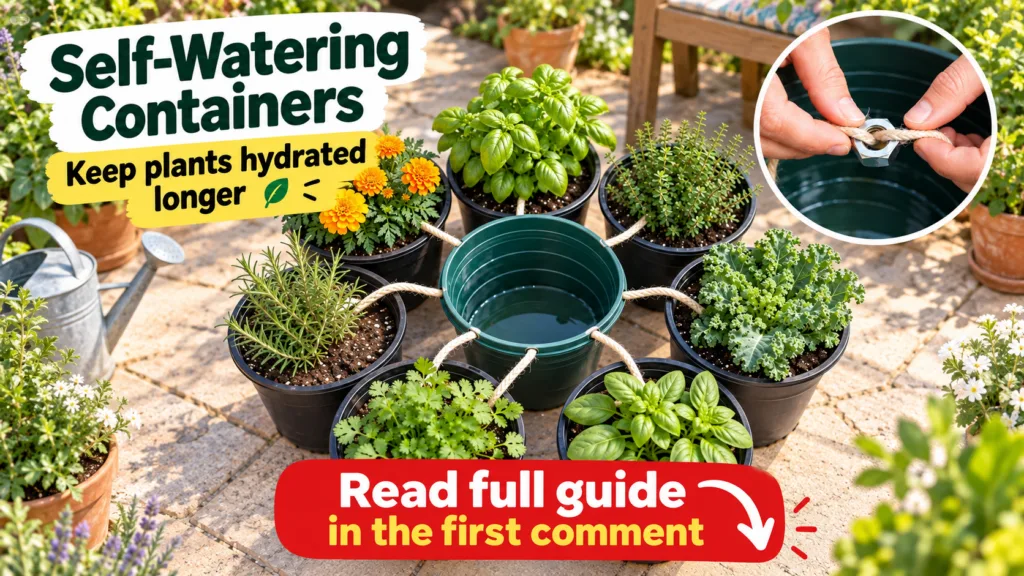
- Prepare the Inner Pot: If using two pots, the inner pot will hold your plant and soil. Drill or poke several drainage holes in the bottom of this pot. These holes are where your wicking material will pass through and where excess water can drain if you ever top-water.
- Insert the Wicking Material: Cut several pieces of your wicking material (rope or fabric strips) long enough to reach from the bottom of your inner pot into the water reservoir of the outer pot. Thread these wicks through the drainage holes you just made, allowing a good portion to hang down. Make sure some of the wicking material is exposed inside the pot, ready to be surrounded by soil.
- Prepare the Outer Pot (Reservoir): This pot will hold the water. If using a single modified pot, you’ll create a false bottom or an elevated platform for the soil. If using two pots, the outer pot simply needs to be watertight and large enough to accommodate the inner pot with space for water underneath. You might want to drill a small overflow hole near the top edge of this outer pot to prevent overfilling and ensure air circulation.
- Assemble the System: Place the inner pot (with wicks) into the outer pot. The wicks should extend into the bottom of the outer pot where the water reservoir will be. Ensure there’s enough space for water to sit comfortably below the inner pot.
- Add Soil and Plant: Fill the inner pot with your chosen potting mix, making sure the wicks are well distributed within the soil. Plant your herbs, flowers, or vegetables as you normally would.
- Fill the Reservoir: Pour water into the outer pot’s reservoir. You can do this by lifting the inner pot slightly or through the overflow hole if you made one. Initially, you might want to top-water your plant from above for the first watering or two to help establish the wicking action and settle the soil.
Tips for Self-Watering Success
- Choose the Right Plants: Self-watering systems are great for thirsty plants like many vegetables (tomatoes, peppers), annuals, and herbs. Succulents and cacti, which prefer dry conditions, are generally not good candidates.
- Monitor Water Levels: Even with a self-watering system, keep an eye on the reservoir level, especially during hot weather or when plants are actively growing. Refill before it runs completely dry.
- Fertilize Carefully: Nutrients can be leached out with continuous watering. Use slow-release fertilizers or liquid fertilizers added to the reservoir at a diluted strength.
- Clean Periodically: Algae can grow in the water reservoir. Clean it out every few months to keep your system healthy.
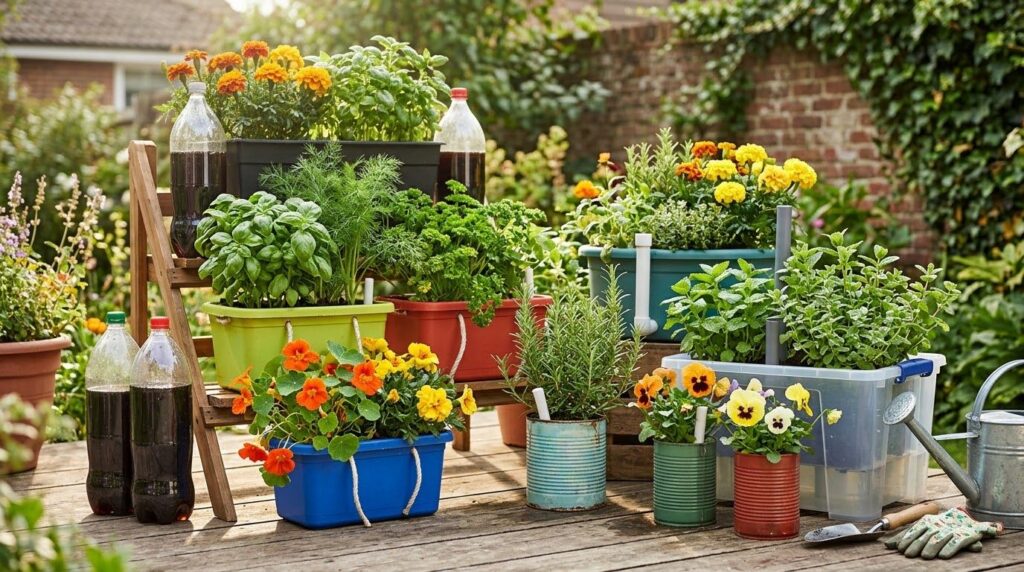
Embracing DIY self-watering containers is a fantastic step towards effortless gardening and ensuring your plants always look their best. It’s a rewarding project that pays off in healthy, thriving greenery and more free time for you to enjoy your beautiful garden. Happy gardening!