We’ve all been there: a momentary distraction, and suddenly your beautiful pan is covered in a stubborn layer of burnt-on food. It looks impossible, right? You might be tempted to toss it and buy a new one, but hold on! Before you declare that pan beyond salvation, consider this: many heavily burnt pans can be brought back to life with simple, natural solutions you likely already have in your kitchen.
Forget harsh scrubbing that can damage your cookware and expensive specialized cleaners. We’re going to dive into some quick, practical hacks that can tackle even the toughest burnt messes, saving you money and extending the life of your favorite pots and pans. Get ready to transform your charred cookware back to its shining glory!
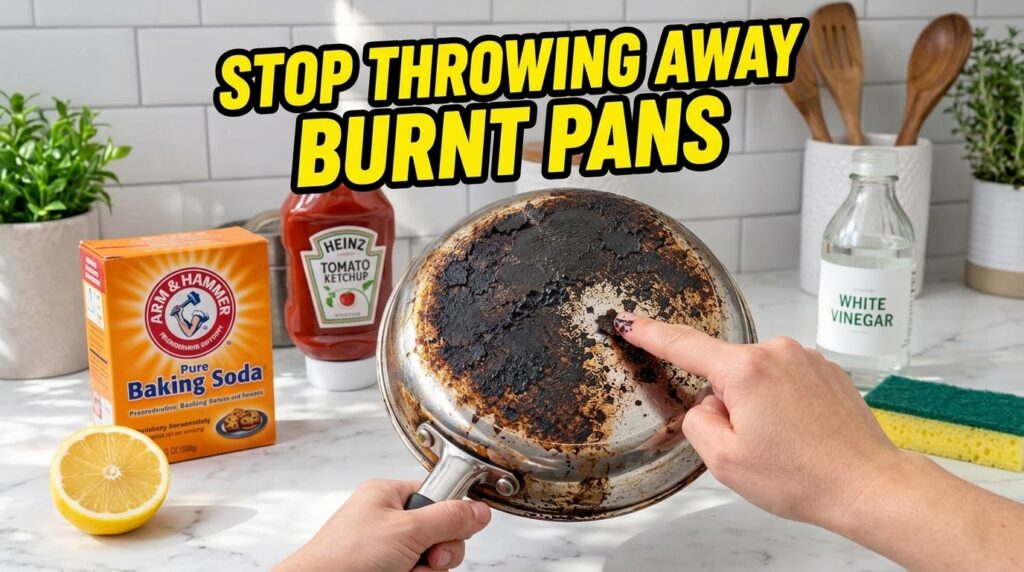
The Power Duo: Baking Soda and Vinegar
This classic combination isn’t just for science experiments; it’s a powerhouse against burnt-on grime. It’s especially effective for stainless steel and non-stick pans (though be gentle with non-stick coatings).
- How to do it:
- Pour a layer of water into the burnt pan, just enough to cover the burnt areas.
- Add about 1 cup of white vinegar to the water.
- Bring the mixture to a boil on the stove for 5-10 minutes. The boiling helps loosen the burnt bits.
- Remove from heat and carefully pour out the vinegar solution.
- Sprinkle a generous amount of baking soda over the remaining burnt residue.
- Let it sit for at least 15-30 minutes, or even longer for very tough stains.
- Using a non-abrasive sponge or nylon scrubber, gently scrub the pan. The baking soda acts as a mild abrasive, while the vinegar has already softened the gunk.
- Rinse thoroughly.
Lemon and Salt: For a Fresh Scent and Gentle Scrub
Lemon juice contains citric acid, which can help break down burnt food, while salt provides a gentle scrubbing action. This method is great for lighter burns or as a follow-up to the baking soda and vinegar.
- How to do it:
- Cut a lemon in half.
- Sprinkle a generous amount of coarse salt (like sea salt or kosher salt) directly onto the burnt area of the pan.
- Use the cut side of the lemon to scrub the burnt spots, squeezing slightly to release juice as you go.
- Continue scrubbing until the burnt bits start to lift.
- Rinse well and wash with regular dish soap.
The Unexpected Helper: Ketchup for Tarnish and Light Burns
Surprise! Ketchup isn’t just for fries. Its acidity can work wonders on discolored copper bottoms or light burnt residue on stainless steel. This is particularly good for tarnish rather than heavily caked-on burns.
- How to do it:
- Squeeze a layer of ketchup directly onto the burnt or tarnished area.
- Spread it evenly and let it sit for at least 30 minutes, or even overnight for tougher spots.
- Wipe away the ketchup with a soft cloth or sponge. You’ll often see the tarnish or light burn come right off.
- Wash and rinse the pan as usual.
Tips for Tackling Super Stubborn Burnt Pans
- Scrub Wisely: Always use non-abrasive sponges, nylon scrubbers, or plastic scrapers to avoid scratching your pans, especially non-stick surfaces. For stainless steel, you can use a bit more elbow grease, but still avoid metal scourers unless specifically recommended for your pan type.
- Let It Soak: Time is your friend. For truly stubborn burns, letting the baking soda paste or the ketchup sit for several hours, or even overnight, can make a huge difference.
- Repeat if Necessary: Sometimes, one round isn’t enough. Don’t be discouraged if you need to repeat a cleaning method, or try a combination of them, to get your pan sparkling clean.
Preventative Measures: Keeping Pans Burn-Free
The best way to clean a burnt pan is to prevent it from burning in the first place! Here are a few quick tips:
- Use Medium Heat: Most cooking doesn’t require high heat, which is often the culprit for burning.
- Don’t Overcrowd the Pan: This can lower the temperature and lead to uneven cooking and sticking.
- Preheat Properly: Ensure your pan is heated before adding oil or food.
- Keep an Eye On It: The simplest advice, but often the most effective!
So, next time you face a burnt pan disaster, remember these simple, budget-friendly hacks. You’ll save money, reduce waste, and keep your cookware looking its best. A DIY master taught me these tricks, and they genuinely work!
What’s your go-to burnt pan remedy? Share your wisdom with our community in the comments below!