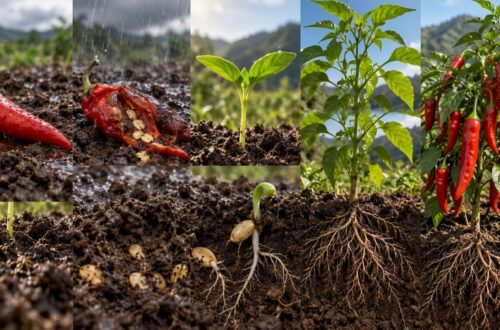
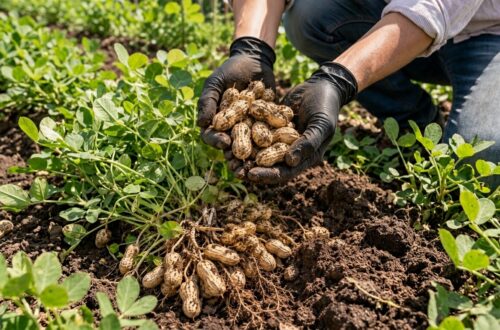
There’s nothing quite as rewarding as watching tiny seeds sprout into vibrant, healthy seedlings. These tender young plants are the future of your garden, holding the promise of bountiful harvests and beautiful blooms. But just like babies, they need a lot of love, attention, and the right environment to grow strong. At Garden – L. Quyên, we believe that understanding the needs of your young seedlings is the first step towards a flourishing garden. Let’s dive into how you can nurture these little green wonders for stronger growth!
Why Early Seedling Care is Crucial for Garden Success
The first few weeks of a plant’s life are the most vulnerable. Proper care during this initial stage sets the foundation for a healthy, robust plant that can withstand pests, diseases, and environmental stresses. Neglecting seedlings can lead to stunted growth, weak stems, and a higher chance of plant loss. Investing time in their early development means a more resilient and productive garden later on.
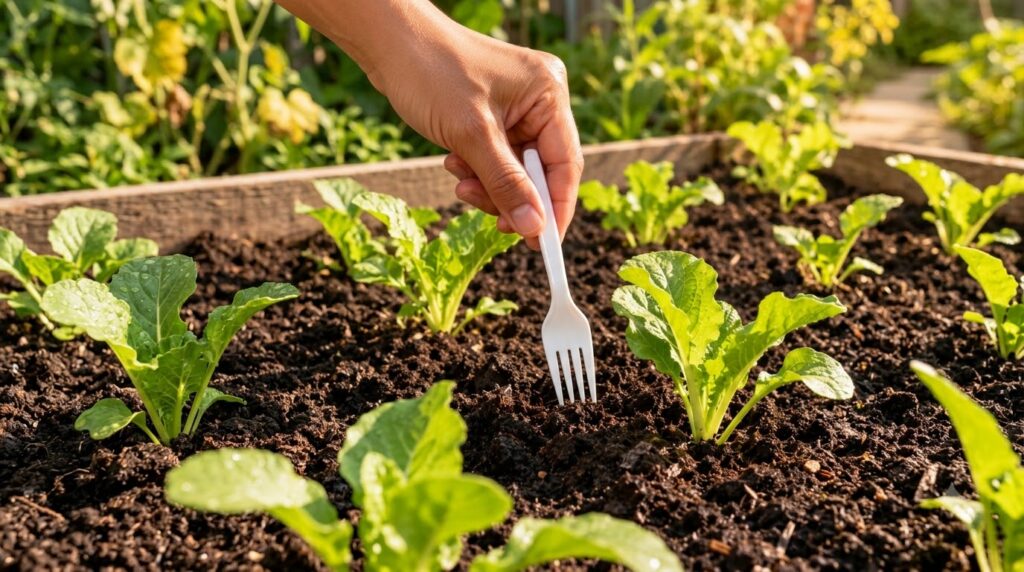
Key Steps to Nurturing Your Young Seedlings
1. Provide the Right Growing Medium
Seedlings need a light, well-draining, and nutrient-rich medium to thrive. Avoid using heavy garden soil, which can compact and suffocate delicate roots. Opt for a high-quality seed-starting mix, which is typically sterile and offers the perfect balance of moisture retention and aeration. This gives your tiny roots the best chance to spread out and establish themselves.
2. Master the Art of Watering
Overwatering is a common killer of seedlings. Their tiny root systems can easily rot in waterlogged soil. Conversely, drying out completely can also be fatal. The key is consistency. Keep the soil consistently moist, but never soggy. Use a gentle watering can or a spray bottle to avoid disturbing the fragile plants. Water from the bottom by placing your seed trays in a tray of water and letting the soil wick it up, then remove once the top soil appears moist.
3. Ensure Adequate Light
Light is energy for plants, and seedlings need plenty of it – often more than a sunny windowsill can provide. Aim for 14-16 hours of bright light per day. If natural light isn’t enough, consider using grow lights placed just a few inches above the seedlings. This prevents them from becoming ‘leggy’ (tall and stretched out), which indicates they’re reaching for light and are thus weaker.
4. Maintain Optimal Temperature and Humidity
Most seedlings prefer warm temperatures (around 65-75°F or 18-24°C) for germination and early growth. Humidity can also be important, especially for newly sprouted seeds. You can create a mini-greenhouse effect with a plastic dome or plastic wrap over your seed trays, but be sure to remove it once seedlings emerge to allow for air circulation and prevent fungal diseases.
5. Introduce Air Circulation
Good airflow is vital to prevent dampening-off disease, a common fungal issue that causes seedlings to rot at the soil line. A small fan set on a low setting, gently circulating air around your seedlings for a few hours a day, can work wonders. This also helps strengthen their stems, making them more resilient.
6. Fertilize Sparingly, If At All
Seed-starting mixes usually contain enough nutrients for the first couple of weeks. Once your seedlings develop their first set of ‘true leaves’ (the leaves that appear after the initial cotyledons), you can begin feeding them with a very diluted liquid fertilizer (half or quarter strength). Always follow product instructions and err on the side of less, rather than more.
7. Harden Off Before Transplanting
Before moving your pampered indoor seedlings directly into the harsh outdoor environment, they need to be ‘hardened off.’ This gradual process involves slowly exposing them to outdoor conditions over 7-10 days. Start with an hour or two in a shady, sheltered spot, gradually increasing the time and exposure to sunlight, wind, and cooler temperatures. This step is critical for preventing transplant shock.
8. Transplant with Care
When your seedlings are ready, typically after developing several sets of true leaves and reaching a certain size, it’s time to move them to their permanent home. Dig a hole slightly larger than the seedling’s root ball, gently loosen any compacted roots, and plant them at the same depth they were growing, or slightly deeper for some plants like tomatoes. Water thoroughly after transplanting.
Grow a Garden Full of Life!
Nurturing young seedlings is one of the most rewarding aspects of gardening. By providing them with the right start – a good medium, consistent moisture, plenty of light, and gentle care – you’re setting them up for a lifetime of growth and abundance. Remember, every master gardener started with a tiny seed and the desire to see it flourish. Embrace the process, learn from your plants, and enjoy the journey of bringing new life to your garden!