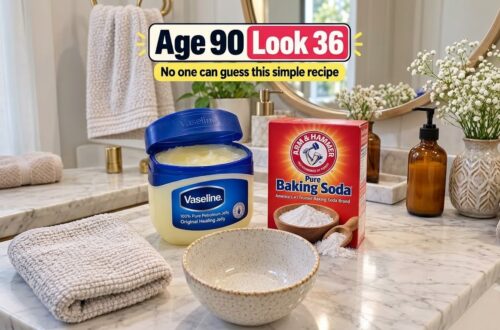
If your skin has been feeling a little rough, flaky, or dull lately, you’ve probably noticed a trend popping up all over social media: homemade exfoliating mixtures! Many people are trying out simple DIY remedies to bring back that smooth, soft feeling to their skin. One popular version that’s easy to create combines just three common ingredients: Vaseline, honey, and baking soda. This trio forms a thick, creamy paste that many find appealing for tackling dry, bumpy areas.
What Makes This Viral Paste So Appealing?
The charm of this particular mixture is easy to understand. Vaseline petroleum jelly, a long-standing staple in many households, is known for its ability to help seal in moisture, creating a protective barrier on the skin. Honey, on the other hand, gives the mixture a lovely, smooth, and conditioning texture, and is recognized for its natural humectant properties. Then there’s baking soda, which contributes a mild gritty feel that people often use for gentle physical exfoliation. Together, these ingredients can leave very dry skin feeling noticeably softer after use.
However, it’s important to approach this and any DIY skin solution with realistic expectations. While it can be a wonderful occasional body-care mixture, it should not be seen as a guaranteed way to “remove all dead skin on the first try” or provide permanent solutions. It’s more about giving your skin a helping hand towards a smoother-looking appearance.
Gather Your Simple Ingredients
Before you begin, make sure you have everything ready. These are everyday items you might already have around your home!
- 1 teaspoon Vaseline petroleum jelly
- 1 teaspoon honey
- A small pinch of baking soda (start with less than you think!)
- 1 small glass or ceramic bowl
- 1 clean spoon for mixing
A friendly reminder about baking soda: it can be quite irritating, especially for sensitive facial skin. We recommend starting with a much smaller amount than what you might see in some viral videos, which often show large spoonfuls. For this recipe, a small pinch is truly all you need, particularly if you’re new to using baking soda in DIY skincare.
Step-by-Step: Crafting Your DIY Skin Smoother
Step 1: Add the Vaseline
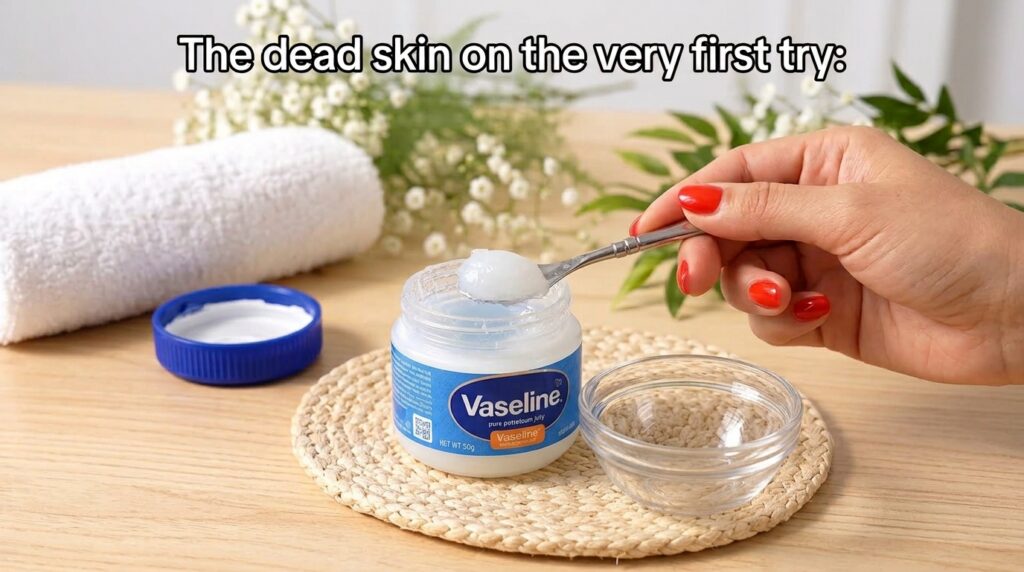
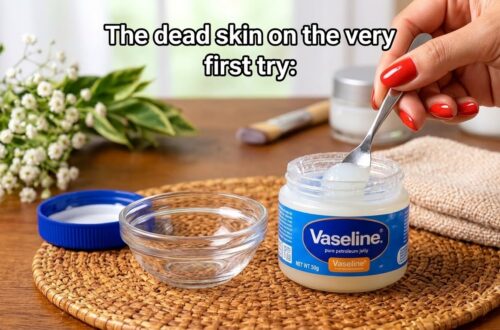
Scoop approximately 1 teaspoon of Vaseline into your clean glass or ceramic bowl. Vaseline forms the rich, protective base of this mixture, helping to prevent moisture loss and creating a barrier that can help make your skin feel softer.
Step 2: Incorporate the Honey
Next, add about 1 teaspoon of honey to the bowl with the Vaseline. Honey is a natural humectant, meaning it helps to draw moisture into the skin, contributing to a more hydrated and supple feel. It also gives the paste a lovely, smooth consistency.
Step 3: Add a Pinch of Baking Soda
Carefully add a small pinch of baking soda to the mixture. Remember, less is more here, especially when you’re just starting out. The baking soda is intended to provide a very mild exfoliating action. You can always add a tiny bit more later if you feel your skin tolerates it well and you desire a slightly grittier texture, but it’s best to be cautious.
Step 4: Mix Thoroughly
Using your clean spoon, mix all the ingredients together until they form a thick, creamy, and uniform paste. Make sure there are no lumps of baking soda remaining, as this can make the application uneven and potentially irritating.
Understanding Your Ingredients: Why These Three?
- Vaseline (Petroleum Jelly): Its primary role is to create an occlusive barrier on the skin. This barrier helps to lock in existing moisture and protect the skin from external irritants, making it excellent for very dry or chapped areas.
- Honey: A natural humectant and emollient, honey helps to attract and retain moisture in the skin, contributing to its softening and conditioning properties. It also has soothing qualities.
- Baking Soda (Sodium Bicarbonate): When used in small amounts, baking soda can act as a very mild physical exfoliant, helping to gently buff away surface roughness. However, its alkaline pH can be disruptive to the skin’s natural acid mantle, which is why caution and minimal use are key.
Important Tips Before You Try
To ensure a pleasant experience with this DIY paste, please keep these important considerations in mind:
- Patch Test First: Always apply a small amount of the mixture to a discreet area of your skin (like your inner arm) and wait 24 hours to check for any redness, irritation, or allergic reactions before applying it more broadly.
- Avoid Sensitive Areas: This paste is best suited for rougher areas of the body like elbows, knees, heels, or extremely dry patches. It is generally not recommended for the face, as facial skin is often more delicate and prone to irritation, especially from baking soda.
- Use Sparingly: This is an occasional treatment, not an everyday routine. Once a week or every other week is usually sufficient for body exfoliation.
- Gentle Application: When applying, use very light, circular motions. Do not scrub aggressively, as this can cause micro-tears or irritation, particularly with baking soda.
- Moisturize Afterward: After rinsing off the paste, always follow up with your favorite moisturizer to further hydrate and soothe your skin.
Embrace Smoother-Looking Skin, The Gentle DIY Way!
Trying out DIY beauty solutions can be a fun and rewarding way to care for your skin, especially when you understand how each ingredient works and how to use them safely. This Vaseline, honey, and baking soda paste offers a simple approach to achieving smoother-looking skin, particularly for those stubborn dry patches. Remember to listen to your skin, start gently, and enjoy the process of nurturing your natural beauty! Happy DIY-ing!