There’s something truly magical about growing your own food, and few plants offer a more satisfying journey than the humble chili pepper. From a tiny seed nestled in the soil to a vibrant plant bursting with fiery fruits, the chili pepper’s life cycle is a testament to nature’s incredible power. Join us as we explore each fascinating stage, offering tips to help you cultivate your own spice-filled home harvest!
Stage 1: The Beginning – From Pepper to Seed
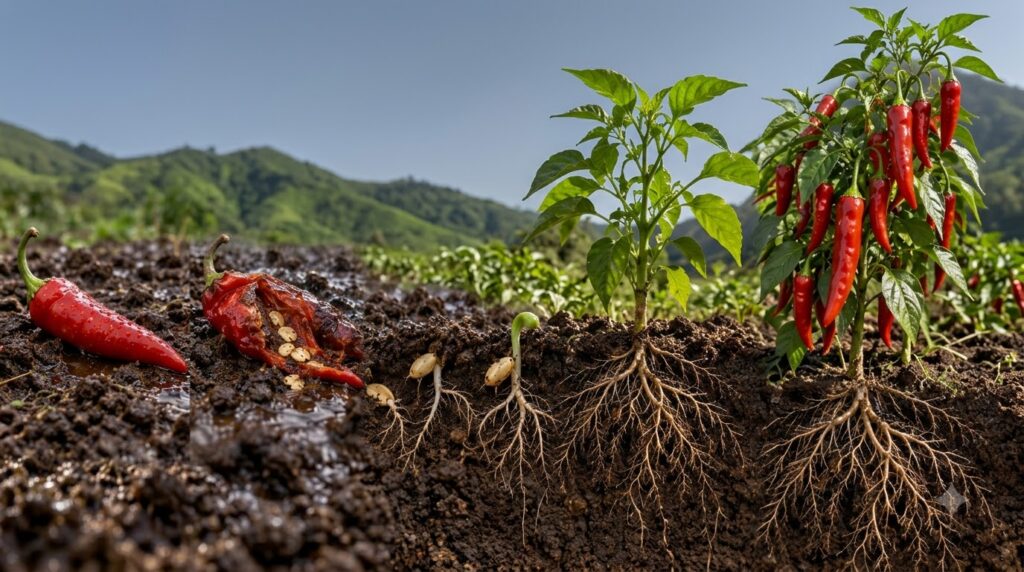
Our journey often begins with a ripe chili pepper. Whether it’s one you’ve bought, harvested from a friend’s garden, or found growing wild, inside it lies the promise of future generations. As a pepper matures, its seeds develop, ready to embark on their own adventure. For successful germination, these seeds need the right conditions. In nature, this often means the pepper falls, decomposes, and its seeds are naturally dispersed into the soil.
Tip for Home Gardeners: Seed Saving
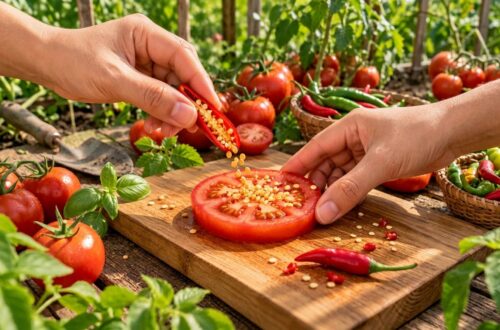
- Carefully cut open a ripe, healthy chili pepper.
- Remove the seeds and spread them out on a paper towel or plate to dry completely for a few days.
- Store dried seeds in an airtight container in a cool, dark place until you’re ready to plant.
Stage 2: Germination – The Awakening
Once planted, the tiny seed needs warmth, moisture, and good soil to awaken. In the presence of these elements, the seed coat softens, and a small root (radicle) emerges, anchoring the future plant to the earth. Soon after, two embryonic leaves, called cotyledons, push through the soil, reaching for the sunlight. This is one of the most exciting stages, signaling the start of new life!
Getting Your Chili Seeds to Sprout
- Soil: Use a high-quality seed-starting mix that drains well.
- Depth: Plant seeds about 1/4 to 1/2 inch deep.
- Moisture: Keep the soil consistently moist but not waterlogged. Rainwater or gentle watering is ideal.
- Warmth: Chili seeds love warmth. Aim for soil temperatures between 70-85°F (21-29°C). A heat mat can be very helpful.
- Light: Once sprouts appear, provide plenty of light. A sunny windowsill or grow lights are essential to prevent leggy seedlings.
Stage 3: Seedling Growth – Young and Tender
After the cotyledons appear, the true leaves begin to form. These leaves are characteristic of the chili plant and will be the primary organs for photosynthesis. During this stage, your young chili plants are delicate and require consistent care. They’ll grow stronger, developing a sturdy stem and more leaves, preparing for the next phase of their life.
Caring for Chili Seedlings
- Watering: Continue to keep the soil moist; allow the top layer to dry slightly between waterings to prevent damping-off disease.
- Fertilizing: Once true leaves appear, you can begin feeding with a diluted liquid fertilizer, specifically formulated for seedlings, every other week.
- Hardening Off: Before transplanting outdoors, gradually expose seedlings to outdoor conditions (sun, wind, cooler temperatures) over a week or two.
Stage 4: Vegetative Growth – Reaching for the Sky
With proper care and adequate space, your chili plant will enter its vigorous vegetative growth phase. It will develop a strong root system, grow taller, and produce many more leaves and branches. This is the stage where the plant builds the framework that will eventually support a bountiful harvest. A healthy, bushy plant is a good sign that it’s thriving.
Encouraging Strong Vegetative Growth
- Sunlight: Chili plants need at least 6-8 hours of direct sunlight daily.
- Nutrients: Provide a balanced fertilizer with adequate nitrogen to support lush foliage growth.
- Pinching: Some gardeners choose to pinch back the main stem once the plant has several sets of true leaves to encourage bushier growth and more fruit production.
Stage 5: Flowering – The Promise of Peppers
As the plant matures, small, white or greenish-white flowers will begin to form. These delicate blossoms are the precursors to your chili peppers. Each flower, once pollinated, has the potential to become a delicious fruit. Bees, other insects, or even a gentle shake of the plant (if growing indoors) can assist with pollination.
Promoting Good Flowering
- Fertilizer: Switch to a fertilizer higher in phosphorus and potassium to encourage flowering and fruiting.
- Pollination: Ensure good air circulation for outdoor plants. For indoor plants, you might gently shake the plant or use a small brush to transfer pollen between flowers.
Stage 6: Fruiting – The Peppers Appear!
After successful pollination, the flower’s ovary swells, and a tiny pepper begins to form. Over several weeks, this small fruit will grow, changing color from green to its mature hue—be it red, yellow, orange, or even purple—depending on the variety. This is often the most rewarding stage, as you watch your efforts come to fruition, literally!
Supporting Fruit Development
- Watering: Maintain consistent watering, especially when fruits are developing. Inconsistent watering can lead to blossom end rot or splitting.
- Support: Taller plants laden with fruit may benefit from staking or caging to prevent branches from breaking.
Stage 7: Harvesting – Enjoying Your Spice
Once the chili peppers have reached their full size and desired color, they are ready for harvest! Picking peppers regularly encourages the plant to produce more, extending your harvest season. Simply snip or gently twist the peppers off the plant, leaving a small piece of stem attached.
Harvesting Tips
- Harvest when peppers are firm and fully colored.
- Use clean pruners or scissors to avoid damaging the plant.
- Wear gloves when handling hot varieties to protect your skin.
Stage 8: The End of a Cycle (and the Start of Another!)
For most annual chili varieties, the plant will continue to produce peppers until the first hard frost. As temperatures drop, the plant’s growth will slow, and eventually, it will die back. However, the seeds within its final peppers can be saved, ready to begin the magnificent journey anew next season. For perennial varieties in warmer climates, or if overwintered indoors, the plant can continue producing for several years.
Growing chili peppers at home is an incredibly rewarding experience, connecting you directly to the food you eat and the natural world. Each stage of the chili’s life cycle offers a unique lesson in patience, care, and the wonders of plant growth. We hope this guide inspires you to start your own chili garden and enjoy the journey from seed to spice!