Baking Bliss: Easy Homemade Dough Rolls for Cozy Days
There’s nothing quite like the aroma of freshly baked bread filling your home, especially on a cozy day. These Easy Homemade Dough Rolls are the epitome of comfort food, offering a tender crumb and a lightly golden crust that’s utterly irresistible. Perfect for dipping into soup, alongside a hearty dinner, or simply slathered with butter, these rolls bring a touch of bakery-quality goodness straight to your table with surprisingly little effort.
Imagine pulling warm, fluffy rolls from the oven, their soft texture yielding with every bite. This recipe is designed to make the baking process approachable and enjoyable, even for those new to working with yeast. Get ready to experience the pure bliss of baking and savor these delightful homemade treats!
Why You’ll Love This Recipe
- Incredibly Soft and Fluffy: The perfect texture that melts in your mouth.
- Simple Ingredients: Uses basic pantry staples you likely already have.
- Beginner-Friendly: Clear, step-by-step instructions make yeast baking easy.
- Versatile: Ideal as a dinner roll, sandwich bun, or simply with butter and jam.
- Warm Comfort: Nothing beats the taste and smell of fresh, homemade bread.
- Customizable: Easily adapt the flavors with herbs or cheeses.
Ingredients
For the Dough:
- 1 cup (240 ml) warm milk (about 105-115°F / 40-46°C)
- 2 ¼ teaspoons (7 g) active dry yeast (one standard packet)
- 2 tablespoons (25 g) granulated sugar, plus a pinch for yeast
- 1 teaspoon (6 g) salt
- ¼ cup (57 g) unsalted butter, melted and cooled
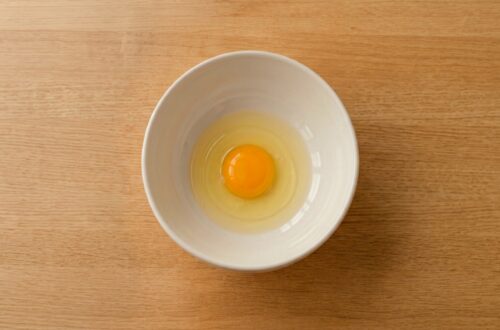
- 1 large egg, lightly beaten
- 3 to 3 ½ cups (360-420 g) all-purpose flour, plus more for dusting
For Brushing (Optional):
- 2 tablespoons (28 g) unsalted butter, melted
Ingredient Notes
- Milk: Ensure your milk is warm, not hot. Too hot and it will kill the yeast; too cold and the yeast won’t activate. It should feel comfortably warm to the touch.
- Yeast: Active dry yeast needs to be proofed (activated) in warm liquid with a little sugar. Instant yeast can often be mixed directly with dry ingredients, but proofing active dry yeast is a good practice to ensure it’s alive.
- Flour: Start with 3 cups of flour and add more gradually as needed. The exact amount can vary depending on humidity and how accurately you measure your flour. You want a dough that is soft and slightly tacky, but not overly sticky.
- Butter: Using unsalted butter allows you to control the salt content. Melt it and let it cool slightly before adding to the dough mixture to avoid scrambling the egg or affecting the yeast.
Equipment You’ll Need
- Large mixing bowl
- Measuring cups and spoons
- Whisk or spatula
- Kitchen towel or plastic wrap
- 9×13 inch (23×33 cm) baking pan or similar size
- Parchment paper (optional, for easy cleanup)
- Pastry brush (optional, for butter topping)
How to Make Easy Homemade Dough Rolls
-
Activate the Yeast
In a large mixing bowl, combine the warm milk and a pinch of granulated sugar. Sprinkle the active dry yeast over the milk. Let it sit for 5-10 minutes until foamy. This indicates the yeast is active.
-
Combine Wet Ingredients
To the activated yeast mixture, add the remaining 2 tablespoons of granulated sugar, salt, melted and cooled butter, and the lightly beaten egg. Whisk until well combined.
-
Add Flour and Mix
Gradually add 3 cups (360 g) of all-purpose flour to the wet ingredients, mixing with a wooden spoon or spatula until a shaggy dough forms. If the dough is still very sticky, add the remaining ½ cup (60 g) of flour, a little at a time, until the dough comes together.
-
Knead the Dough
Turn the dough out onto a lightly floured surface. Knead for 5-7 minutes until the dough is smooth, elastic, and no longer sticky. It should spring back when lightly poked.
-
First Rise (Bulk Fermentation)
Lightly grease the mixing bowl with a little oil. Place the kneaded dough in the bowl, turning once to coat. Cover the bowl with a clean kitchen towel or plastic wrap. Let it rise in a warm place for 1 to 1 ½ hours, or until doubled in size.
-
Shape the Rolls
Gently punch down the risen dough to release the air. Turn it out onto a lightly floured surface and divide it into 12-16 equal pieces. Shape each piece into a smooth ball by tucking the edges underneath and rolling it gently against the counter.
-
Second Rise (Proofing)
Arrange the shaped rolls in a greased 9×13 inch (23×33 cm) baking pan, leaving a little space between each. Cover the pan loosely with plastic wrap or a kitchen towel. Let the rolls rise again in a warm place for 30-45 minutes, or until noticeably puffy and nearly doubled in size.
Arrange your shaped rolls in a baking pan, giving them space to expand during the second rise. -
Preheat Oven and Bake
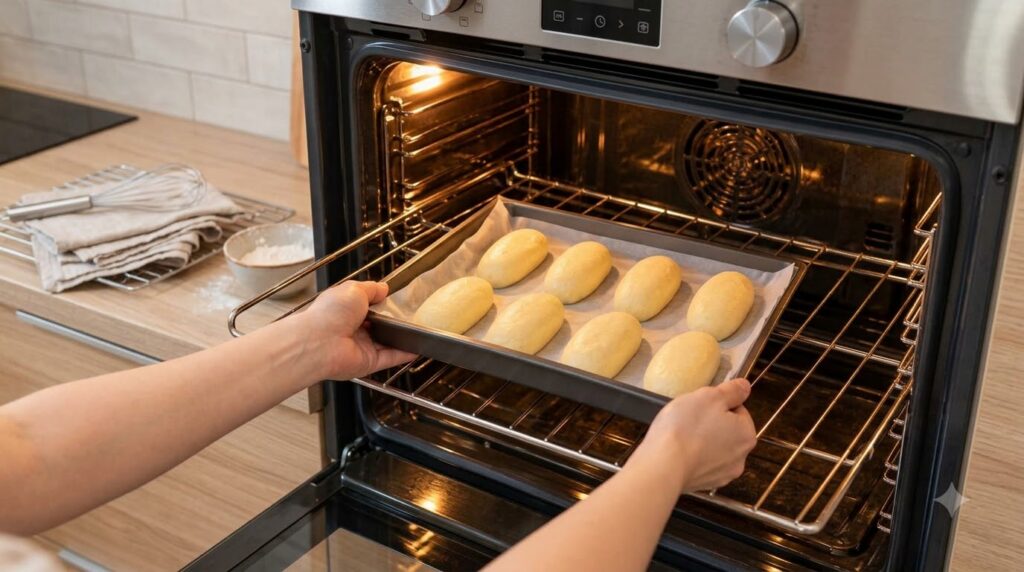
While the rolls are on their second rise, preheat your oven to 375°F (190°C). Once the oven is preheated and the rolls have risen, carefully place the baking pan into the preheated oven.
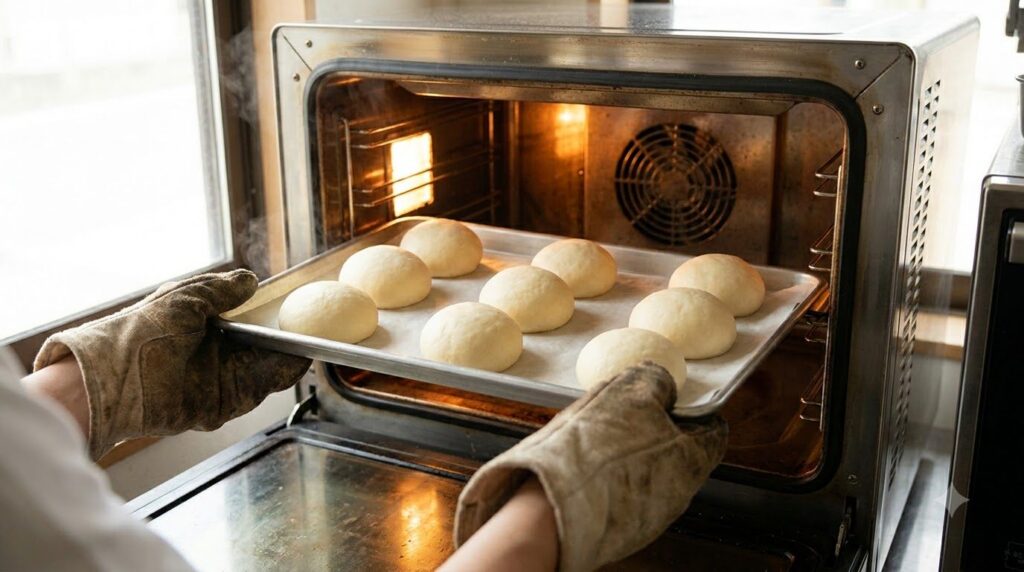
Gently slide the pan of dough rolls into the preheated oven to begin their transformation. Bake for 15-20 minutes, or until the rolls are golden brown on top and cooked through. If they start to brown too quickly, you can loosely tent the pan with foil.
-
Finish with Butter (Optional)
Once baked, remove the rolls from the oven. For an extra soft and shiny crust, immediately brush the tops with 2 tablespoons of melted butter. Let the rolls cool in the pan for a few minutes before serving warm.
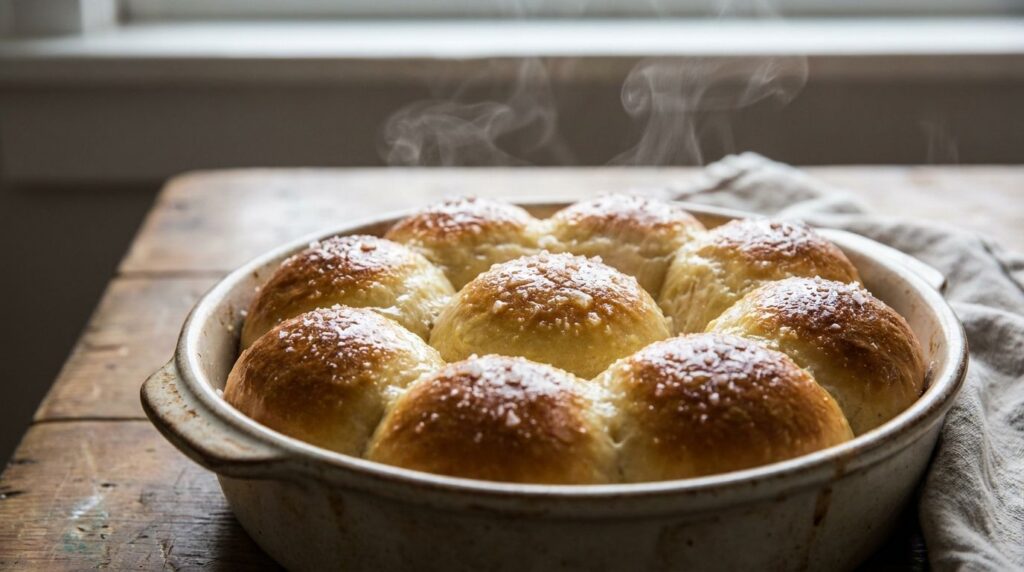
For an extra touch of flavor and a soft crust, brush the warm rolls with melted butter.
Pro Tips for the Best Results
- Measure Flour Correctly: For accurate measurement, spoon flour into your measuring cup and then level it off with a knife. Don’t scoop directly from the bag, as this can pack the flour and lead to a dry dough.
- Warm Environment for Rising: Dough rises best in a warm, draft-free place. You can use a warm oven (turned off, with just the light on), or even a microwave that’s been briefly warmed.
- Don’t Over-Knead: Kneading too much can make the rolls tough. Knead until the dough is smooth and elastic, but not overly stiff.
- Even Sizing: Try to divide your dough into equally sized pieces for even baking. A kitchen scale can be very helpful here.
- Butter After Baking: Brushing with melted butter immediately after removing from the oven adds a beautiful sheen, a rich flavor, and keeps the crust soft.
- Listen for Doneness: A light tap on the bottom of a roll should produce a hollow sound, indicating it’s fully baked.
Common Mistakes to Avoid
- Using Water That’s Too Hot/Cold: This is the most common reason for yeast not activating. Use a thermometer if unsure, aiming for 105-115°F (40-46°C).
- Adding Too Much Flour: A dry, tough dough is often a result of too much flour. Add it gradually and stop when the dough is soft and pliable, even if it’s slightly sticky.
- Skipping the Proofing: Allowing the dough to rise fully is crucial for light and airy rolls. Don’t rush this step.
- Overcrowding the Pan: While rolls will touch as they rise and bake, give them enough initial space in the pan so they don’t merge into one giant roll.
- Opening the Oven Door Too Early: Resist the urge to peek during the first 10-12 minutes of baking, as cold air can cause the rolls to deflate.
Variations & Substitutions
- Garlic Herb Rolls: Add 1-2 teaspoons of garlic powder and 1 tablespoon of dried Italian herbs to the dry ingredients. Brush with garlic butter after baking.
- Cheese Rolls: Fold in ½ cup (55 g) shredded cheddar or Parmesan cheese during the last minute of kneading.
- Sweet Rolls: Increase sugar to ¼ cup (50 g) and add ½ teaspoon of cinnamon to the dough. Glaze with a simple powdered sugar glaze after baking for a treat.
- Whole Wheat Option: Substitute up to 1 cup (120 g) of all-purpose flour with whole wheat flour for a slightly denser, nuttier roll. You may need a little more liquid.
- Dairy-Free: Use a plant-based milk (like almond or soy milk) and a dairy-free butter alternative.
Serving Suggestions
These versatile dough rolls are a fantastic addition to almost any meal. Serve them:
- Alongside a hearty beef stew, chili, or creamy tomato soup.
- As a base for slider sandwiches with pulled pork or chicken salad.
- With a big holiday meal, like Thanksgiving turkey or Christmas ham.
- Toasted and topped with butter, jam, or honey for breakfast.
- As a simple snack, still warm from the oven, with a cup of coffee or tea.
Storage & Reheating
- Refrigerator Storage: Store leftover rolls in an airtight container or zip-top bag at room temperature for up to 2-3 days. For longer storage, refrigerate for up to 5 days.
- Freezer Suitability: Yes, these rolls freeze beautifully! Once completely cooled, place them in a freezer-safe bag or container, removing as much air as possible. They can be frozen for up to 2-3 months.
- Reheating:
- From Room Temperature: Wrap rolls loosely in foil and warm in a preheated 350°F (175°C) oven for 5-10 minutes, or microwave for 15-30 seconds per roll until warm.
- From Frozen: Thaw overnight in the refrigerator or at room temperature. Then reheat as described above. You can also reheat directly from frozen, wrapped in foil, in a 300°F (150°C) oven for 20-30 minutes, until heated through.
- Maintain Texture: Reheating in the oven (especially wrapped in foil) helps to keep the rolls soft and prevents them from drying out.
FAQ
- Can I use instant yeast instead of active dry yeast?
- Yes, if using instant yeast, you can typically mix it directly with the dry ingredients. However, it’s still a good idea to proof it with the warm milk and sugar to ensure it’s active, especially if you’re new to baking.
- Why didn’t my dough rise?
- The most common reasons are inactive yeast (either expired or killed by water that was too hot) or a too-cold environment for rising. Ensure your yeast is fresh and your milk temperature is correct.
- Can I make the dough ahead of time?
- Yes! After the first rise, you can punch down the dough, shape the rolls, and then cover them tightly with plastic wrap and refrigerate for up to 24 hours. Let them come to room temperature and rise for about 30-60 minutes before baking.
- How do I know when the rolls are done?
- The rolls should be golden brown on top and a light golden on the bottom. If you tap the bottom of a roll, it should sound hollow. An internal temperature of 200-205°F (93-96°C) indicates doneness.
- What if my rolls are dense?
- Dense rolls are often a result of too much flour or not enough rising time. Make sure your dough is soft and pliable (not stiff) after kneading, and allow adequate time for both the first and second rises.
Recipe Card
Recipe Name: Easy Homemade Dough Rolls
Short Description: Delightfully soft and fluffy dough rolls, perfect for any meal or a comforting baking project. This easy recipe uses simple ingredients and is great for beginners.
Prep Time: 25 minutes
Cook Time: 15-20 minutes
Total Time: 2 hours 15 minutes (includes rising)
Servings: 12-16 rolls
Course: Side Dish, Bread
Cuisine: American
Cooking Method: Baking
Ingredients:
- 1 cup (240 ml) warm milk (105-115°F / 40-46°C)
- 2 ¼ teaspoons (7 g) active dry yeast
- 2 tablespoons (25 g) granulated sugar, plus a pinch
- 1 teaspoon (6 g) salt
- ¼ cup (57 g) unsalted butter, melted and cooled
- 1 large egg, lightly beaten
- 3 to 3 ½ cups (360-420 g) all-purpose flour, plus more for dusting
- Optional: 2 tablespoons (28 g) unsalted butter, melted (for brushing)
Instructions:
- Activate Yeast: In a large bowl, combine warm milk and a pinch of sugar. Sprinkle yeast over. Let sit 5-10 minutes until foamy.
- Combine Wet Ingredients: Add remaining sugar, salt, melted butter, and egg to yeast mixture. Whisk well.
- Add Flour: Gradually mix in 3 cups of flour until a shaggy dough forms. Add remaining flour (up to ½ cup) as needed until dough is soft and slightly tacky, but not overly sticky.
- Knead Dough: Turn onto a lightly floured surface. Knead 5-7 minutes until smooth and elastic.
- First Rise: Lightly grease bowl, place dough in it, turn once to coat. Cover and let rise in a warm place for 1 to 1 ½ hours, or until doubled.
- Shape Rolls: Punch down dough. Divide into 12-16 equal pieces. Shape each into a smooth ball.
- Second Rise: Arrange rolls in a greased 9×13 inch baking pan. Cover loosely and let rise for 30-45 minutes, until puffy.
- Preheat & Bake: Preheat oven to 375°F (190°C). Bake rolls for 15-20 minutes, until golden brown.
- Brush with Butter (Optional): Remove from oven. Immediately brush tops with melted butter. Cool slightly before serving.
Notes:
For best results, ensure your milk is warm, not hot, to properly activate the yeast. Don’t add too much flour; the dough should remain soft and slightly tacky. A warm, draft-free spot is ideal for rising.
Storage:
Store in an airtight container at room temperature for 2-3 days, or refrigerate for up to 5 days. Freeze cooled rolls in an airtight bag for up to 2-3 months. Reheat in a 350°F (175°C) oven, wrapped in foil, until warm.
Nutrition:
Nutrition information is an estimate and may vary depending on the ingredients and brands used.