Imagine plucking a sweet, juicy cherry right from your own backyard! While it might sound like a dream, growing a cherry tree from a single pit is a rewarding project that’s more accessible than you think. With a little patience and the right techniques, you can transform a humble cherry pit into a thriving, fruit-bearing tree. Join us as we explore the fascinating journey of growing your very own cherry tree from scratch!
Why Grow Your Own Cherry Tree from a Pit?
Beyond the undeniable satisfaction of harvesting homegrown fruit, starting a cherry tree from a pit offers a unique connection to nature. It’s an excellent way to teach children about plant life cycles, embrace sustainable gardening practices, and potentially save money on nursery saplings. Plus, you get to witness the magic of a tiny seed transforming into a robust tree!
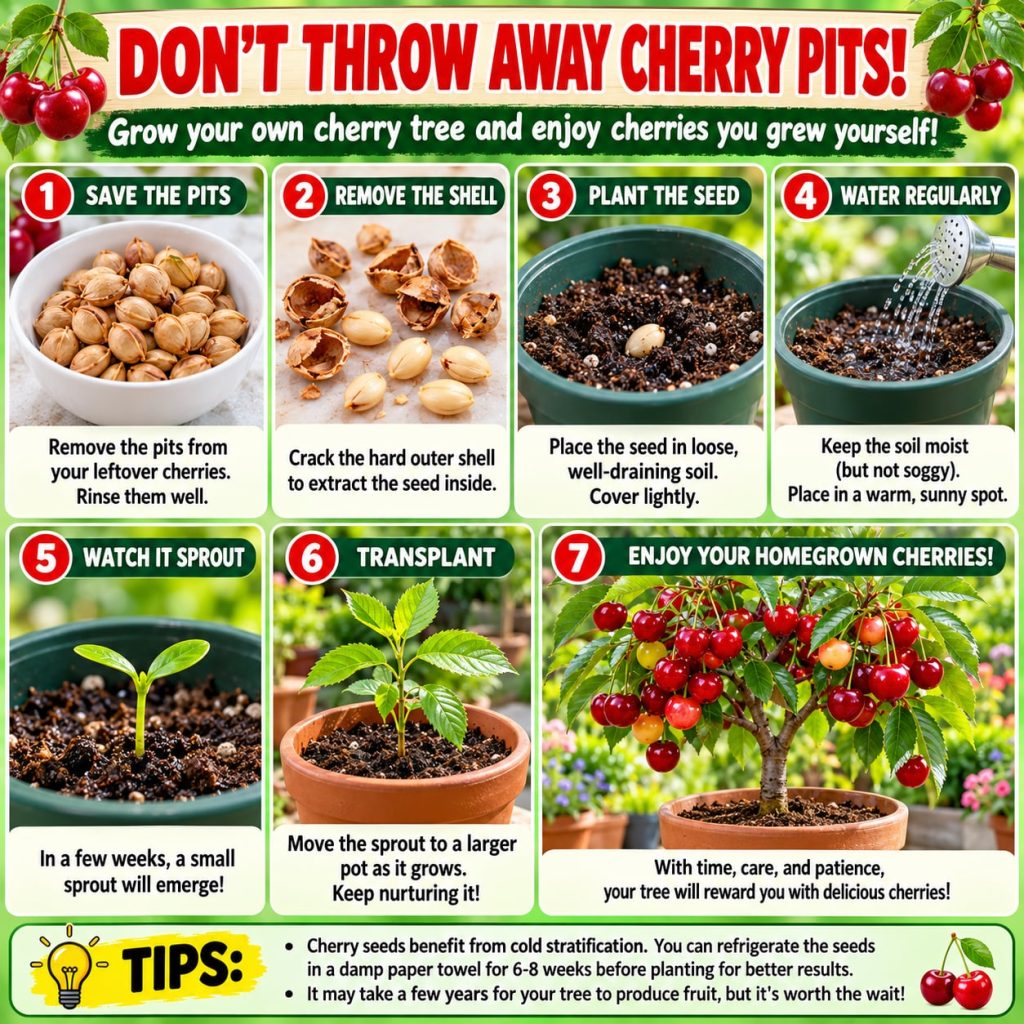
Materials You’ll Need
- Fresh cherry pits (from sweet or sour cherries)
- A small bowl or sieve
- Paper towels
- A resealable plastic bag or airtight container
- Potting mix (well-draining)
- Small pots or seed-starting trays
- Watering can
- Patience (this is the most important ingredient!)
Step-by-Step Guide to Growing a Cherry Tree from a Pit
Step 1: Prepare Your Cherry Pit
First, enjoy your cherries! Once you’ve finished, clean the pits thoroughly. Remove all fruit flesh by gently scrubbing them under running water. Any remaining flesh can cause mold. After cleaning, let the pits air dry for a few days to prevent mold during storage. You can grow both sweet and sour cherries from pits, but remember that a tree grown from a pit may not produce fruit exactly like its parent due due to pollination.
Step 2: Stratification – Mimicking Winter
Cherry pits need a period of cold to break dormancy, a process called stratification. This tricks the seed into thinking it has gone through winter and is ready to sprout in spring.
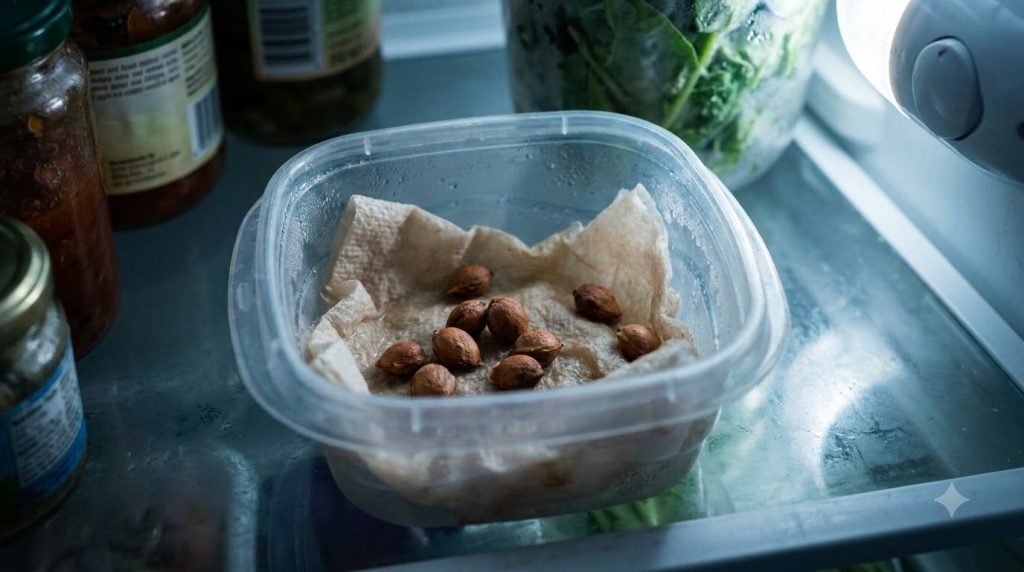
- Moisten Paper Towels: Dampen a few paper towels, but make sure they aren’t soaking wet.
- Wrap the Pits: Place your cleaned, dried cherry pits inside the damp paper towels.
- Seal and Refrigerate: Put the wrapped pits into a resealable plastic bag or an airtight container. Store this in your refrigerator (not the freezer!) for 10-12 weeks. Check periodically to ensure the paper towels remain damp; re-moisten if needed.
Some pits might even begin to crack open or sprout small roots during this time – this is a good sign!
Step 3: Planting Your Sprouted Pit
After the stratification period, it’s time to plant! Gently remove the pits (especially any that have already sprouted) from the refrigerator.
- Prepare Pots: Fill small pots or seed-starting trays with a good quality, well-draining potting mix.
- Planting Depth: Plant each pit about 1 inch deep in the soil. If a pit has already sprouted, be careful not to damage the delicate root.
- Water Gently: Water thoroughly but gently after planting.
- Provide Warmth and Light: Place the pots in a warm spot that receives plenty of indirect sunlight. A sunny windowsill is often perfect.
Step 4: Nurturing Your Seedling
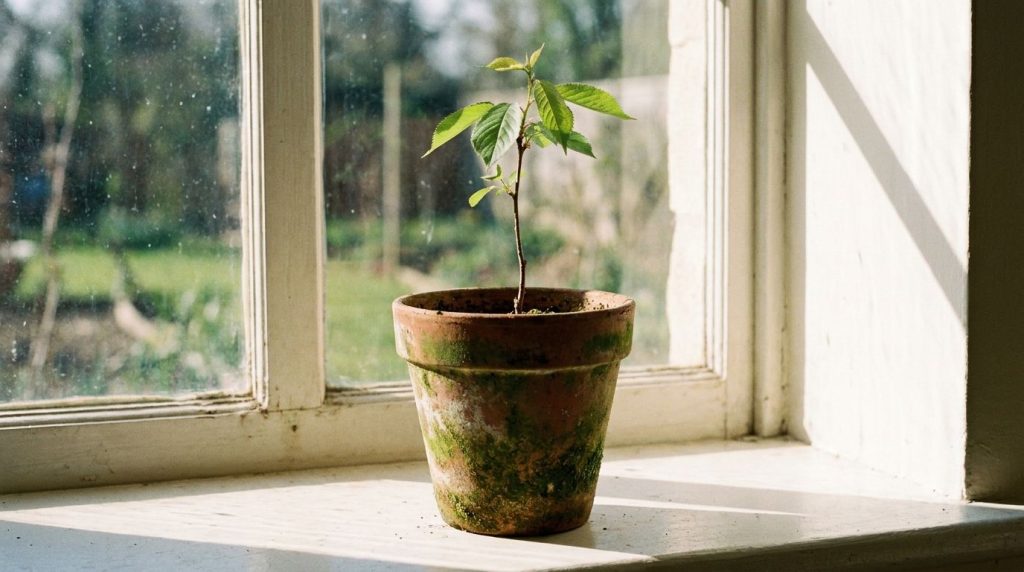
Within a few weeks, you should start to see tiny cherry tree seedlings emerge! This is an exciting moment. Continue to keep the soil consistently moist but never waterlogged. As your seedlings grow, ensure they get enough light. If natural light is scarce, consider using a grow light.
Step 5: Transplanting to the Garden
Once your cherry seedlings are about 6-12 inches tall and all danger of frost has passed, they’ll be ready to be transplanted outdoors. Choose a sunny location with well-draining soil. Dig a hole twice as wide as the pot and just as deep. Carefully remove the seedling from its pot, place it in the hole, and backfill with soil, gently tamping it down. Water generously after transplanting.
Essential Tips for Cherry Tree Success
- Sunlight: Cherry trees need at least 6-8 hours of direct sunlight per day to thrive and produce fruit.
- Soil: They prefer well-draining, slightly acidic to neutral soil (pH 6.0-7.0).
- Watering: Young trees need consistent moisture. Water deeply, especially during dry spells, but avoid overwatering, which can lead to root rot.
- Pest Control: Keep an eye out for common pests like aphids or cherry fruit flies. Use organic pest control methods if necessary.
- Pollination: Many cherry varieties require a different variety nearby for cross-pollination to produce fruit. Research your specific cherry type to see if this applies.
- Pruning: Once established, prune your tree annually in late winter or early spring to maintain its shape, promote air circulation, and encourage fruit production.
Patience is Key
Growing a cherry tree from a pit is a long-term project. It can take anywhere from 5 to 10 years for a pit-grown cherry tree to start producing fruit, and sometimes even longer. However, the journey itself is incredibly rewarding, offering a deeper connection to your garden and the food you eat. Enjoy the process of nurturing your young tree and watch it flourish!
Happy gardening!