Coral tuile lace dessert cups are one of the easiest ways to make a dessert look special. These thin, crisp chocolate cups hold a creamy filling and add height, texture, and a touch of elegance to any dessert table, and they use a short list of pantry staples.
In this guide, you will find the ingredient list, a step-by-step method for shaping the lace cups, and ideas for a cookies-and-cream filling. You will also get tips for storing them so they stay crisp.
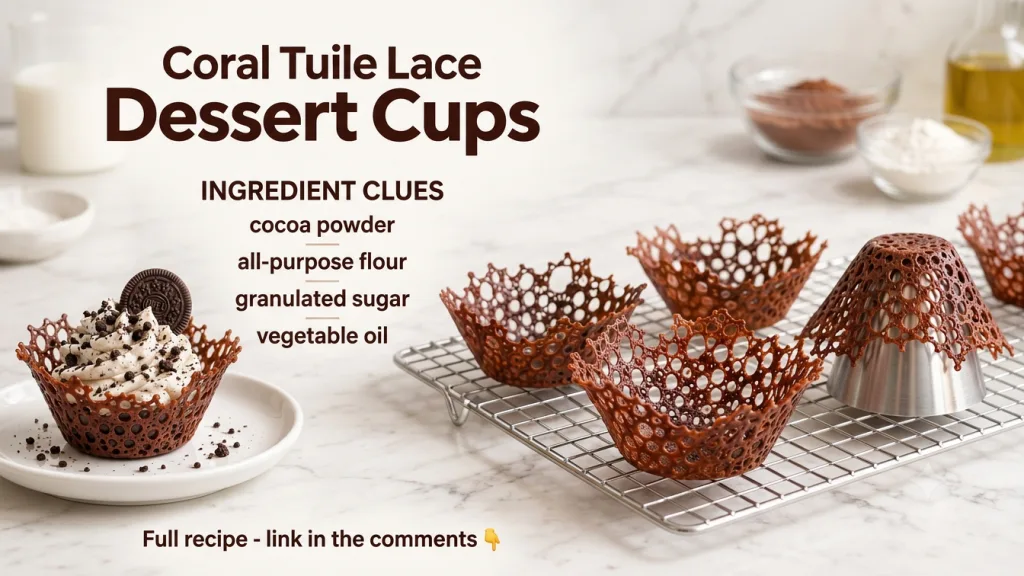
Ingredients for Coral Tuile Lace Dessert Cups
- 1/2 cup water
- 1/3 cup vegetable oil
- 2 tablespoons all-purpose flour
- 1 tablespoon cocoa powder
- 1 tablespoon granulated sugar
- 1/4 teaspoon salt
This recipe makes about 6 cups. Yield can vary depending on how thinly you spread the batter and the size of your baking sheet.
How to Make the Lace Cups
- Preheat your oven to 350°F (175°C). Line a baking sheet with a silicone baking mat or parchment paper.
- In a medium bowl, whisk together the flour, cocoa powder, sugar, and salt until no dry clumps remain.
- Add the water and vegetable oil to the dry ingredients. Whisk until the batter is smooth and fluid, with no lumps.
- Drop small spoonfuls of batter onto the lined baking sheet and spread each one into a thin, round disc about 3 to 4 inches wide. Leave space between them, because they will spread slightly as they bake.
- Bake for about 6 to 8 minutes, watching closely. The lace is ready when the edges look set and the centers have darkened slightly. Thin batter can go from ready to overbaked quickly.
- Working quickly while the lace is still warm and pliable, lift each disc with a thin spatula. Drape it over the bottom of an inverted cup or a small metal cone so it takes on a cup shape.
- Let the cups cool completely on the mold. They will firm up and become crisp within a few minutes.
Shaping Tips
- If the lace becomes too stiff to bend, return the tray to the oven for 30 seconds to soften it.
- Use oven mitts or a towel when shaping, since the lace is hot right out of the oven.
- Shape one batch at a time so the lace does not harden before you can work with it.
Cookies-and-Cream Filling Ideas
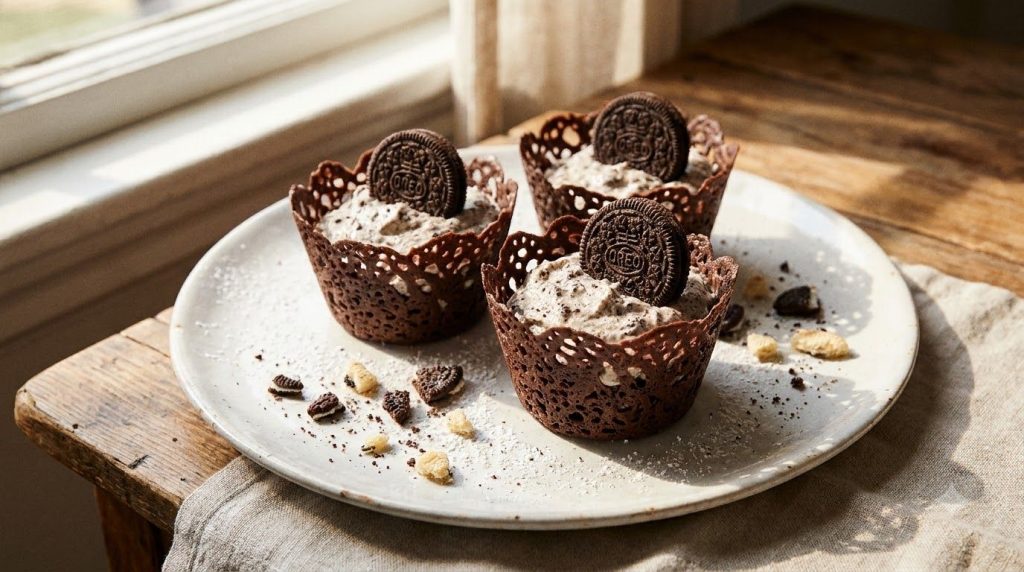
The filling shown in the original infographic has a cookies-and-cream style. A simple way to create this is to fold crushed chocolate sandwich cookies into softly whipped cream or a thick, lightly sweetened cream. Spoon the filling into the cups just before serving so the lace stays crisp. Finish each cup with a whole cookie or a few crumbs on top.
Quantities for the filling are not specified in the original graphic, so adjust the amount to suit how many cups you are making.
Storage Tips
- Store unfilled lace cups in an airtight container at room temperature.
- Keep them away from humidity, since moisture makes the lace soft.
- Fill the cups shortly before serving for the best texture.
Why These Cups Work for Entertaining
Coral tuile lace dessert cups look impressive on a dessert table, but the method is straightforward. The batter uses just a few pantry ingredients, and the cups can be made ahead when stored properly. Because they are light and crisp, they pair well with a range of fillings and make a pleasant contrast to richer desserts.
Final Thoughts
Coral tuile lace dessert cups are a simple, elegant option for your next dessert presentation. With a short ingredient list and a careful shaping technique, you can create delicate chocolate cups with an airy, crispy texture and a cozy, bakery-style look.