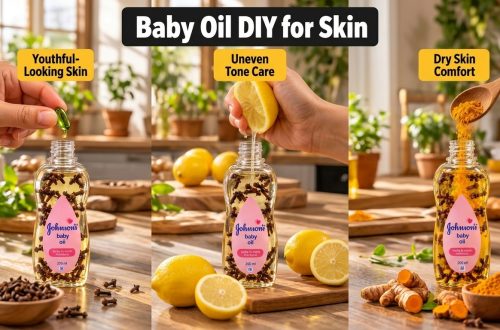
Most people see fallen apples as garden waste, or perhaps only suitable for compost. But what if those overlooked apples from your backyard held the secret to a potent, cost-effective health staple? One small preparation mistake can ruin an entire batch, so understanding the process is key to turning that backyard bounty into your own powerful homemade apple cider vinegar (ACV).
What is Homemade Apple Cider Vinegar?
Homemade apple cider vinegar is a fermented product made from apples, water, and sugar (or naturally occurring sugars in the apples). Unlike many commercial versions, DIY ACV often retains the ‘mother,’ a beneficial cloudy culture of acetic acid bacteria and cellulose. This ‘mother’ is what gives homemade ACV its potency and is often filtered out of pasteurized store-bought varieties.
Ingredients for Your ACV
- Apples: Approximately 6-8 medium-sized apples (fallen, organic, or unsprayed are best)
- Filtered Water: Enough to cover the apples in your jar (around 4-6 cups for a quart jar)
- Granulated Sugar (optional): 1-2 tablespoons per quart of water (helps kickstart fermentation, especially with less sweet apples)
Approximate Measurements
For a standard quart-sized Mason jar:
- Apples: Fill the jar about two-thirds full with chopped apple pieces.
- Water: About 4 cups, or enough to completely submerge the apples, leaving 1-2 inches of headspace.
- Sugar: 1 tablespoon, if using.
Formula / Recipe: Crafting Your Own ACV
This simple recipe will guide you through creating your own batch of apple cider vinegar, harnessing the natural fermentation process to create a versatile household staple.
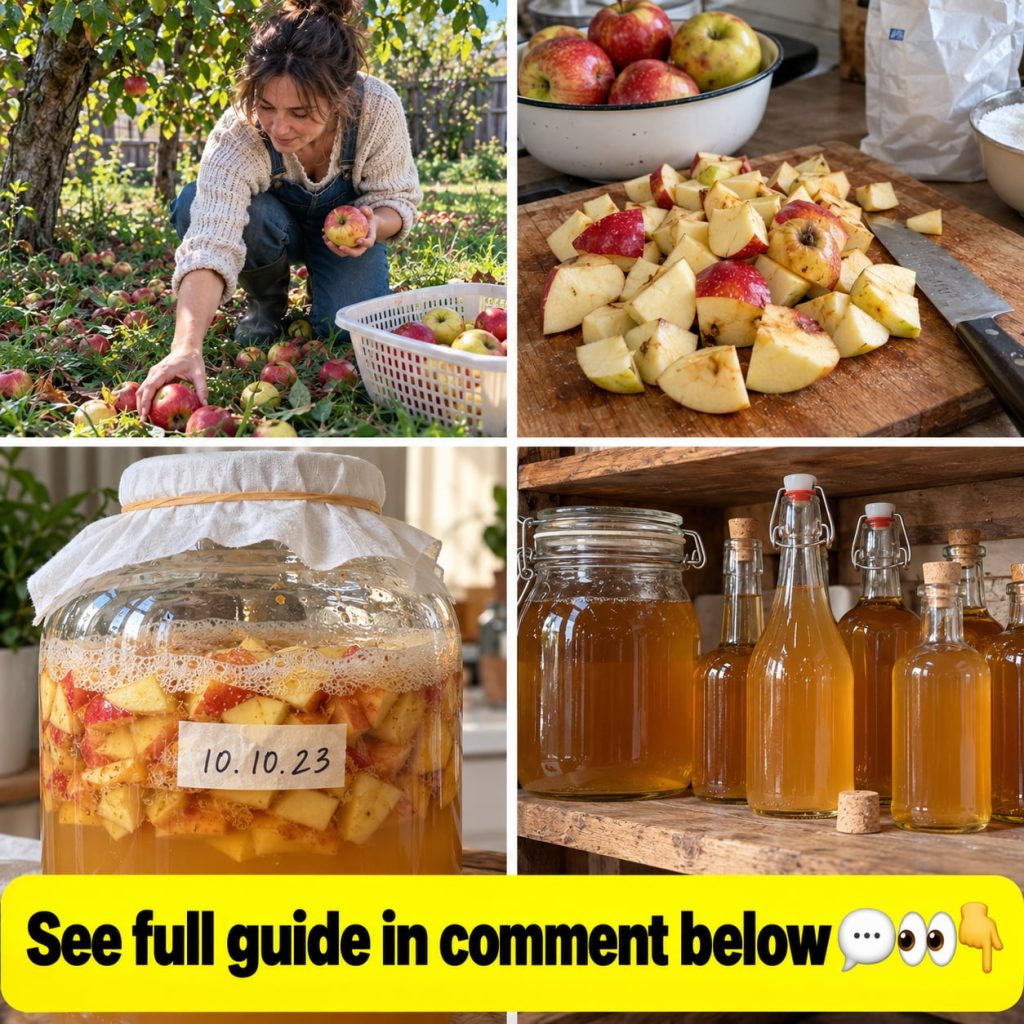
- Prepare the Apples: Wash apples thoroughly. Remove any truly rotten or bruised parts, but don’t worry about perfect appearance. Core and chop apples into 1-inch pieces. You can use the peels and cores too!
- Combine Ingredients: Place chopped apples into a clean, wide-mouthed glass jar. If using sugar, dissolve it in a small amount of warm filtered water first, then add to the jar. Pour enough filtered water over the apples to completely submerge them.
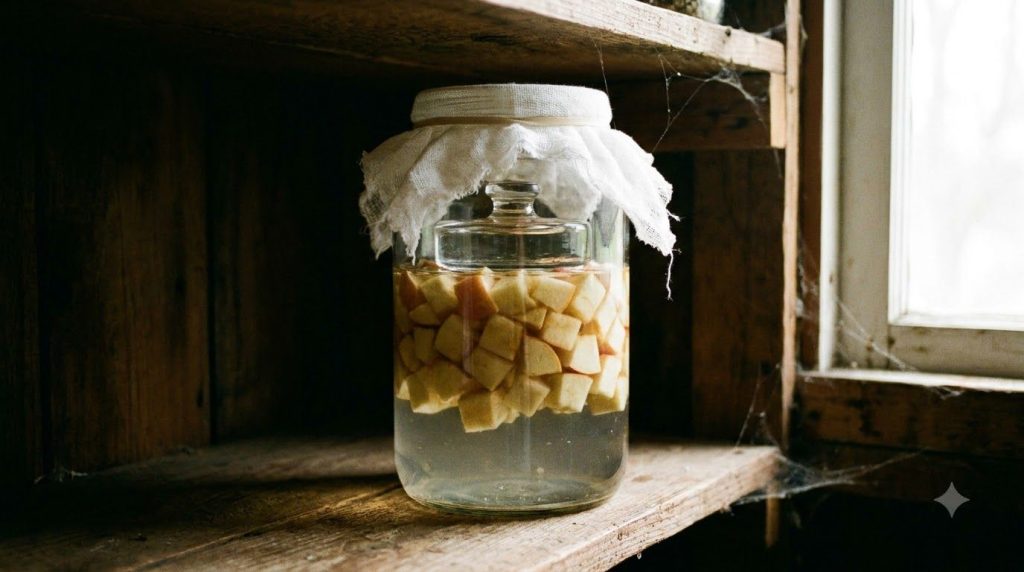
- Weigh Down Apples: It’s crucial that all apple pieces remain submerged to prevent mold. Use a fermentation weight, a small plate, or a clean, washed rock to keep the apples below the water line.
- Cover for Fermentation: Cover the jar opening with a breathable cloth (like cheesecloth or a coffee filter) secured with a rubber band. This allows air in while keeping pests out.
- Ferment in the First Stage: Place the jar in a cool, dark place (ideally 65-75°F / 18-24°C). Stir daily for the first week to ensure all apple pieces are exposed and to prevent mold. You’ll start to see small bubbles, indicating fermentation is beginning.
- Strain and Second Ferment: After 1-2 weeks, when the liquid smells vinegary and tastes tangy, strain out the apple pieces using a fine-mesh sieve or cheesecloth. Discard the solids. Return the liquid to the clean jar.
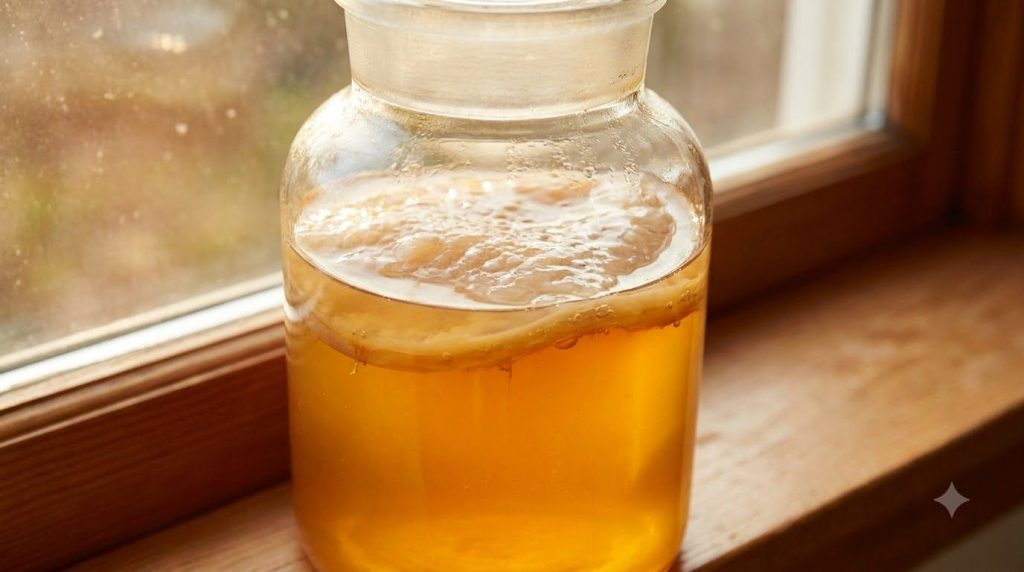
- Develop the ‘Mother’: Cover the liquid again with a breathable cloth. Store in the same cool, dark place. Over the next 2-4 weeks (or longer), a gelatinous ‘mother’ will form on the surface. This is a sign of healthy fermentation. Taste regularly until it reaches your desired acidity.
Quick Tip: Speeding Up Fermentation
If your fermentation seems slow, adding a tablespoon of raw, unfiltered, store-bought ACV with the mother to your initial batch can kickstart the process by introducing beneficial bacteria. Just be sure it’s truly raw and unpasteurized.
How to Use Homemade Apple Cider Vinegar
Once your ACV is ready, the possibilities are vast:
- Digestive Aid: Mix 1-2 tablespoons with a glass of water before meals.
- Salad Dressings: A tangy base for vinaigrettes.
- Hair Rinse: Dilute with water (1:4 ratio) for a clarifying hair rinse after shampooing.
- Skin Toner: Dilute highly (1:10) for a natural, balancing facial toner.
- Household Cleaner: Mix with water for an all-purpose, natural cleaning spray.
How Often to Use
For internal use as a tonic, once a day is usually sufficient. For culinary uses, integrate as desired. For topical applications like hair rinses or skin toners, 2-3 times a week is a good starting point to gauge your body’s reaction.
How to Choose Ingredients: The Apple Advantage
The best apples for ACV are those that are unsprayed, organic, or straight from your backyard. Windfalls are perfect, as long as they aren’t severely bruised or rotten. Varieties like Honeycrisp, Fuji, or even crabapples work well. Avoid apples treated with waxes or pesticides, as these can interfere with fermentation.
Storage
Once your ACV has reached the desired acidity, transfer it to an airtight glass bottle or jar. Store it in a cool, dark pantry. It can last for several months, or even years, and may continue to develop a new ‘mother.’ Refrigeration is not strictly necessary but can slow down further fermentation if you prefer to maintain a specific flavor profile.
Did You Know?
The ‘mother’ can be reused! If you’re starting a new batch of ACV, you can transfer a piece of the existing mother into the new liquid to accelerate fermentation and ensure a consistent culture.
Practical Tips for Success
- Cleanliness is Key: Always use clean, sterilized jars and utensils to prevent unwanted mold or bacteria.
- Temperature Matters: Consistent room temperature (65-75°F) is ideal for fermentation. Too cold, and it will be slow; too hot, and it can spoil.
- Patience: Fermentation takes time. Don’t rush the process. Taste regularly but allow the vinegar to develop fully.
- Taste Test: Don’t be afraid to taste your ACV throughout the second fermentation. It should smell and taste pleasantly sour and vinegary.
Comparison: Homemade vs. Store-Bought ACV
| Feature | Homemade ACV | Store-Bought ACV (Pasteurized) |
|---|---|---|
| Cost | Virtually free (uses fallen apples) | Varies, can be expensive for raw/organic |
| ‘Mother’ Content | Almost always present (live cultures) | Often filtered out for clarity |
| Control | Full control over ingredients and process | Limited control, relies on brand sourcing |
| Flavor Profile | Can vary batch-to-batch, unique | Consistent, standardized flavor |
| Purity | Know exactly what goes into it | May contain preservatives or additives |
Common Mistakes to Avoid
Making homemade ACV is straightforward, but a few pitfalls can hinder your success:
- Using Sprayed or Waxed Apples: Pesticides and waxes inhibit natural fermentation. Stick to organic or unsprayed.
- Not Submerging Apples: Any apple pieces exposed to air will mold. Use a weight to keep them fully underwater.
- Using a Metal Lid: Metal can react with the acidity, so always use a breathable cloth cover during fermentation and non-reactive lids for storage.
- Impatience: Removing the apples too soon or bottling before the vinegar is fully developed can result in a weak or alcohol-y product.
- Inadequate Airflow: The first stage of fermentation is aerobic, requiring oxygen. A tight lid will stifle the process.
Cautions / Who Should Avoid It
While generally safe, ACV is highly acidic. Always dilute it with water before consuming to protect tooth enamel and prevent stomach irritation. Individuals with acid reflux, gastric ulcers, or those taking certain medications (like diuretics or insulin) should consult a healthcare professional before regular consumption. If applying topically, always do a patch test first to ensure no adverse skin reactions.
Quick Summary
- Best Preparation: Chopped, unsprayed apples submerged in filtered water, fermented in a glass jar.
- Best Use-Case: Digestive tonic (diluted), salad dressing, natural cleaner, hair rinse.
- Storage: Airtight glass bottles in a cool, dark pantry.
- When to Use: Daily for internal health benefits, as needed for culinary or topical applications.
- What to Avoid: Sprayed apples, metal lids, air exposure during primary fermentation, undiluted consumption.
FAQ
- Can I use fresh or dried apples? Fresh, raw apples are best. Dried apples won’t work for this method as they lack the necessary moisture and natural yeasts.
- How long does homemade ACV last? Properly stored in an airtight container, homemade ACV can last for months to years in a cool, dark place.
- Can I refrigerate it? Yes, refrigerating your finished ACV will slow down further fermentation and help maintain its flavor, but it’s not strictly necessary for preservation.
- How often should I use it? For general wellness, 1-2 tablespoons diluted in water once daily is common. Adjust based on your personal needs and tolerance.
- What part of the apple is best? The entire apple (peels, cores, and flesh) works well, especially if using fallen or backyard apples.
- Can I reuse the mother of vinegar? Absolutely! Transferring a piece of the mother to a new batch will help jumpstart the fermentation process.
- When should I avoid it? Avoid consuming undiluted ACV. Consult a doctor if you have digestive issues, are on medication, or are pregnant/breastfeeding.
- What if mold forms on my ACV? If you see any fuzzy, colored mold, discard the entire batch and start over. White film is usually harmless Kahm yeast, but fuzzy mold is a sign of contamination.
Making your own apple cider vinegar from fallen apples is a rewarding and sustainable practice. Not only does it reduce waste, but it also provides you with a versatile and potent natural remedy, free from commercial additives. Embrace the process, observe the magic of fermentation, and enjoy the fruits (or rather, the vinegar) of your labor.
You may also like: Read more about the benefits of natural fermentation.
Related remedy: Discover how to make other powerful kitchen tonics.