Growing Sweetness: Propagating Strawberries from Halves for a Bountiful Harvest
There’s nothing quite like the taste of a fresh, sun-ripened strawberry picked right from your own garden. The vibrant color, the sweet aroma, and the burst of flavor are unparalleled. But what if you could multiply that joy, growing even more of these delightful berries from the ones you already have? Good news, fellow gardeners! Propagating strawberries from halves is not only possible but also a rewarding and surprisingly simple way to expand your strawberry patch. Let’s dig in and learn how to grow your own sweetness!
Why Propagate Strawberries from Halves?
While strawberries are commonly propagated through runners, using a halved strawberry is a fantastic alternative, especially if you’re looking to start new plants from specific fruit varieties you love or if your existing plants aren’t producing many runners. It’s also incredibly satisfying and a wonderful project for beginners and seasoned gardeners alike!
Your Step-by-Step Guide to Strawberry Half Propagation
1. Choose Your Berries Wisely
- Selection: Start with the ripest, most delicious organic strawberries you can find. Organic is crucial to avoid any pesticides or chemicals that might hinder germination.
- Preparation: Gently slice your chosen strawberry in half lengthwise, exposing the seeds. You’ll primarily be using the seeds for propagation, so make sure they are visible.
2. Prepare Your Nursery
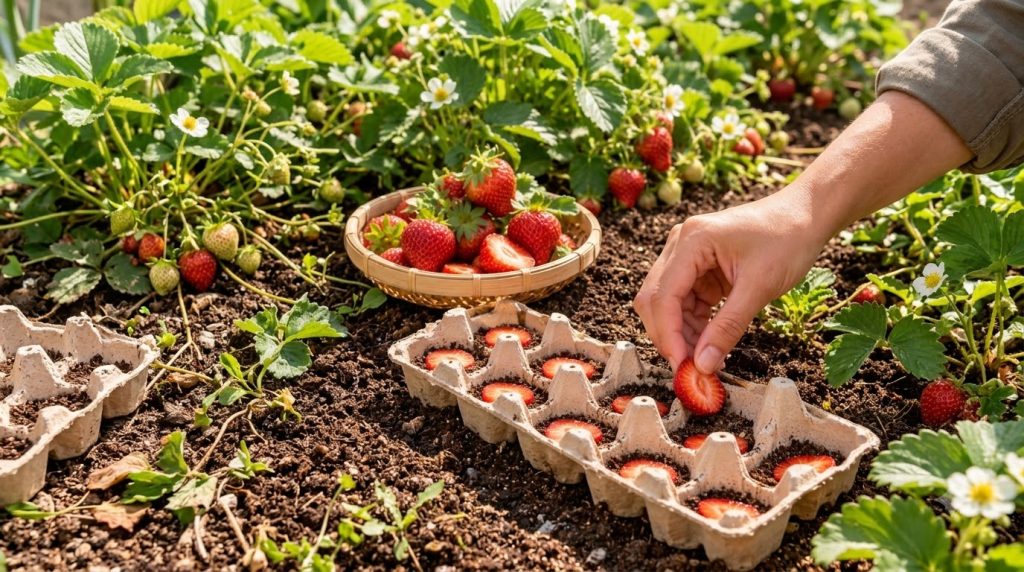
- Containers: Egg cartons are perfect for this! They provide individual cells and are biodegradable, making transplanting easier later. You can also use small seed-starting trays.
- Soil: Use a good quality, well-draining seed-starting mix. This light, sterile mix provides the ideal environment for delicate seedlings.
- Moisten: Lightly moisten your seed-starting mix before adding it to your chosen containers. It should be damp, not soggy.
3. Plant the Halves
- Placement: Place one strawberry half, cut-side down, onto the surface of the soil in each cell of your egg carton or tray. Gently press it down so the seeds make good contact with the soil.
- Light Cover (Optional): You can very lightly sprinkle a thin layer of soil or fine vermiculite over the strawberry halves, but it’s not strictly necessary. The main goal is good seed-to-soil contact.
4. Create a Humid Environment
- Cover: To maintain consistent moisture and warmth, cover your egg carton or tray with a clear plastic dome or even plastic wrap. This creates a mini-greenhouse effect.
- Ventilation: Lift the cover for a few minutes each day to allow for air circulation and prevent mold growth.
5. Provide the Right Conditions
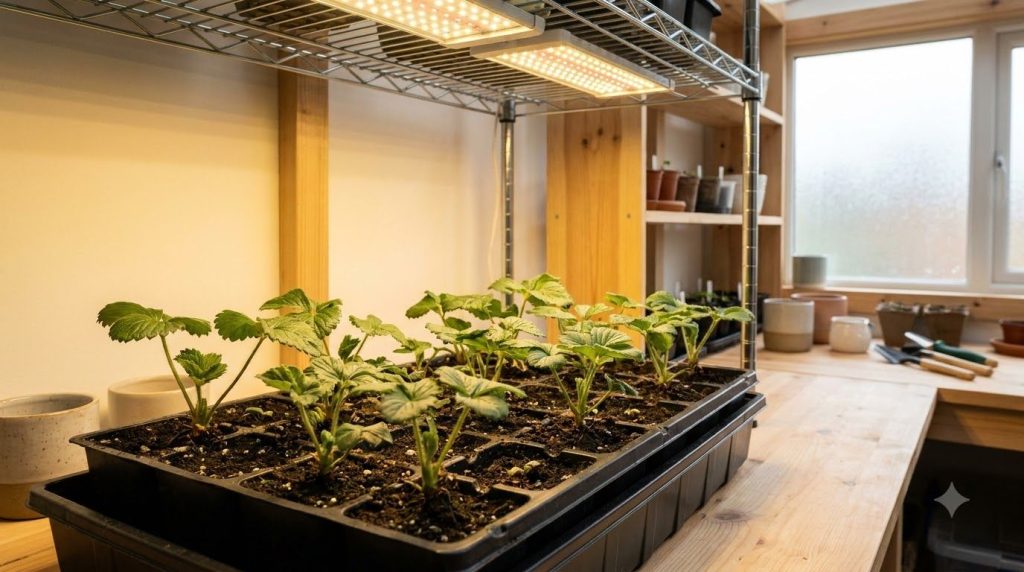
- Light: Place your propagation setup in a warm spot with bright, indirect sunlight. A south-facing window is often ideal, or under grow lights if natural light is insufficient.
- Moisture: Keep the soil consistently moist but never waterlogged. Use a spray bottle to mist the soil surface as needed.
- Germination: Be patient! Strawberry seeds can take anywhere from 2-4 weeks (sometimes longer) to germinate. You’ll start to see tiny green sprouts emerging.
6. Care for Your Seedlings and Transplant
- Thinning: Once seedlings are a few inches tall and have developed a couple of true leaves, you might need to thin them out if multiple sprouts emerged from one half. Choose the strongest seedling and carefully snip off the others at the soil line.
- Transplanting: When your strawberry seedlings are robust enough (about 3-4 inches tall with several sets of leaves), they are ready to be transplanted into larger pots or directly into your garden bed. Handle them gently to avoid disturbing their delicate roots.
Tips for a Sweet and Successful Harvest
- Soil Health: Strawberries thrive in rich, well-draining soil with a slightly acidic pH (5.5 to 6.5). Amend your garden beds with compost or aged manure before planting.
- Sunlight: Ensure your plants receive at least 6-8 hours of direct sunlight per day for optimal fruit production.
- Watering: Keep the soil consistently moist, especially during fruiting. Drip irrigation or soaker hoses work great to deliver water directly to the roots without wetting the foliage.
- Pest Control: Keep an eye out for common strawberry pests like slugs, birds, and aphids. Consider companion planting or netting to protect your precious berries.
- Fertilization: Feed your plants with a balanced fertilizer during their growing season, especially before flowering and fruiting.
Enjoy Your Homegrown Sweetness!
Watching your tiny strawberry seedlings grow into fruit-bearing plants is an incredibly rewarding experience. There’s immense satisfaction in biting into a strawberry that you’ve nurtured from a small seed. So, gather your supplies, pick your favorite strawberries, and embark on this delightful gardening adventure. Your future self (and your taste buds) will thank you for the abundance of homegrown sweetness!
Happy gardening!