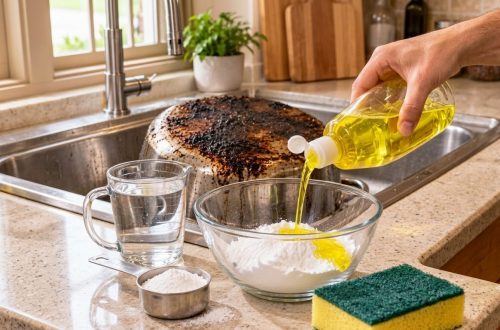
Ever stared into a pot or pan, defeated by a stubborn layer of burnt-on food? We’ve all been there. Whether it’s a forgotten stew or an overcooked sauce, those charred residues can seem impossible to remove, often leading to endless scrubbing, damaged cookware, and sheer frustration. But before you banish that pot to the back of the cupboard or, even worse, the trash, there’s a simple, budget-friendly DIY solution waiting in your pantry.
You don’t need harsh chemicals or expensive specialty cleaners to tackle the toughest pot stains. With a few common household ingredients – yellow dish soap, white vinegar, and baking soda – you can transform your grimy cookware back to its sparkling glory. This hack is not just easy; it’s incredibly effective, relying on the power of these everyday heroes to break down even the most stubborn char.
The Ultimate DIY Solution for Burnt Pots
This powerful cleaning trio works together to lift, dissolve, and scrub away burnt-on food without damaging your pots and pans. Here’s what you’ll need and how to do it.
What You’ll Need:
- ½ cup baking soda
- 1 cup white vinegar (also known as alcohol vinegar in some regions)
- A generous squirt of yellow dish soap (about 1-2 tablespoons)
- Hot water
- Non-abrasive sponge or brush
Step-by-Step Guide to a Sparkling Clean Pot:
- Remove Loose Debris: Start by scraping out any loose, burnt food particles from the pot. Don’t worry about getting it all; just remove what comes off easily.
- Add Baking Soda: Sprinkle the ½ cup of baking soda liberally over the burnt area at the bottom of the pot. Ensure it’s well-covered.
- Pour in Dish Soap: Add a good squirt of yellow dish soap directly over the baking soda.
- Introduce Vinegar: Carefully pour the 1 cup of white vinegar into the pot. You’ll notice an immediate fizzing reaction as the baking soda and vinegar react. This effervescence helps loosen the burnt residue.
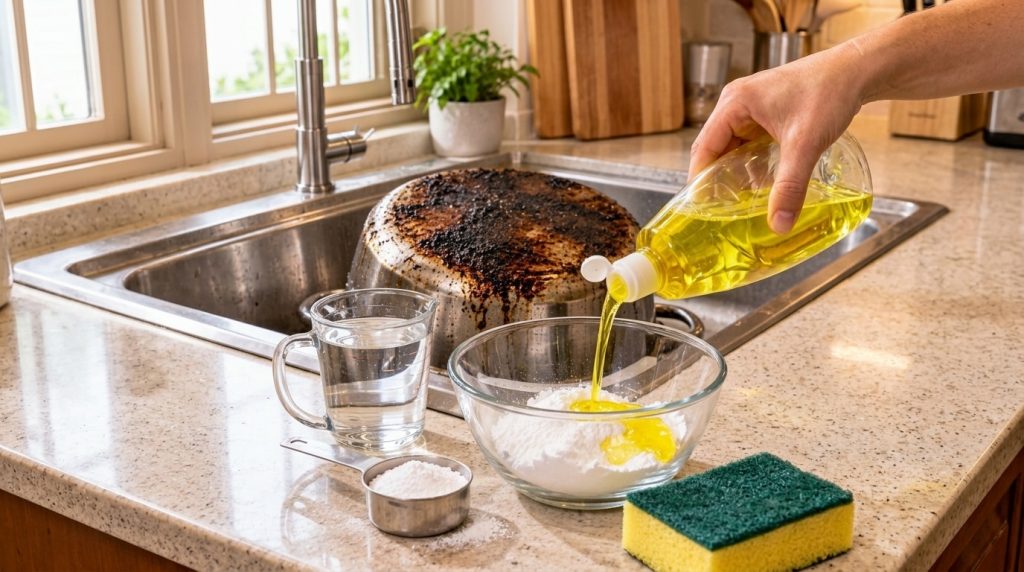
- Add Hot Water & Soak: Fill the pot with enough hot water to cover the burnt areas completely. Let the mixture sit and soak for at least 30 minutes, or for very tough stains, several hours or even overnight. The longer it soaks, the easier the grime will lift.
- Gentle Scrub: After soaking, drain the water (be careful, it might be hot!). Using a non-abrasive sponge or brush, gently scrub the burnt areas. You should find that the charred bits and stains lift away much more easily than before.
- Rinse and Repeat (If Necessary): Rinse the pot thoroughly with warm water. For extremely stubborn spots, you might need to repeat the process, focusing on those remaining areas.
Why This Trio Works Wonders: The Science Behind the Sparkle
- Baking Soda (Sodium Bicarbonate): This mild abrasive acts as a gentle scouring agent, helping to lift burnt residue without scratching your cookware. It’s also alkaline, which helps to neutralize the acids in burnt food, breaking down their bonds.
- White Vinegar (Acetic Acid): As an acid, vinegar works to dissolve mineral deposits and some types of burnt-on grease. When combined with baking soda, it creates a fizzing action (carbon dioxide gas bubbles) that provides a mechanical lift, physically separating the grime from the pot’s surface.
- Yellow Dish Soap: Dish soap is a powerful degreaser and surfactant. It breaks down oils and grease, allowing them to mix with water and be rinsed away. It also helps the other ingredients penetrate and loosen the burnt layers more effectively.
Pro Tips for Tackling Tough Stains & Maintaining Your Cookware
- For Very Stubborn Stains: After soaking, you can try gently heating the mixture in the pot on the stove for 5-10 minutes. The heat can sometimes further activate the ingredients and loosen the most resistant grime.
- Preventing Future Burnt Pots: Always use a suitable cooking temperature, stir frequently, and keep an eye on your food. Using heavier-bottomed pots can also help distribute heat more evenly and reduce scorching.
- Always Test First: While this method is generally safe for most pots, if you have very delicate or non-stick cookware, always test on an inconspicuous area first, or refer to the manufacturer’s cleaning instructions.
Safety First!
Always ensure good ventilation when using vinegar, as its fumes can be strong. Avoid inhaling directly. Wear gloves if you have sensitive skin to protect your hands from prolonged contact with the cleaning solution.
Say goodbye to scrubbing tirelessly and hello to sparkling clean pots with this fantastic DIY hack. It’s proof that sometimes, the best solutions are the simplest ones, found right in your own home. Give it a try next time you have a burnt pot emergency and marvel at the results!