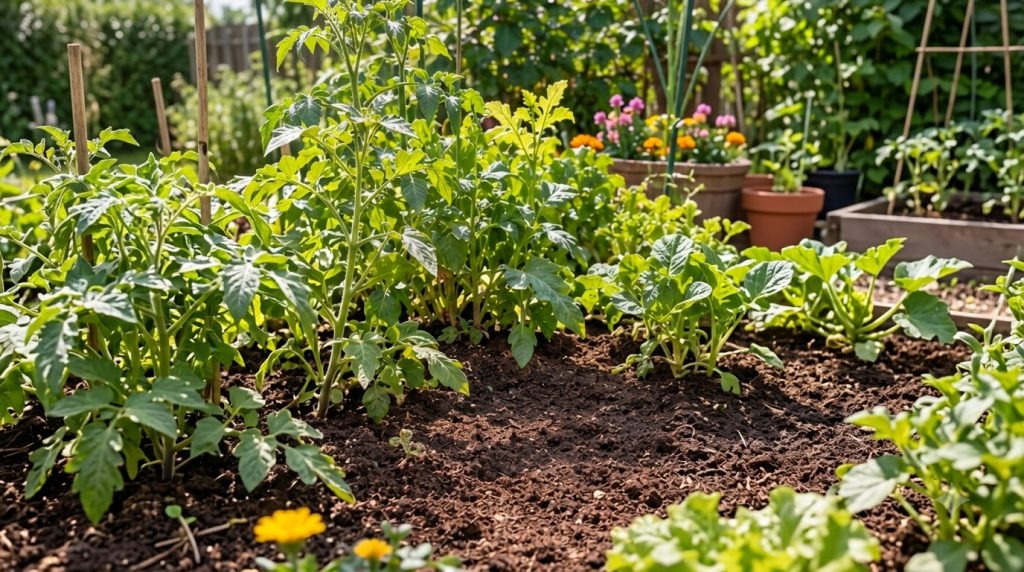
Are you looking for ways to boost your garden’s health, reduce waste, and save water? Imagine turning your everyday kitchen scraps into a powerful elixir for your plants and giving them a consistent drink without constant effort. It’s not magic, it’s sustainable gardening, and it’s easier than you think! At Garden – L. Quyên, we’re all about simple, effective, and eco-friendly solutions, and today we’re diving into the wonderful world of DIY composting and self-watering irrigation systems.
Many gardeners face common challenges: plants that don’t thrive, the constant need for watering, and the expense of store-bought fertilizers. Our solution tackles all these issues by harnessing the power of kitchen waste and clever design. Get ready to transform your gardening experience!
The Magic of Composting: Turning Kitchen Scraps into Garden Gold
Composting is one of the most rewarding practices for any gardener. It’s the natural process of recycling organic matter—like leaves and food scraps—into a rich soil amendment known as compost. This ‘black gold’ is packed with nutrients, improves soil structure, and helps retain moisture, leading to healthier, happier plants.
Why Compost?
- Nutrient-Rich Soil: Compost slowly releases essential nutrients, feeding your plants naturally.
- Improved Soil Structure: It enhances aeration in heavy clay soils and water retention in sandy soils.
- Reduces Waste: Divert kitchen and yard waste from landfills, reducing your environmental footprint.
- Suppresses Pests and Diseases: Healthy soil and plants are more resilient.
- Saves Money: Less need for expensive chemical fertilizers and soil amendments.
What You’ll Need for Your DIY Composter
You can make a simple composter from common household items:
- A plastic storage bin with a lid (10-20 gallon size works well)
- Drill with a medium-sized bit (1/2 to 1 inch)
- Shovel or trowel
- Your kitchen scraps and yard waste
Step-by-Step: Building Your Simple Composter
- Drill Holes: Using your drill, create plenty of holes (about every 4-6 inches) on all sides of the bin, including the bottom and lid. These holes are crucial for aeration, which speeds up the decomposition process and prevents odors.
- Choose a Location: Place your composter in a shaded or semi-shaded spot in your garden, ideally on bare soil. This allows beneficial microorganisms and worms to enter and exit.
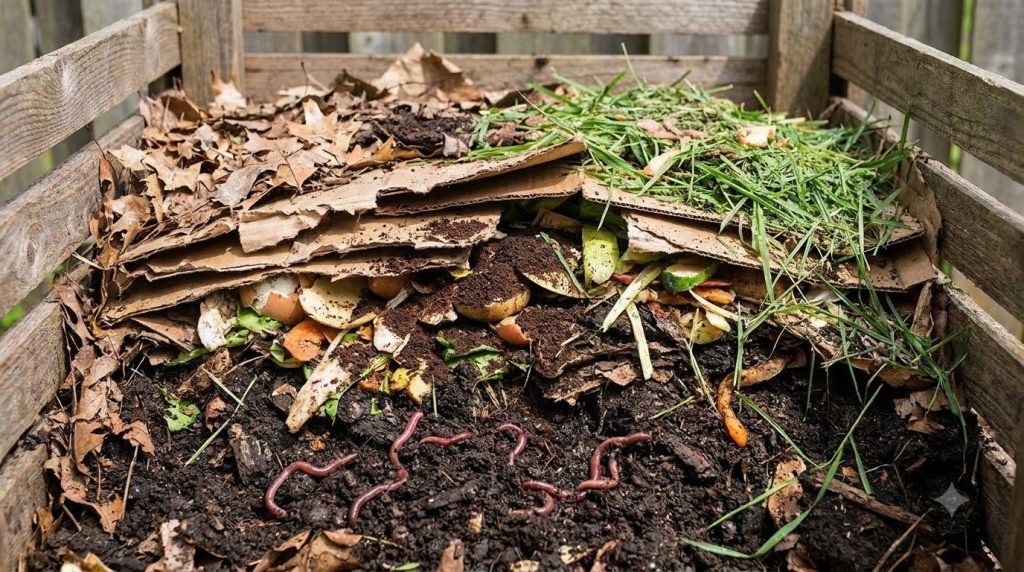
- Start Layering: Begin with a layer of ‘brown’ materials (e.g., dry leaves, straw, shredded paper). Then add a layer of ‘green’ materials (e.g., kitchen scraps, grass clippings). Aim for a 2:1 brown to green ratio.
- Keep it Moist: The compost pile should be consistently damp, like a wrung-out sponge. Add water if it feels dry.
- Turn Regularly: Every week or two, use a shovel or trowel to mix the contents. This introduces oxygen and helps the composting process along.
What to Compost (and What Not To!)
- Do Compost: Fruit and vegetable scraps, coffee grounds, tea bags, eggshells, grass clippings, dry leaves, shredded newspaper, plant trimmings.
- Don’t Compost: Meat, dairy products, oily foods (attract pests), diseased plants, pet waste, plastics, or metals.
Self-Watering Systems: Consistent Hydration for Thriving Plants
One of the biggest challenges for gardeners is ensuring consistent moisture for their plants, especially during hot weather or when they’re away. A DIY self-watering system provides a continuous water supply directly to the plant’s roots, preventing both over- and under-watering.
Why Self-Watering?
- Consistent Moisture: Plants receive water as they need it, reducing stress and promoting stronger growth.
- Water Conservation: Minimizes evaporation and runoff, making efficient use of every drop.
- Time-Saving: Less frequent manual watering, giving you more time to enjoy your garden.
- Deeper Root Growth: Encourages roots to grow deeper, making plants more resilient.
Materials for Your DIY Irrigation System
This system is often made from repurposed plastic bottles, making it incredibly cost-effective:
- Empty plastic bottles (1-2 liter size works well)
- Drill or sharp knife
- Trowel or small shovel
Setting Up Your Self-Watering System
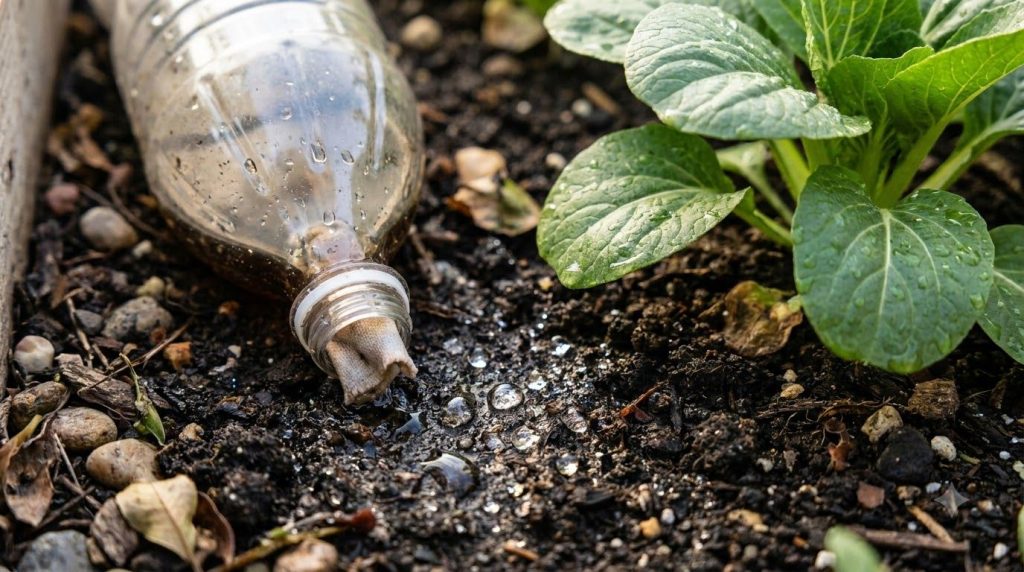
- Prepare the Bottle: Remove the label from a plastic bottle. If using a drill, make several small holes (1/8 inch) around the bottom third of the bottle and a few in the cap. If using a knife, carefully cut small slits.
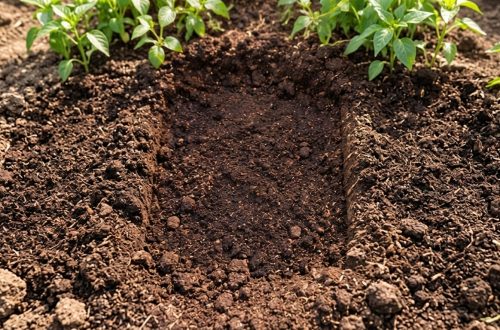
- Dig a Hole: Near the base of the plant you wish to water, dig a hole large enough to accommodate the bottle, leaving about 2-3 inches of the bottle above the soil line.
- Bury the Bottle: Place the prepared bottle into the hole, cap-side down. Backfill with soil, making sure it’s snug around the bottle.
- Fill with Water: Remove the cap (if it’s not already removed) and fill the bottle with water. Replace the cap loosely to prevent debris from entering but allow air exchange. The water will slowly seep out through the holes, hydrating the surrounding soil.
- Refill as Needed: Check the water level every few days and refill when it’s low.
Combining Composting and Self-Watering for Ultimate Garden Health
Imagine the power of these two systems working together! You can even create a ‘compost tea’ by letting compost steep in water before adding it to your self-watering bottles, delivering a continuous stream of nutrient-rich hydration directly to your plants. This synergistic approach ensures your plants receive both the consistent moisture and vital nutrients they need to truly flourish.
Tips for Success:
- Location, Location, Location: Place your composter in a spot that’s convenient for adding scraps but out of the way of daily activities. For irrigation, place bottles strategically to ensure all plants get enough water.
- Balance is Key (Compost): Remember the brown-to-green ratio for composting to avoid odors and ensure efficient breakdown.
- Monitor and Adjust: Pay attention to your plants. If the soil around your self-watering bottle is still too dry, add more bottles or consider a larger bottle.
- Cleanliness (Irrigation): Occasionally clean your self-watering bottles to prevent algae buildup.
- Be Patient: Composting takes time, but the rewards are well worth the wait.
Get Started Today!
Embracing DIY composting and self-watering irrigation systems is a fantastic step towards a more sustainable and successful garden. You’ll not only see your plants thrive like never before but also feel great about reducing waste and saving resources. These simple tricks are perfect for anyone looking to grow healthy plants, create a beautiful garden, and enjoy a greener lifestyle without breaking the bank or spending hours on upkeep.
So, why wait? Gather your kitchen waste and empty bottles, and give these amazing DIY solutions a try. Your garden (and the planet) will thank you! We’d love to hear about your experiences and see your thriving gardens. Happy gardening, everyone!