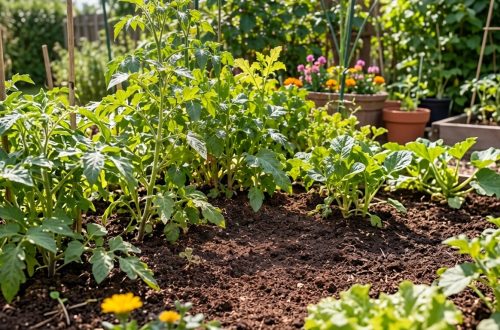
Are you looking for a simple, eco-friendly way to boost your garden’s health and reduce household waste? Look no further than a DIY compost pit! Composting is a fantastic method to transform kitchen scraps and garden waste into ‘black gold’ – nutrient-rich soil that your plants will absolutely love. It’s easier than you might think, and today, we’re going to show you how to create your very own compost pit using common household items, including an old tire and a cardboard box!
Composting not only enriches your soil, leading to healthier, more vibrant plants, but it also significantly reduces the amount of waste sent to landfills. It’s a win-win for your garden and the planet!
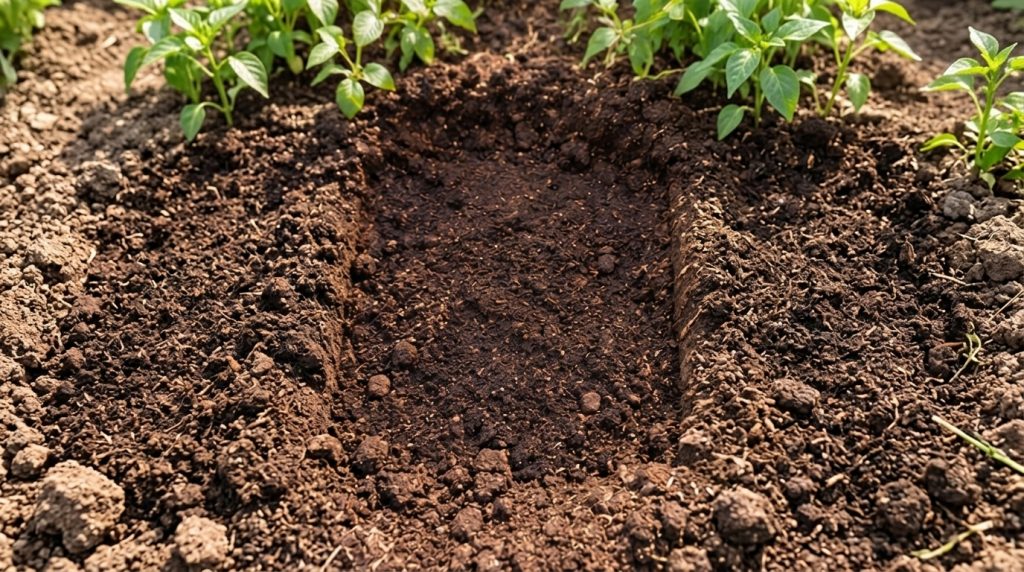
Why Compost? The Benefits Are Abundant!
Before we dive into the ‘how,’ let’s quickly chat about the ‘why.’ Composting offers incredible advantages for gardeners:
- Nutrient-Rich Soil: Compost adds essential nutrients, microorganisms, and organic matter to your soil, improving its structure and fertility.
- Water Retention: Soil amended with compost holds water better, meaning you’ll need to water your plants less frequently.
- Pest and Disease Resistance: Healthy soil leads to healthy plants, which are naturally more resistant to pests and diseases.
- Waste Reduction: Divert food scraps and yard waste from landfills, reducing methane emissions and your environmental footprint.
- Cost Savings: Reduce the need for chemical fertilizers and soil amendments, saving you money in the long run.
Materials You’ll Need
One of the best parts about this DIY compost pit is that it utilizes materials you might already have lying around:
- An old car tire (for containment and heat retention)
- A large cardboard box (as a base or for layering)
- Organic waste (kitchen scraps, garden trimmings)
- Some native soil or existing compost
- Water
- A shovel or garden fork
Step-by-Step Guide to Building Your Easy DIY Compost Pit
Step 1: Choose the Right Location
Select a spot in your garden that is well-drained and receives some shade, especially during the hottest part of the day. This helps keep the compost moist and prevents it from drying out too quickly. It should also be conveniently located for adding scraps.
Step 2: Prepare Your Base with a Cardboard Box
Lay a large cardboard box directly on the ground in your chosen spot. This provides a good initial layer, helps smother any weeds underneath, and will eventually break down to become part of your compost. Ensure the box is free of plastic tape or labels.
Step 3: Position the Old Tire
Place your old car tire directly on top of the cardboard box. The tire will act as a simple, effective container, holding the compost material together and helping to retain heat, which is crucial for the decomposition process. If you have more than one tire, you can stack them for a deeper pit.
Step 4: Start Layering Your Compost
Now, it’s time to add your ingredients! Composting works best with a good balance of ‘greens’ (nitrogen-rich) and ‘browns’ (carbon-rich).
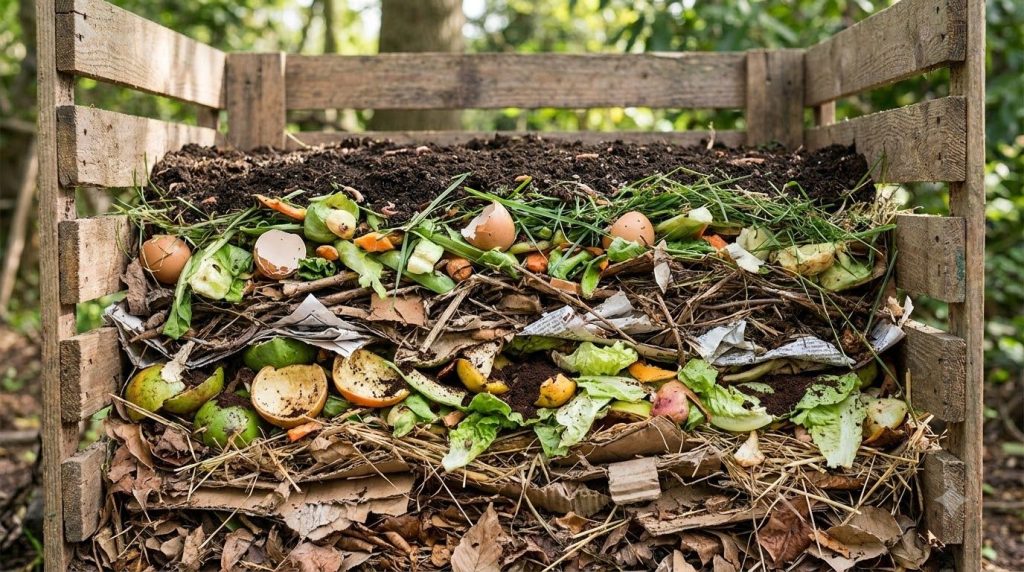
- Browns: These are dry, carbon-rich materials like dead leaves, straw, wood chips, shredded newspaper, and, of course, your cardboard box base.
- Greens: These are moist, nitrogen-rich materials like fruit and vegetable scraps, grass clippings, coffee grounds, and tea bags.
Start with a layer of browns (about 6-8 inches), then add a layer of greens (about 3-4 inches). Top this with a thin layer of native soil or existing compost, which introduces beneficial microbes that kickstart the decomposition. Repeat this layering process.
Step 5: Keep It Moist (Like a Damp Sponge)
Compost needs moisture to break down effectively. Water each layer as you add it, or periodically sprinkle water over the pile, ensuring it’s as damp as a wrung-out sponge – not soaking wet, but definitely not dry.
Step 6: Turn Your Compost Regularly
Aeration is vital for active composting. Use a shovel or garden fork to turn your compost pile every week or two. This introduces oxygen, which helps the beneficial microbes do their job faster and prevents odors. The tire makes turning relatively easy by allowing you to access the sides.
What to Compost (and What to Avoid)
Compost These ‘Greens’:
- Fruit and vegetable scraps
- Coffee grounds and filters
- Tea bags
- Grass clippings (in moderation)
- Plant trimmings (non-diseased)
- Eggshells
Compost These ‘Browns’:
- Dry leaves
- Straw or hay
- Shredded newspaper and cardboard (plain, non-glossy)
- Wood chips or sawdust (untreated)
- Pine needles
Avoid Composting These:
- Meat, bones, and dairy products (attract pests, create odors)
- Oils and greasy foods
- Pet waste (contains harmful pathogens)
- Diseased plants (can spread disease)
- Weeds with seeds (can spread weeds)
- Chemically treated wood or plants
Troubleshooting Common Composting Issues
- Smelly Compost: Usually means too much green material or not enough air. Turn it more frequently and add some browns.
- Dry Compost: Not enough moisture. Add water slowly and turn.
- Not Breaking Down: Could be too dry, lacking greens, or not enough turning. Adjust moisture, add nitrogen-rich materials, and aerate.
Harvesting Your Black Gold
Depending on your materials and how actively you manage your pit, you can expect finished compost in anywhere from 2 months to a year. You’ll know it’s ready when it’s dark brown, crumbly, smells earthy, and you can no longer recognize the original materials. Simply scoop out the finished compost from the bottom or sides of your tire pit and spread it around your plants, mix it into garden beds, or use it to pot new plants!
Creating your own compost pit is a rewarding project that enriches your garden and supports a more sustainable lifestyle. With just a few simple steps and readily available materials like an old tire and a cardboard box, you can start transforming waste into a valuable resource for your plants. Happy composting!