Clear Your Paths: The Ultimate DIY Eco-Friendly Weed Killer with Vinegar & Salt
Tired of stubborn weeds taking over your garden paths, driveways, and patio cracks? Reclaiming your outdoor spaces doesn’t have to mean reaching for harsh chemical herbicides. There’s an incredibly simple, natural, and budget-friendly solution right in your pantry! Discover how to create a powerful DIY eco-friendly weed killer using just two common household ingredients: white vinegar and salt.
Why Chemical Weed Killers Aren’t Always the Answer
Many homeowners rely on commercial weed killers for quick results. However, these products often contain synthetic chemicals that can pose risks to children, pets, beneficial insects, and the environment. Runoff can contaminate local water sources, and repeated use can degrade soil health over time. For those seeking a greener, safer approach to garden maintenance, natural alternatives are a game-changer.
The Power Duo: White Vinegar & Salt
Separately, these ingredients are kitchen staples. Together, they form a formidable foe against unwanted greenery. Understanding how each works reveals the science behind this effective home hack.
White Vinegar: The Dehydrator
The secret weapon in white vinegar is acetic acid. When applied to plant foliage, this acid rapidly breaks down cell walls, causing the plant to lose moisture. The leaves and stems quickly dehydrate, shrivel, and die. For best results, use standard household white vinegar, which typically contains 5% acetic acid. Horticultural vinegar, with a higher concentration of up to 20%, is even more potent but requires extra caution due to its stronger acidic nature.
Salt: The Soil Sterilizer (Use with Caution)
Regular table salt (sodium chloride) or Epsom salts (magnesium sulfate) can enhance the weed-killing power of vinegar. Salt works by drawing out moisture from plant cells, much like vinegar, but it also has a significant effect on the soil. A high concentration of salt in the soil can make it difficult for plants to absorb water and nutrients, essentially sterilizing the area and preventing future growth. While effective, this property means salt should be used judiciously, especially in areas where you eventually want desirable plants to grow.
Your DIY Eco-Friendly Weed Killer Recipe
Ready to tackle those pesky weeds? Here’s how to whip up your own batch:
What You’ll Need:
- 1 gallon (3.8 liters) of white vinegar (5% acetic acid)
- 1 cup (240g) of salt (table salt or Epsom salt)
- Large spray bottle or garden sprayer
- Funnel (optional, but recommended for easy pouring)
- Gloves (for skin protection, especially if using horticultural vinegar)
Step-by-Step Instructions:
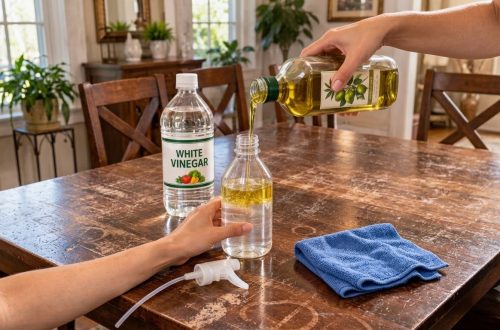
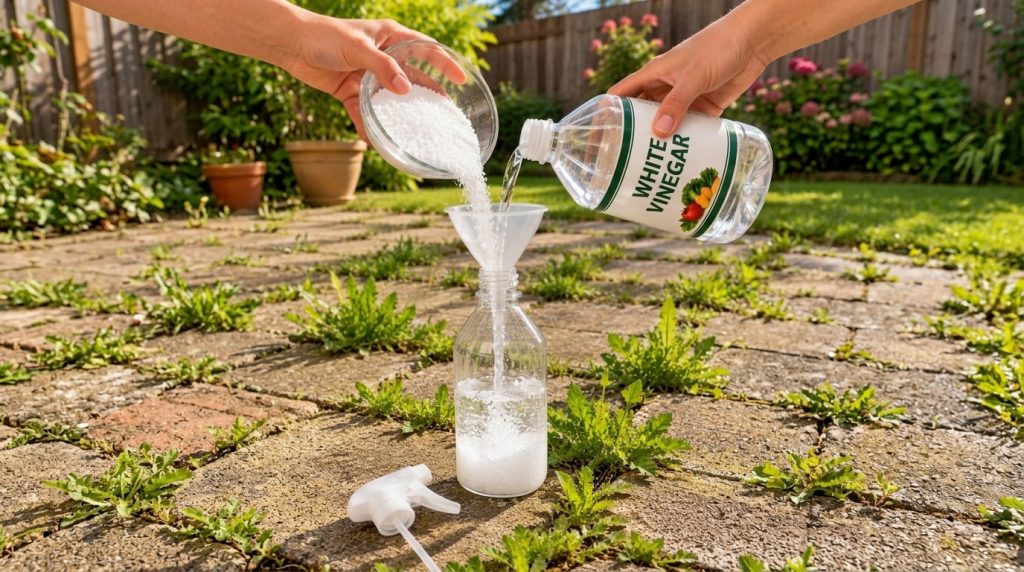
- Combine Ingredients: Carefully pour the gallon of white vinegar into your spray bottle or garden sprayer.
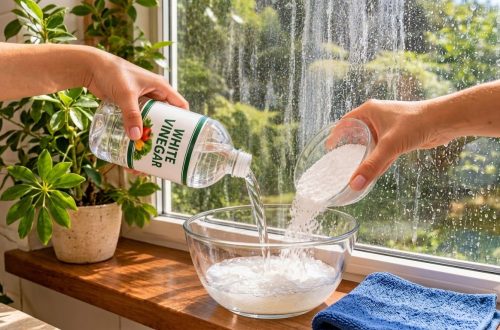
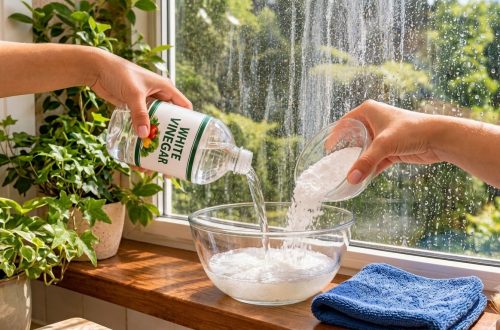
- Add Salt: Using a funnel if needed, add the 1 cup of salt to the vinegar in the sprayer.
- Shake Well: Secure the lid tightly and shake the mixture vigorously until the salt is fully dissolved. You want a uniform solution for effective application.
How to Apply for Best Results:
- Choose Your Day Wisely: Apply on a warm, sunny day with no rain in the forecast for at least 24-48 hours. The sun’s heat helps activate the solution and dries out weeds faster.
- Target Precisely: Spray the mixture directly onto the leaves and stems of the weeds you want to eliminate. Be careful to avoid overspray onto desirable plants, as this solution will harm them too.
- Saturate Thoroughly: Ensure the weeds are well-saturated with the solution. For stubborn or larger weeds, you may need a more generous application.
- Repeat if Necessary: While many weeds will show results within a day or two, some persistent varieties might require a second application a week later.
Important Considerations & Tips
While this DIY weed killer is effective, keep these points in mind for safe and successful weed control:
Target Weeds, Not Plants
This solution is non-selective, meaning it will kill any plant it comes into contact with. Use it specifically for weeds in non-garden areas like paving cracks, driveways, fence lines, or gravel paths where you don’t intend to grow anything else. Avoid using it in garden beds or lawns.
Timing is Key
Younger, smaller weeds are easier to kill. Tackle them early before they establish deep root systems. Applying on a dry, sunny day enhances the efficacy of the treatment.
Soil Impact
Repeated or excessive use of salt-based weed killers can alter soil composition, making it challenging for any plant life to thrive there in the future. For areas where you might eventually want to plant, consider using just vinegar or a more targeted approach.
Persistence Pays Off
Natural weed control often requires a bit more patience and consistency than chemical options. Stay vigilant, and reapply as new weeds emerge.
Beyond the Spray Bottle: Other Natural Weed Control Methods
For a truly eco-friendly garden, consider integrating other natural methods alongside your DIY spray:
- Hand-pulling: The most organic method for selective weed removal.
- Mulching: A thick layer of mulch (straw, wood chips, shredded leaves) suppresses weed growth by blocking sunlight.
- Weed Barriers: Landscape fabric can be an effective barrier under gravel or pathways.
- Boiling Water: Pouring boiling water directly onto weeds can effectively kill them, especially in cracks and hardscaping.
Reclaim Your Garden, Naturally!
With this simple DIY eco-friendly weed killer, you have a powerful tool to maintain a beautiful, weed-free outdoor space without resorting to harsh chemicals. It’s a testament to the power of everyday ingredients and a step towards a healthier home and planet. Give it a try and enjoy your pristine paths!