There’s a unique joy that comes from creating something delicious with your own hands, especially when it involves the comforting aroma of baking. “Sweet Beginnings in the Kitchen” isn’t just about following a recipe; it’s about embracing the simple beauty of ingredients coming together and establishing a healthy habit of homemade goodness. This article serves as your guide to starting your journey into making sweet treats, focusing on foundational principles, simple ingredients, and the satisfaction of crafting something delightful from scratch. It’s perfect for anyone looking to bring more homemade sweetness and mindful cooking into their life, offering a chance to control ingredients and savor every bite.
Why You’ll Love Starting Your Sweet Kitchen Journey
Embarking on the path of making your own sweet treats offers a wealth of rewards beyond just a delicious outcome. Here are a few reasons why you’ll love it:
- Mindful & Rewarding Experience: The process of baking can be incredibly therapeutic, allowing you to focus on the moment and enjoy the creative process.
- Control Over Ingredients: You decide what goes in, allowing you to opt for healthier sugars, whole grains, and fresh ingredients, avoiding unwanted additives.
- Simple, Wholesome Ingredients: Many delightful sweet treats require only a few basic pantry staples, making it accessible and economical.
- Customizable to Your Taste: Once you understand the basics, you can easily adjust flavors, add-ins, and sweetness levels to suit your preferences.
- A Sense of Accomplishment: There’s immense satisfaction in sharing something you’ve made yourself, knowing it’s crafted with care.
- Family-Friendly Activity: Baking is a wonderful way to involve loved ones, creating memories and teaching valuable life skills.
Essential Sweet Kitchen Ingredients
While specific recipes will call for precise quantities, understanding the fundamental ingredients for sweet baking is your first step. Focus on having these categories on hand, and always choose the freshest and highest quality you can find.
- Dairy: Milk (whole, skim, or plant-based), butter, eggs.
- Sweeteners: Granulated sugar, brown sugar, honey, maple syrup.
- Flours: All-purpose flour, whole wheat flour, oat flour, almond flour.
- Leavening Agents: Baking powder, baking soda, yeast.
- Fats: Vegetable oil, coconut oil, unsalted butter.
- Flavorings: Vanilla extract, cocoa powder, spices (cinnamon, nutmeg), salt.
- Optional Add-ins: Chocolate chips, nuts, dried fruits, fresh fruits.
Ingredient Notes
- Milk: The fat content in milk (whole, 2%, skim) can affect the texture of baked goods. For richer, moister results, whole milk is often preferred. Plant-based milks like almond or oat milk can often be substituted, but may alter the final texture slightly.
- Sugar: Granulated sugar provides sweetness and structure. Brown sugar adds moisture and a caramel-like flavor. For a healthier touch, consider reducing the amount of sugar called for in a recipe or experimenting with natural sweeteners like honey or maple syrup, keeping in mind they will also add liquid.
- Flour: All-purpose flour is versatile for most baking. For added fiber and nutrients, a portion of all-purpose flour can often be replaced with whole wheat flour, though this may result in a denser product.
- Eggs: Eggs act as a binder, leavener, and add moisture and richness. For best results in baking, use large eggs at room temperature.
- Butter vs. Oil: Butter provides a rich flavor and tender crumb, while oils contribute moisture. The choice often depends on the desired texture and flavor profile of the sweet treat.
Equipment You’ll Need
Starting your sweet kitchen journey doesn’t require a fully stocked professional kitchen. Here’s a list of essential tools that will help you achieve great results:
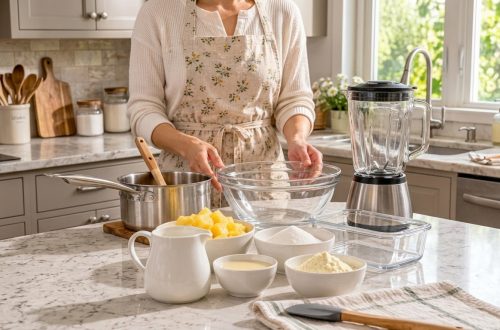
- Mixing Bowls (various sizes)
- Measuring Cups and Spoons (for dry and liquid ingredients)
- Whisk
- Spatula (rubber or silicone)
- Baking Sheets
- Muffin Tin or Cake Pans (depending on what you bake)
- Oven Mitts
- Cooling Rack
- Parchment Paper (optional, but very helpful)
How to Start Your Sweet Kitchen Journey: Foundational Steps
While every recipe is unique, most sweet baking projects follow a similar sequence of foundational steps. Mastering these general principles will prepare you for any sweet recipe you choose.
- Read the Recipe Thoroughly: Before you even gather ingredients, read the entire recipe from start to finish. This helps you understand the process, identify any special equipment needed, and anticipate potential challenges.
- Gather and Prepare Ingredients (Mise en Place): Measure all your ingredients precisely and have them ready before you begin mixing. This often includes bringing butter and eggs to room temperature, which can significantly impact the final texture of your baked goods.
- Preheat Your Oven: Ensure your oven is fully preheated to the correct temperature before you put anything in. An oven that isn’t hot enough can lead to uneven baking and undesirable textures.
- Combine Dry Ingredients: In a medium bowl, whisk together all dry ingredients (flour, baking powder/soda, salt, spices). This ensures the leavening agents are evenly distributed throughout the mixture.
- Combine Wet Ingredients: In a separate larger bowl, cream together softened butter and sugar, or whisk together wet ingredients like eggs, milk, oil, and vanilla extract until well combined.
- Combine Wet and Dry: Gradually add the dry ingredients to the wet ingredients, mixing until just combined. Overmixing can develop the gluten in flour too much, leading to tough baked goods.
- Add Mix-ins (if applicable): Gently fold in any chocolate chips, nuts, or fruits at the end of the mixing process.
- Prepare Your Baking Pan: Grease and flour your pan, or line it with parchment paper as specified by your recipe to prevent sticking.
- Bake According to Directions: Place your prepared pan in the preheated oven. Monitor closely, but resist opening the oven door too often, especially in the early stages, as this can cause items to fall.
- Check for Doneness: Use the cues provided in your recipe, such as a toothpick inserted into the center coming out clean, or edges turning golden brown.
- Cool: Allow baked goods to cool on a wire rack. This prevents them from becoming soggy and allows them to set properly.
Pro Tips for the Best Results
Elevate your homemade sweet treats with these expert tips:
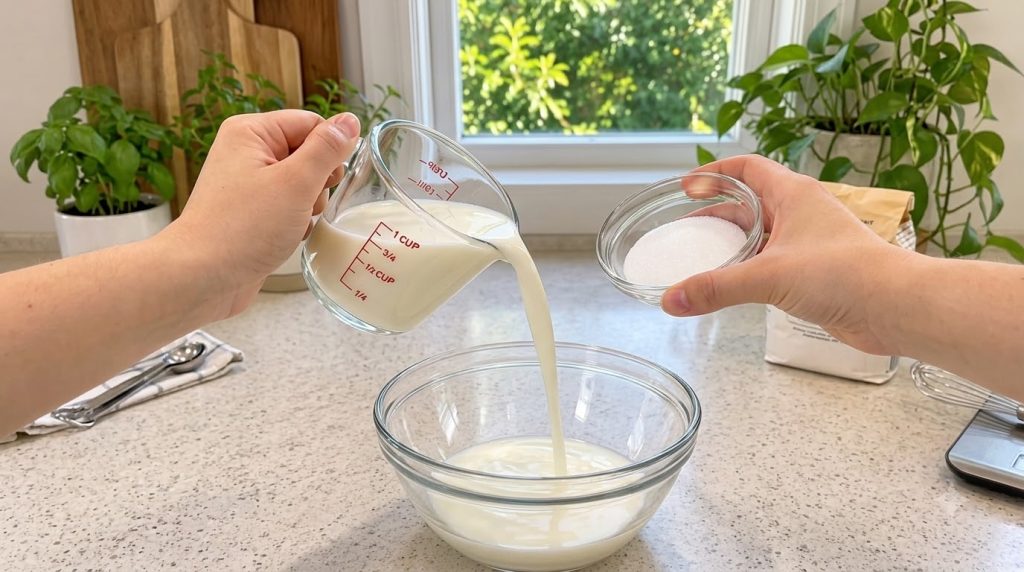
- Accuracy is Key: Baking is a science. Use proper measuring techniques for both dry and liquid ingredients. Spoon flour into a dry measuring cup and level it off with a straight edge; don’t scoop directly from the bag.
- Room Temperature Matters: For most sweet recipes, butter and eggs should be at room temperature. This allows them to emulsify better with other ingredients, creating a smoother batter and a finer crumb.
- Don’t Overmix: Once you add flour, mix only until just combined. Overmixing develops gluten, leading to tough cookies, cakes, or muffins.
- Invest in an Oven Thermometer: Many home ovens run hot or cold. An inexpensive oven thermometer ensures your oven is truly at the temperature you set.
- Use Fresh Leavening: Baking powder and baking soda lose their potency over time. Check their freshness by mixing a small amount with water (baking soda) or hot water (baking powder) – it should bubble vigorously.
- Parchment Paper is Your Friend: Lining baking sheets or pans with parchment paper makes cleanup a breeze and ensures nothing sticks.
- Cool Completely: Resist the urge to cut into cakes or loaves while they’re hot. Cooling allows the structure to set and flavors to meld, preventing crumbling.
Common Mistakes to Avoid
Even seasoned bakers encounter challenges. Being aware of these common pitfalls can help you avoid them:
- Incorrectly Measuring Flour: Scooping flour directly from the bag can pack it down, resulting in too much flour and a dry, dense product. Always spoon it into the measuring cup and level.
- Over-Creaming Butter and Sugar: While creaming is important for aeration, over-creaming can incorporate too much air, leading to a collapse during baking or an overly open texture. Cream until light and fluffy, not excessively long.
- Opening the Oven Door Too Early: Especially for cakes, opening the oven door during the first two-thirds of baking can cause them to sink as the internal structure hasn’t fully set.
- Under-Baking: A slightly under-baked item might seem moist, but it can quickly become gummy or fall apart. Always check for doneness using a toothpick or visual cues.
- Forgetting to Grease and Flour Pans: This is a simple step that, when skipped, leads to sticky situations and broken baked goods.
Variations & Substitutions for Healthier Sweets
Once comfortable with basic baking, feel free to experiment to tailor recipes to your taste and health goals:
- Sweetener Swaps: Replace a portion of granulated sugar with natural alternatives like applesauce (reducing other liquids) or mashed ripe bananas. Stevia or erythritol can also be used, but may require recipe adjustments due to differences in volume and how they interact with other ingredients.
- Flour Alternatives: Experiment with whole wheat flour for added fiber, or nut flours like almond or coconut flour for gluten-free options and different textures. These often require liquid adjustments.
- Fat Reductions: In some recipes, you can reduce the amount of butter or oil by a small percentage (e.g., 10-20%) without significant impact, or substitute with Greek yogurt or unsweetened applesauce in certain contexts.
- Flavor Boosts: Add zest from citrus fruits, extra vanilla extract, a pinch of sea salt, or different spices like cardamom or ginger for complexity without adding extra sugar.
- Healthy Add-ins: Incorporate finely grated zucchini or carrots, berries, or chopped nuts and seeds for added nutrients and texture.
Serving Suggestions
Homemade sweet treats are wonderful on their own, but can also be enhanced:
- Enjoy warm with a scoop of your favorite ice cream or a dollop of whipped cream.
- Serve alongside a hot cup of coffee, tea, or a glass of cold milk.
- Pair with fresh berries or a simple fruit compote for a lighter, refreshing touch.
- A dusting of powdered sugar or a light drizzle of a simple glaze can add an elegant finish.
Storage & Reheating
Proper storage ensures your homemade sweet treats stay fresh and delicious:
- Room Temperature: Most cakes, cookies, and muffins can be stored in an airtight container at room temperature for 2-3 days. Ensure they are completely cool before storing to prevent condensation and sogginess.
- Refrigerator: Items with fresh fruit fillings, cream cheese frosting, or dairy-heavy components should be refrigerated in an airtight container for up to 5 days.
- Freezer: Many baked goods, like cookies, muffins, and some cakes, freeze beautifully. Wrap them tightly in plastic wrap and then in aluminum foil, or place in a freezer-safe bag. They can last for 1-3 months. Thaw at room temperature or gently reheat.
- Reheating: Individual portions can often be gently warmed in a microwave for 15-30 seconds, or in a toaster oven for a few minutes until just warm. This can help restore a freshly baked texture.
FAQ
Q: What is the most important thing for a beginner baker to remember?
A: Read the recipe carefully from start to finish before you begin. Understanding the steps and having all your ingredients measured and ready (mise en place) will set you up for success.
Q: Why are my baked goods dense or tough?
A: This is often caused by overmixing the batter, especially after adding flour. Overmixing develops gluten, leading to a tough texture. Mix only until the ingredients are just combined.
Q: Can I reduce the sugar in a recipe?
A: Yes, in many recipes you can reduce the sugar by 10-20% without significantly affecting the texture. For larger reductions or substitutions, you might need to adjust other ingredients or expect a different outcome.
Q: Why did my cake sink in the middle?
A: Common causes include opening the oven door too early, too much leavening agent, or incorrect oven temperature (either too hot causing the outside to set too fast, or too cool causing the structure to not set properly).
Q: How can I make my baked goods healthier?
A: You can use whole grain flours, reduce sugar, incorporate healthy fats, and add nutritious ingredients like nuts, seeds, and fruits. Be mindful that significant changes may alter texture and taste.
Q: What is room temperature butter, and why is it important?
A: Room temperature butter is soft enough to indent with your finger but still cool to the touch. It’s important because it creams properly with sugar, incorporating air and creating a light, fluffy texture in your baked goods.
Q: How do I know when my baked goods are done?
A: Always refer to your specific recipe’s cues, but general indicators include golden-brown edges, a toothpick inserted into the center coming out clean, and the item springing back when lightly touched.
Embracing “Sweet Beginnings in the Kitchen” is a journey of discovery and deliciousness. By focusing on simple ingredients, mindful preparation, and understanding foundational techniques, you’ll soon be creating wholesome and heartwarming treats that bring joy to your home. Happy baking!
Recipe Card: Sweet Beginnings in the Kitchen – Foundational Guide
This section provides a general framework for approaching sweet recipes rather than a specific dish, emphasizing foundational habits and ingredient categories. Specific recipes will have precise measurements and instructions.
- Recipe Name: Sweet Beginnings in the Kitchen
- Short Description: A guide to embracing homemade sweet treats, focusing on healthy habits and foundational baking principles.
- Prep Time: Varies greatly (depending on chosen recipe)
- Cook Time: Varies greatly (depending on chosen recipe)
- Total Time: Varies greatly (depending on chosen recipe)
- Servings: Flexible (adapts to chosen recipe)
- Course: Dessert, Snack
- Cuisine: American
- Cooking Method: Baking, Mixing
Ingredients:
- Foundationals: All-purpose flour (or whole wheat, oat, almond flour), granulated sugar (or brown sugar, honey, maple syrup), milk (dairy or plant-based), eggs, butter (or oil), baking powder/soda, salt, vanilla extract.
- Optional Add-ins: Chocolate chips, nuts, dried or fresh fruit, cocoa powder, spices (cinnamon, nutmeg).
Instructions:
- Select a Recipe: Choose a simple sweet recipe to begin your journey (e.g., basic cookies, muffins, or a simple cake).
- Read & Prepare: Read your chosen recipe entirely. Gather and precisely measure all ingredients (mise en place), ensuring room temperature for ingredients like butter and eggs if specified.
- Preheat Oven & Prep Pan: Preheat your oven to the temperature specified in your recipe. Prepare your baking pan(s) by greasing and flouring, or lining with parchment paper.
- Mix Dry Ingredients: In a medium bowl, whisk together the dry ingredients (flour, leavening agents, salt, spices) from your chosen recipe.
- Mix Wet Ingredients: In a separate large bowl, combine the wet ingredients (butter, sugar, eggs, milk, vanilla) according to your chosen recipe’s instructions (e.g., creaming butter and sugar, then adding eggs and liquid).
- Combine & Fold: Gradually add the dry ingredient mixture to the wet mixture, mixing until just combined. Fold in any optional add-ins specified by your recipe.
- Bake: Pour or scoop the batter into your prepared pan(s). Bake according to your recipe’s specified time and temperature, checking for doneness as directed (e.g., toothpick test).
- Cool: Allow baked goods to cool in the pan for a few minutes before transferring to a wire rack to cool completely.
Notes:
This guide emphasizes general baking principles. Always consult the specific recipe you are following for exact measurements, timing, and detailed instructions to ensure the best results. Precision and patience are key for successful baking.
Storage:
Store most homemade baked goods in an airtight container at room temperature for 2-3 days, or refrigerate for longer freshness if they contain perishable fillings. Many items can be frozen for 1-3 months when properly wrapped.
Nutrition:
Nutrition information is an estimate and may vary greatly depending on the specific recipe, ingredients, and brands used.