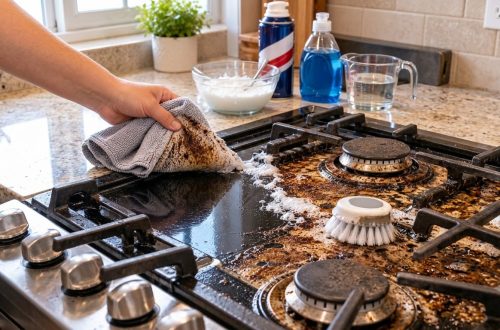
Are you tired of staring at caked-on food and grease marks on your stovetop after every cooking session? Those stubborn, baked-on messes can feel impossible to tackle, often leading to frustration and delaying the dreaded deep clean.
But don’t give up just yet! This straightforward scrubbing approach uses common household products to break down and lift even the most persistent grime, leaving your cooktop looking significantly cleaner. It’s a practical method that makes a tough job feel much more manageable, giving your kitchen that fresh, gleaming look you’ve been wanting.
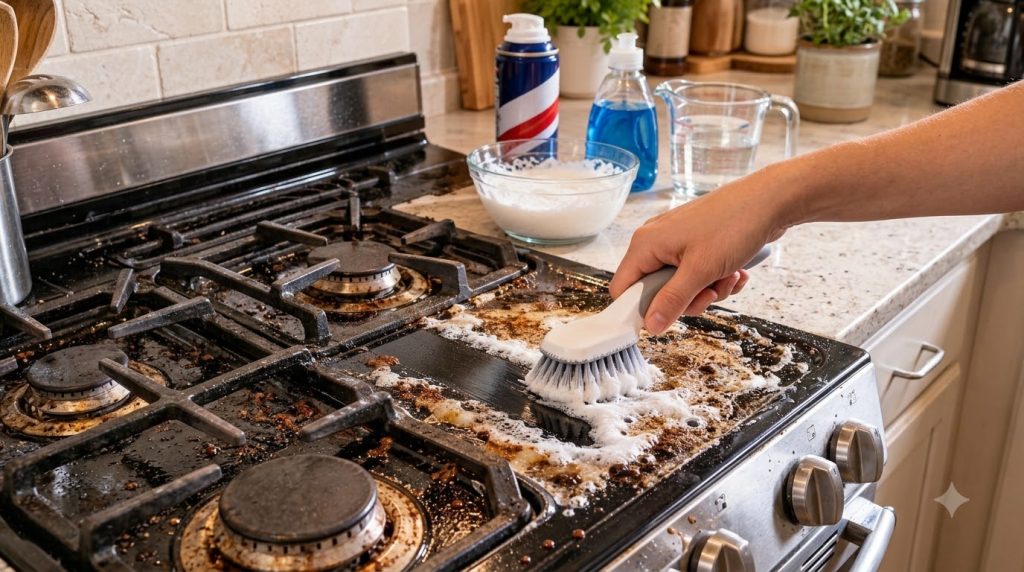
What You’ll Need
- All-purpose kitchen degreaser spray
- Dish soap (any brand)
- Warm water
- Stiff-bristled scrubbing brush (non-abrasive for delicate surfaces)
- Microfiber cloths or sponges
- Small bowl or container
Why This DIY Can Be Useful
This DIY combines the power of common cleaning agents to effectively combat stovetop grime. Dish soap is excellent at breaking down greasy residues, while warm water helps to soften and lift caked-on food particles. The addition of a kitchen degreaser specifically targets tough, baked-on oils and fats that regular soap might struggle with. The scrubbing brush provides the necessary agitation to physically remove the loosened debris, making the cleaning process much more efficient than just wiping.
How to Make It
This isn’t so much a ‘recipe’ as it is preparing your cleaning tools and solution.
- First, ensure your stovetop is completely cool and free of any loose crumbs or large food pieces.
- Spray a generous amount of your all-purpose kitchen degreaser directly onto the stubborn, caked-on areas of your stovetop. Let it sit for about 5-10 minutes to start breaking down the grime.
- While the degreaser is working, fill your small bowl with warm water and add a few drops of dish soap. Swirl it around or gently agitate with your brush to create a good amount of suds.
How to Use It
- After the degreaser has had time to penetrate, dip your stiff-bristled scrubbing brush into the sudsy water.
- Begin scrubbing the stovetop, focusing on the areas with baked-on grime. Apply moderate pressure and work in small circular motions to thoroughly agitate the residue.
- As you scrub, the sudsy mixture will combine with the degreaser to lift and emulsify the dirt. Re-dip your brush into the sudsy water as needed to maintain a foamy lather.
- For particularly tough spots, let the sudsy mixture sit on the grime for another 2-3 minutes before continuing to scrub.
- Once you’re satisfied that the grime has been loosened, use a clean, damp microfiber cloth or sponge to wipe away all the suds and loosened residue. Rinse your cloth frequently.
- Finish by wiping the entire stovetop with a fresh, clean, damp cloth, then immediately dry with a separate, dry microfiber cloth to prevent water spots and achieve a streak-free shine.
What to Expect
You can expect a significantly cleaner stovetop with most, if not all, of the baked-on grime and grease visibly removed. While it might not look brand new, this method will dramatically improve its appearance, making it much more hygienic and pleasant to cook on. Results may vary slightly depending on the age and severity of the stains, but a noticeable difference is a realistic expectation.
Helpful Tips
- Clean Regularly: The best way to prevent tough, caked-on messes is to wipe down your stovetop after every use. This makes deep cleaning much less frequent and easier.
- Use Warm Surfaces (Not Hot): For optimal cleaning, ensure your stovetop is completely cool. However, some find that a slightly warm (not hot!) stovetop can help the degreaser work more effectively.
- Choose the Right Scrubber: If you have a ceramic or glass stovetop, opt for a non-abrasive scrubbing brush or a cleaning pad specifically designed for those surfaces to avoid scratches.
- Protect Surrounding Areas: When using a spray degreaser, you might want to cover nearby countertops or backsplashes to prevent overspray.
Important Notes / Safety
- Ventilation: Always ensure you have good ventilation when using cleaning sprays, especially degreasers, to avoid inhaling fumes.
- Patch Test: If you’re unsure how a cleaner will react with your specific stovetop material, always test it in an inconspicuous area first.
- Electrical Safety: If you have an electric stovetop, always ensure it is unplugged before cleaning. For gas stovetops, make sure all burners are completely off and cool.
- Avoid Burner Openings: Be careful not to let excessive liquid seep into any burner openings or electrical components to prevent damage.