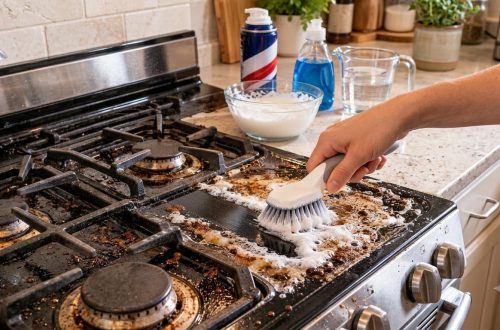
Are you still battling stubborn, baked-on grime on your stovetop? It’s a common kitchen challenge, and scrubbing endlessly can feel like a losing battle. But what if there was a simple, effective approach that could help lift even the toughest stains with minimal effort?
This DIY stovetop cleaning method is designed to make your kitchen sparkle without the need for harsh chemicals or excessive elbow grease. It’s about reclaiming your stovetop’s shine and making cleanup a breeze. Ready to discover how easy it can be?
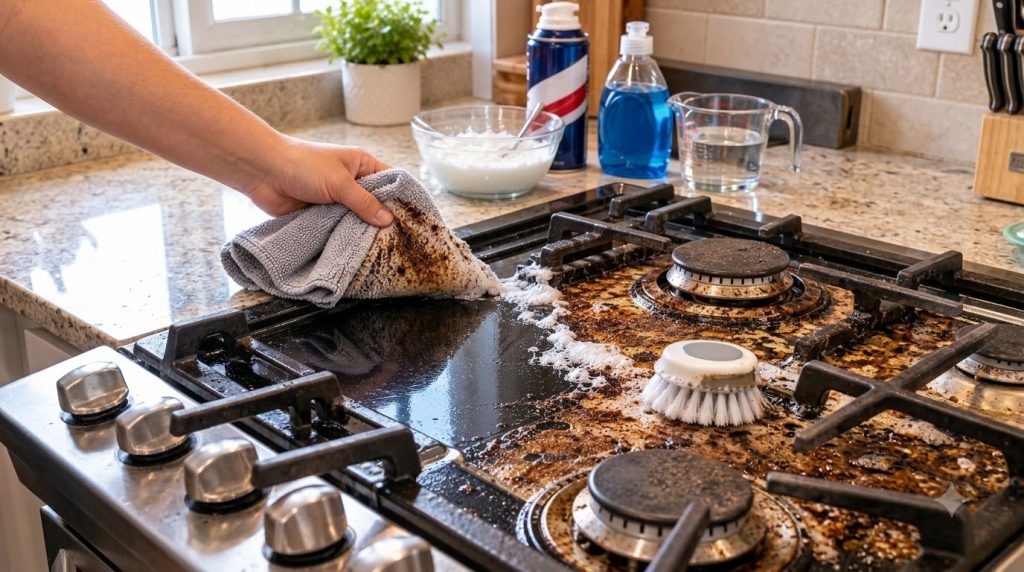
What You’ll Need
- 1/2 cup baking soda
- 1-2 tablespoons dish soap (liquid dishwashing detergent)
- 2-3 tablespoons water (adjust as needed)
- Small mixing bowl
- Spoon or spatula for mixing
- Microfiber cloth
- Spray bottle with water (for rinsing)
Why This DIY Can Be Useful
This simple DIY combines two powerful household staples for effective cleaning. Baking soda is a mild abrasive and a natural alkali, which helps to break down greasy residues and lift baked-on food particles without scratching your stovetop surface. When mixed with dish soap, which is an excellent degreaser, it creates a paste that clings to grime, allowing it to penetrate and loosen even tough stains. The foamy action helps lift the dirt, making it easier to wipe away.
How to Make It
- In your small mixing bowl, combine the 1/2 cup of baking soda with 1-2 tablespoons of dish soap.
- Add 2-3 tablespoons of water, stirring well with your spoon or spatula. The goal is to achieve a thick, spreadable paste. If it’s too thick, add a tiny bit more water; if too thin, add a pinch more baking soda.
- Mix until all ingredients are well combined and you have a consistent, slightly foamy paste.
How to Use It
- Ensure your stovetop is cool to the touch. Remove any grates or burner caps.
- Using your spoon or spatula, liberally apply the baking soda and dish soap paste over the grimy areas of your stovetop. Make sure to cover the baked-on spots thoroughly.
- Allow the paste to sit and work its magic for at least 15-30 minutes. For very stubborn grime, you can let it sit for up to an hour or even a few hours.
- After the waiting time, take your damp microfiber cloth and gently start wiping away the paste. You should notice the grime lifting off easily.
- For particularly tough spots, you can apply a little gentle pressure or use the corner of your cloth to rub in small circular motions.
- Once most of the grime and paste are removed, spray a light mist of clean water over the stovetop using your spray bottle.
- Wipe down the entire surface with a clean, damp microfiber cloth to remove any lingering residue, rinsing the cloth frequently.
- Finish by buffing with a dry microfiber cloth for a streak-free shine.
What to Expect
You can expect a significantly cleaner stovetop, with much of the baked-on grime and grease loosened and removed. While heavily stained areas might require a second application or a bit more dwell time, this method is remarkably effective at reducing scrubbing time and bringing back a fresh look to your cooking surface. Your stovetop should feel smooth and appear much brighter.
Helpful Tips
- Warm Water Boost: For tougher spots, you can use slightly warm water when mixing the paste or when dampening your cloth, as warmth can help further break down grease.
- Old Toothbrush: A soft-bristled toothbrush can be great for getting into tight corners or around burner edges where grime tends to accumulate.
- Regular Maintenance: For easier cleaning, wipe down your stovetop with a damp cloth after each use to prevent new grime from baking on.
- Test First: If you have a unique stovetop material, always do a small patch test in an inconspicuous area first, though baking soda and dish soap are generally safe for most surfaces.
Important Notes / Safety
- Always ensure your stovetop is completely cool before applying any cleaning solution.
- Avoid getting the paste directly into burner openings or electrical components.
- While generally safe, avoid inhaling excessive amounts of baking soda dust.
- Always rinse your stovetop thoroughly to remove all cleaning residue, which can leave streaks or affect cooking performance if left behind.
- Store any leftover paste in an airtight container for future use, although it’s best to make a fresh batch for optimal effectiveness.