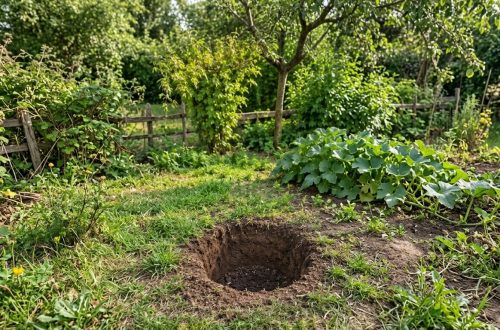
Unlock the Secret to Bountiful Strawberries with DIY Composting!
Imagine stepping into your garden and plucking ripe, juicy strawberries, knowing that they’ve been nourished by your very own kitchen scraps. It sounds almost magical, doesn’t it? Well, it’s not magic, it’s smart gardening! Today, we’re diving into an incredibly rewarding project that combines two of our favorite things: growing delicious fruit and sustainable living. We’re talking about creating a DIY composter right within your strawberry planter!
What is a DIY Composter Strawberry Planter?
At its core, this innovative gardening method involves integrating a small composting system directly into your strawberry planting container or garden bed. Instead of just planting strawberries in regular soil, you create a central chamber (often a perforated pipe or a section of a bucket) where you deposit your organic kitchen waste. As the waste breaks down, it releases nutrients directly into the surrounding soil, feeding your strawberry plants from the inside out. This makes for a self-fertilizing system that’s both efficient and eco-friendly!
Why You Should Embrace This Sustainable Method
There are countless reasons to give this DIY composter a try:
- Bountiful Harvests: Strawberries are heavy feeders, and this method provides a steady supply of rich, organic nutrients, leading to larger, more flavorful fruit.
- Reduce Waste: Divert food scraps from landfills and transform them into valuable plant food. This is a fantastic step towards a more sustainable household.
- Improved Soil Health: Composting directly in the soil enriches its structure, microbial life, and water retention capabilities.
- Less Watering: Healthy, organically rich soil retains moisture better, potentially reducing your watering needs.
- Pest Deterrent: Healthy plants are naturally more resistant to pests and diseases.
- Easy and Affordable: You can often use repurposed materials for the composter, making it a budget-friendly project.
Materials You’ll Need
Getting started is simpler than you might think! Here’s a basic list of what you’ll need:
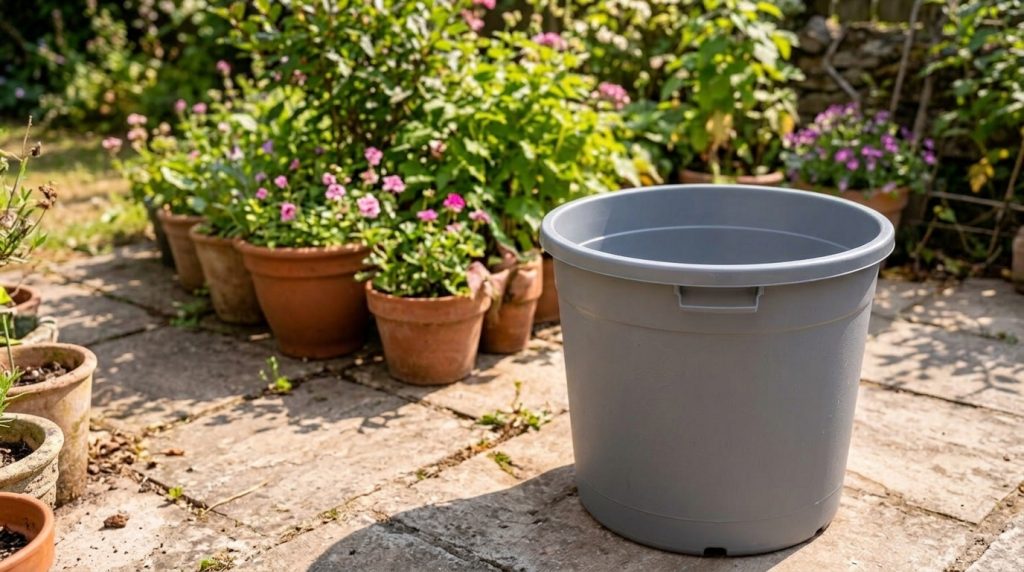
- A large planter or container: At least 15-20 gallons for a decent strawberry patch, or dedicate a section of a raised bed. Ensure it has drainage holes.
- A PVC pipe or similar container for the composter: A 4-6 inch diameter PVC pipe cut to the height of your planter, or an old plastic bottle/small bucket with the bottom removed.
- Drill: To make holes in your composting pipe.
- Potting mix: Good quality, well-draining potting soil.
- Strawberry plants: Bare-root or potted plants.
- Organic kitchen scraps: Vegetable and fruit peels, coffee grounds, tea bags, eggshells (rinsed), etc. (Avoid meat, dairy, and oily foods).
- “Brown” materials: A few dry leaves, shredded newspaper, or small twigs to balance the “greens” in your compost.
Step-by-Step Guide: Building Your Strawberry Composter
1. Prepare Your Composting Tube
If using a PVC pipe, drill numerous holes (1/2 to 1 inch in diameter) all around the pipe, especially in the bottom half. These holes are crucial for worms and microbes to access the compost and for nutrients to leach into the soil. If using a plastic bottle or small bucket, make sure to cut off the bottom entirely and drill holes around the sides.
2. Set Up Your Planter
Place a layer of gravel or broken pottery at the bottom of your large planter for enhanced drainage. Then, add a few inches of potting mix.
3. Install the Composting Tube
Place your prepared composting tube upright in the center of the planter. Bury the bottom few inches of the tube in the potting mix, ensuring it’s stable. The top of the tube should extend slightly above the soil line of your future planted strawberries, allowing for easy access to add scraps.
4. Fill with Soil and Plant Strawberries
Carefully fill the rest of the planter with potting mix, ensuring the composting tube remains centered. Once the soil is in place, plant your strawberry plants around the composting tube. Make sure the crown of the strawberry plant (where the leaves emerge) is at soil level.
5. Start Composting!
Begin adding your kitchen scraps to the central tube. Aim for a mix of “greens” (fruit and veggie scraps) and “browns” (dry leaves, shredded paper). Keep a lid or cover on the tube to deter pests and retain moisture.
Tips for Success with Your DIY Composter
- Moisture is Key: Keep the compost in the tube slightly moist, like a wrung-out sponge. If it gets too dry, decomposition will slow down.
- Balance “Greens” and “Browns”: A good ratio helps prevent odors and encourages efficient composting. Generally, aim for more browns than greens.
- Chop Scraps: Smaller pieces break down faster.
- Watch for Worms: Earthworms are your best friends in a composter! They’ll naturally find their way in and help accelerate the process. You can even introduce a few if you’d like.
- Rotate Scraps: As one batch breaks down, keep adding fresh scraps. You’ll notice the level dropping as decomposition occurs.
- Observe Your Plants: Healthy green leaves and abundant flowers are signs your strawberries are loving their new, self-fertilizing home.
Enjoy Your Homegrown, Sustainable Harvest!
Creating a DIY composter for your strawberries is more than just a gardening project; it’s a step towards a more sustainable lifestyle and a deeper connection with your food. You’ll not only enjoy the freshest, most flavorful strawberries but also gain immense satisfaction from transforming waste into vibrant life. So, gather your materials, get your hands dirty, and prepare to be amazed by the bounty your little self-fertilizing garden can produce!
Happy gardening!