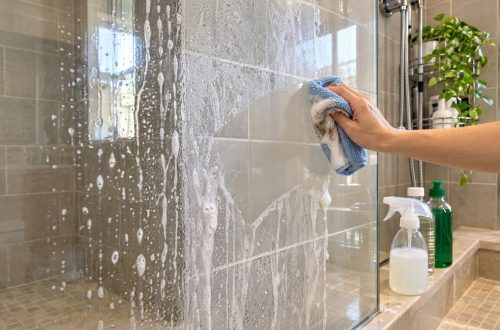
Does your shower feel like it needs a total refresh? Over time, soap scum and grime can build up on tiles, making your bathroom look dull and less inviting. You don’t always need harsh chemicals to get things sparkling again. A simple, homemade scrub can cut through that buildup and leave your shower feeling wonderfully fresh.
This DIY method focuses on using common household items, making it an accessible and practical way to bring back the shine without strong fumes or complicated steps. Ready to transform your shower?
What You’ll Need
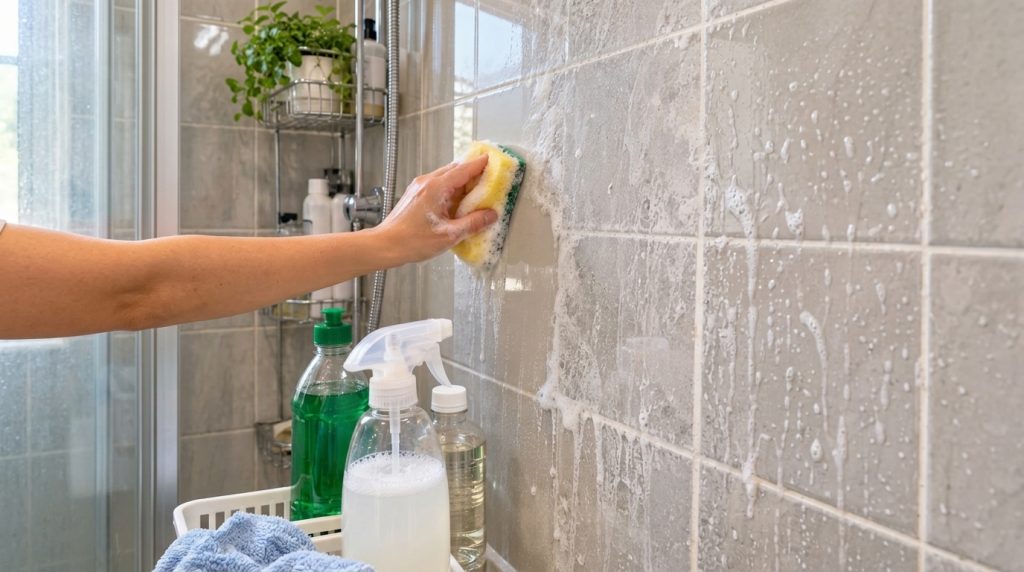
- Dish Soap: About 1/2 cup (e.g., concentrated liquid dish soap)
- Warm Water: About 1 cup
- Empty Spray Bottle or Bucket: For mixing and applying the solution
- Scrubbing Sponge: A yellow and green dual-sided scrub sponge works well
- Clean Cloth or Towel: For drying and polishing
- Optional: Stiff-bristled brush for grout lines
Why This DIY Can Be Useful
The star ingredient in this DIY is dish soap. Dish soap is formulated to break down grease and oils, which makes it incredibly effective at dissolving the fatty acids and mineral deposits that make up soap scum. When combined with warm water, it creates a powerful yet gentle cleaning solution that lifts grime from your tiles without requiring harsh abrasives.
This method is also useful because it avoids many of the strong chemical fumes found in commercial bathroom cleaners, making it a more pleasant experience for you and your home environment.
How to Make It
Creating your cleaning solution is incredibly simple:
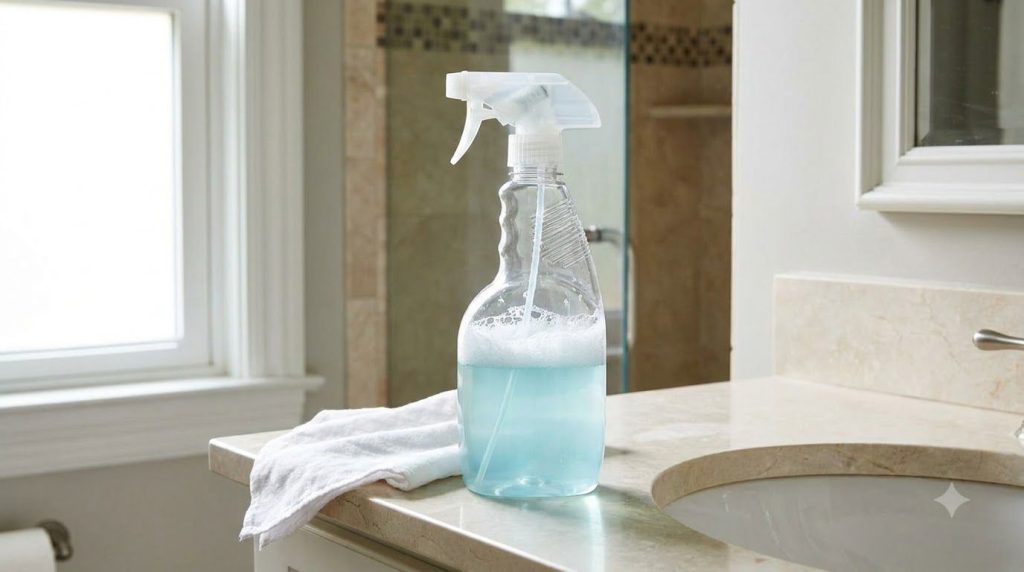
- Combine Ingredients: In an empty spray bottle or a small bucket, pour in approximately 1/2 cup of dish soap.
- Add Water: Slowly add about 1 cup of warm water to the dish soap.
- Mix Gently: If using a spray bottle, replace the cap and gently swirl to combine. If using a bucket, stir gently with a spoon or your sponge to mix without creating excessive suds immediately. You want a consistent, soapy mixture.
How to Use It
Follow these steps for a sparkling clean shower:
- Pre-wet Shower Walls: Briefly run the shower or use a spray bottle with plain water to wet down all the tiled surfaces you plan to clean. This helps the cleaning solution spread evenly and prevents it from drying too quickly.
- Apply the Solution: Spray your homemade cleaning solution directly onto a section of the wet shower tiles. If using a bucket, dip your scrubbing sponge into the solution and apply it to the tiles.
- Scrub Thoroughly: Using your scrubbing sponge, begin scrubbing the tiles with firm, circular motions. Pay extra attention to areas with visible soap scum or mildew. For stubborn grout lines, switch to a stiff-bristled brush if necessary. Work in small sections to keep the solution wet and active.
- Allow to Dwell (Optional): For very heavy buildup, allow the solution to sit on the tiles for 5-10 minutes after scrubbing to further break down grime. Do not let it dry completely.
- Rinse Completely: Once you’ve scrubbed all the tiled areas, rinse the entire shower thoroughly with warm water. Ensure all soap residue is washed away to prevent new film from forming.
- Wipe Dry: For an extra sparkle and to prevent water spots, use a clean, dry cloth or towel to wipe down the tiles.
What to Expect
After following these steps, you can expect your shower tiles to be noticeably cleaner, brighter, and free of the slippery, dull film left by soap scum. The bathroom will feel fresher, and the tiles will have a renewed shine. For areas with very heavy, old buildup, you might need to repeat the process or use a stiffer brush for best results, but you’ll certainly see a significant improvement.
Helpful Tips
- Ventilation is Key: Even though this solution is mild, always ensure good ventilation by opening a window or turning on the exhaust fan while cleaning your bathroom.
- Work from Top to Bottom: When cleaning vertical surfaces like shower walls, always start scrubbing from the top and work your way down. This allows gravity to help rinse away loosened grime and prevents dirty water from dripping onto already clean areas.
- Prevent Future Buildup: To keep your shower cleaner for longer, consider using a squeegee on the tiles after each shower. A daily shower spray (diluted white vinegar or commercial daily cleaner) can also help prevent soap scum from accumulating.
- Don’t Forget the Grout: Grout lines can harbor dirt and mildew. A small, stiff brush (like an old toothbrush) dipped in the solution can work wonders on discolored grout.
Important Notes / Safety
- Patch Test: While dish soap is generally safe for most tile and grout types, it’s always a good idea to test the solution on an inconspicuous area first to ensure there’s no discoloration or adverse reaction.
- Avoid Harsh Abrasives: Do not use extremely abrasive scrubbers on delicate or porous tiles, as they could scratch the surface. Stick to sponges or brushes appropriate for your tile type.
- Handle with Care: Be careful of slippery surfaces when the floor is wet with soap and water.