Hey, beauty besties! Are you looking for ways to give your skin, or even your little one’s delicate skin, some extra love without harsh chemicals? We totally get it! The world of skincare can sometimes feel overwhelming with countless products and confusing ingredients. But what if we told you that some of the most comforting and nourishing solutions can be found right in your kitchen or garden?
Today, we’re diving into the wonderful world of DIY natural oils. Think gentle, soothing goodness that you can customize yourself. It’s all about embracing simplicity and giving your skin exactly what it needs to glow naturally!
The Magic of Natural Oils for Your Skin
Why go natural with your oils? Because your skin deserves the purest care! Store-bought products can often contain fragrances, preservatives, and other additives that might irritate sensitive skin. Crafting your own allows you to:
- Control Ingredients: You know exactly what’s going onto your skin.
- Embrace Nature’s Best: Harness the power of botanicals known for their soothing and nourishing properties.
- Save Money: High-quality skincare doesn’t have to break the bank.
Spotlight on Clove Oil: A Gentle Touch
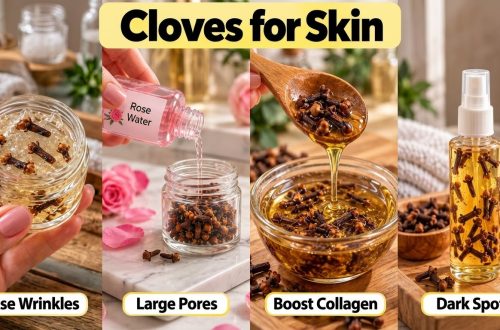
You might associate cloves with cozy fall spices, but did you know they can also offer wonderful benefits for delicate skin? When properly prepared and diluted, clove can provide a comforting, warming sensation and is known for its soothing properties. It’s an ingredient we often hear about for its natural goodness.
However, it’s super important to remember that pure clove essential oil is very potent and should never be used directly on the skin, especially not on sensitive or baby skin. The secret to harnessing its benefits safely is through infusion into a gentle carrier oil.
Simple Recipe: DIY Infused Clove Oil
This recipe creates a mild, infused oil perfect for soothing and comforting skin. Always remember to perform a patch test first!
What You’ll Need:
- 1/4 cup of a gentle carrier oil (like sweet almond oil, jojoba oil, or fractionated coconut oil)
- 1 teaspoon of whole cloves
- A small, clean glass jar with a lid
Instructions:
- Gently Crush Cloves: Lightly crush the whole cloves using a mortar and pestle or the back of a spoon. This helps release their natural goodness.
- Combine Ingredients: Place the crushed cloves into your clean glass jar. Pour the carrier oil over the cloves, ensuring they are fully submerged.
- Infuse: Seal the jar tightly. You have two options for infusion:
- Sun Infusion: Place the jar in a sunny spot for 2-4 weeks, shaking it gently every day or two.
- Warm Water Bath (Quicker Method): Place the jar in a saucepan with a few inches of water (creating a double boiler effect, do not let water get into the oil). Heat over low heat for 1-2 hours, ensuring the oil doesn’t get too hot.
- Strain: Once infused, strain the oil through a fine-mesh sieve or cheesecloth into a clean, new bottle. Discard the used cloves.
- Store: Label your bottle and store it in a cool, dark place.
Important Safety Note: This infused oil is meant for external use only. Always perform a patch test on a small area of skin (like the inner forearm) and wait 24 hours to check for any reaction before applying it more widely. If irritation occurs, discontinue use.
Beyond Clove: Other Natural Oil Ideas
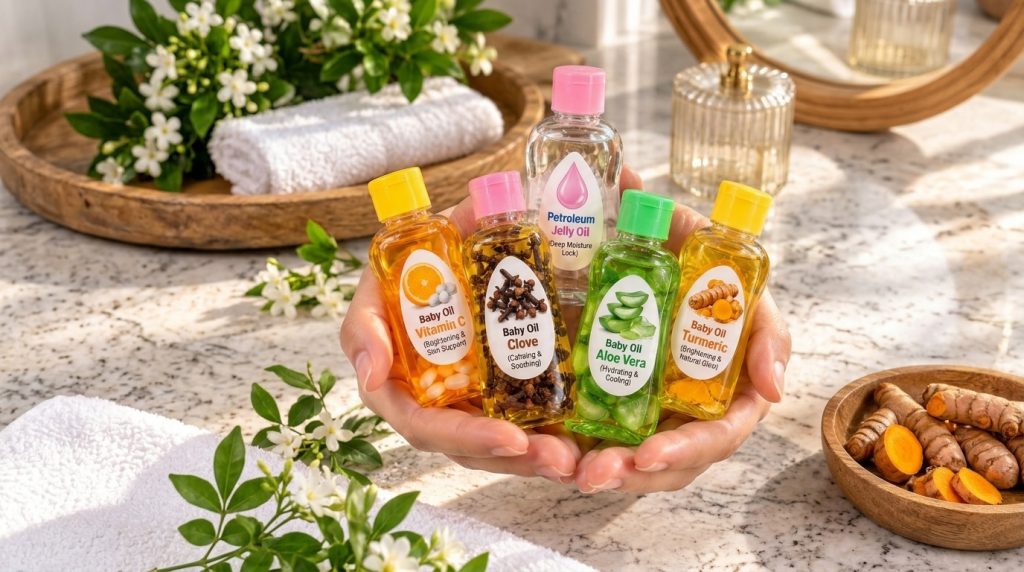
The beauty of DIY is that you can explore many other wonderful ingredients. While the image shows a variety of oils, let’s look at how some of those natural components can be incorporated into your routine:
- Aloe Vera: While aloe vera gel is commonly used, you can infuse a carrier oil with dried aloe vera for its soothing properties. Aloe is fantastic for hydration and calming irritated skin.
- Turmeric: Turmeric-infused oil (using turmeric powder or roots infused in a carrier oil) is praised for its brightening and anti-inflammatory benefits. Just be mindful as turmeric can temporarily stain skin or clothes.
- Vitamin C: Incorporating Vitamin C into an oil blend usually involves adding a stable form of Vitamin C powder to a carrier oil, or using a pre-made Vitamin C serum alongside your natural oils. It’s a powerhouse for glowing skin!
Always start with high-quality carrier oils like sweet almond, jojoba, or argan oil, as they are gentle and packed with their own skin-loving nutrients.
How to Safely Use Your Homemade Oils
- Patch Test is Key: We can’t stress this enough! Always, always, always patch test any new product, especially homemade ones, to ensure no allergic reactions or sensitivities.
- Application: A little goes a long way. Gently massage a small amount onto clean, damp skin to help lock in moisture. For delicate skin, less is more.
- Storage: Keep your homemade oils in airtight, dark glass bottles in a cool, dark place to preserve their potency and prevent rancidity. Proper storage is crucial for the longevity of your oils.
- Consult a Professional: If you have any concerns about using essential oils or infused oils, especially for babies or individuals with sensitive skin conditions, always consult a dermatologist or healthcare professional.
Creating your own natural oils is a beautiful act of self-care, allowing you to connect with nature’s wisdom and provide truly gentle nourishment for your skin. It’s empowering to know exactly what you’re putting on your body!
Give these DIY natural oil blends a try and let us know your favorites in the comments below. Stay glowing, beauty besties!