Most people ignore this valuable resource right in their own yards. When autumn arrives, the natural instinct is often to rake up fallen leaves and send them off to the curb. But what if those discarded leaves could be transformed into something incredibly beneficial for your garden, quietly working their magic in a simple black bag? This overlooked process, creating what’s known as ‘leaf mold,’ is a gardener’s secret weapon for healthier soil and happier plants.
What is Leaf Mold?
Leaf mold isn’t compost in the traditional sense; it’s a unique soil amendment created by the slow, fungal decomposition of leaves. Unlike bacterial composting, which produces nutrient-rich humus quickly, leaf mold takes longer and results in a dark, crumbly material that greatly improves soil structure, water retention, and beneficial microbial life. It acts like a sponge in your soil, holding moisture and slowly releasing it to plant roots, while also providing an ideal environment for worms and other soil helpers.
The ‘Ingredients’ You Need
- Fallen Leaves: Any deciduous leaves will work, but some break down faster than others.
- Black Garbage Bags: Sturdy, large contractor bags are ideal.
- Water: To moisten the leaves.
- A Pitchfork or Stick: For mixing and poking holes.
Approximate Measurements
There aren’t exact measurements here, as it’s more about volume. Aim to fill each black bag as densely as possible with leaves. A standard 30-gallon or 42-gallon contractor bag is usually sufficient for a good batch. The key is to have enough leaves to create an insulated environment for decomposition.
The Simple Formula / Recipe for Leaf Mold
The ‘recipe’ for leaf mold is remarkably simple: leaves + moisture + time = garden gold. It relies on fungi breaking down the tough cellulose and lignin in leaves. The black bag creates a warm, moist, and relatively anaerobic environment that encourages this fungal activity, speeding up a process that would otherwise take years on a forest floor.
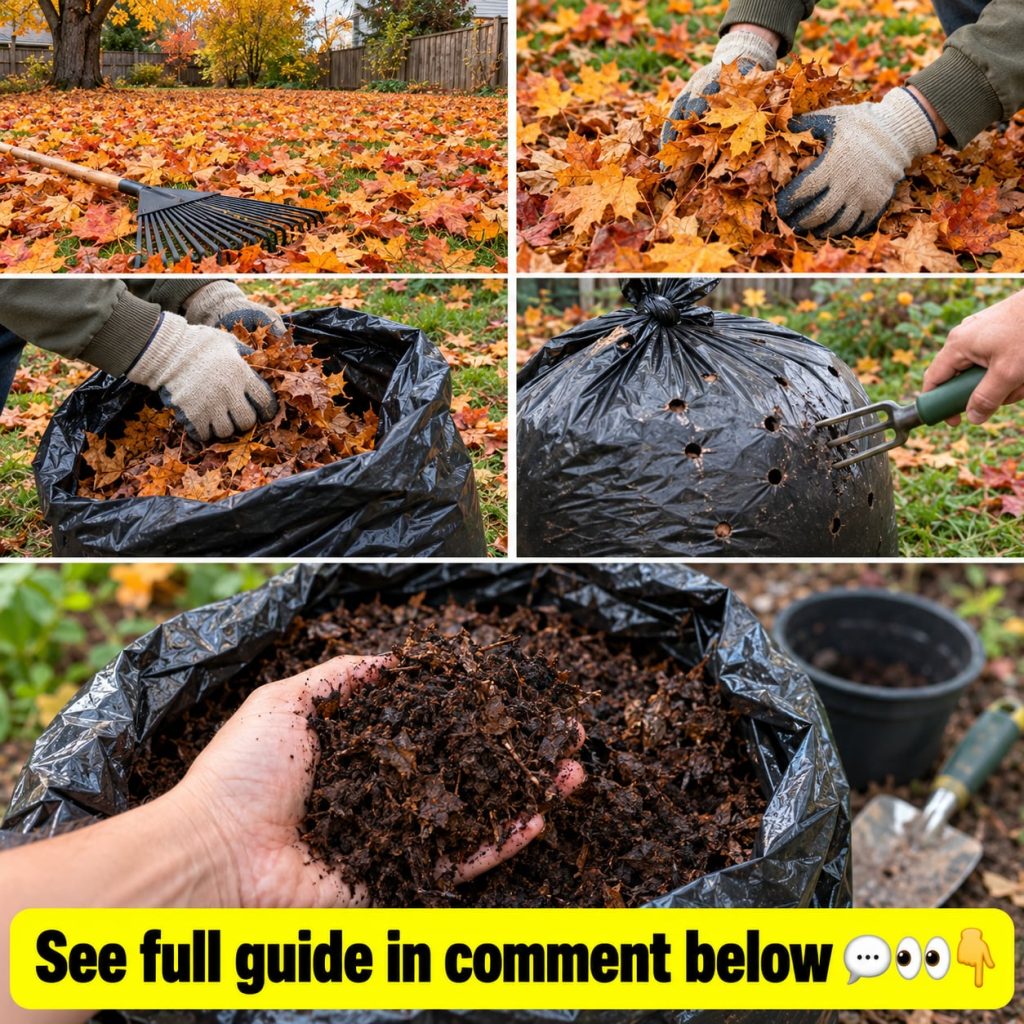
Step-by-Step Method: Bagging Your ‘Garden Gold’
- Collect Your Leaves: Gather as many fallen leaves as you can from your yard or a neighbor’s. Avoid leaves that show signs of disease (e.g., black spot on roses) or have been treated with herbicides.
- Shred (Optional, but Recommended): For faster decomposition, shred the leaves first. You can do this by running a lawnmower over them (with or without a collection bag), or by using a leaf shredder. Smaller pieces mean more surface area for fungi to work on.
- Moisten the Leaves: Place the shredded or whole leaves into the black bags. As you fill, moisten the leaves thoroughly with a hose. They should be damp, like a wrung-out sponge, but not soaking wet. Too much water can lead to a foul smell and slow down decomposition.
- Pack Tightly: Compress the leaves as much as possible inside the bag. You want to remove as much air as you can, creating that essential anaerobic environment.
- Puncture Holes: Use a pitchfork or a sharp stick to poke 10-15 small drainage and aeration holes around the bag. These are important to prevent waterlogging and allow some gas exchange, preventing extreme anaerobic conditions that can stall the process.
- Seal and Store: Tie the top of the bag securely, leaving some room for expansion. Place the bags in an out-of-the-way, shady spot in your garden. This keeps the bags cooler, preventing excessive drying out, and out of direct sunlight, which can degrade the plastic.
How to Use Leaf Mold
Leaf mold is incredibly versatile. Here are a few ways to incorporate it into your garden:
- Soil Amendment: Mix it directly into garden beds before planting, especially for heavy clay or sandy soils. It improves drainage in clay and boosts water retention in sand.
- Potting Mix Component: Blend 20-50% leaf mold into your homemade potting mixes for container plants. It adds structure and moisture retention without excessive nutrients.
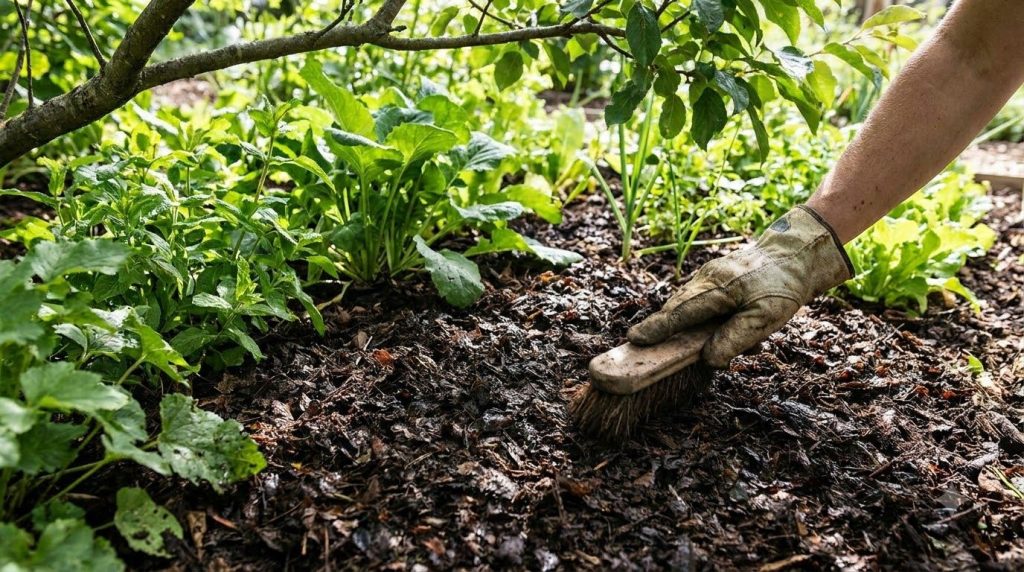
- Mulch: Spread a 1-2 inch layer of coarse leaf mold around plants as a protective mulch. It suppresses weeds, conserves moisture, and slowly releases its benefits into the soil.
- Seed Starting: Finer, well-rotted leaf mold can be a component in seed-starting mixes, offering a sterile, moisture-retentive medium.
How Often to Use
You can apply leaf mold annually, especially when preparing beds for new planting seasons. There’s no real risk of ‘over-applying’ it, as it’s a soil conditioner rather than a strong fertilizer. Many gardeners add a fresh layer as mulch in autumn or early spring.
Quick Tip: Best Time to Use It
The best time to apply leaf mold as a soil amendment is in the spring, before planting, or in the autumn, as a top dressing to protect your garden beds over winter. When used as mulch, apply it anytime you want to conserve moisture and suppress weeds.
How to Choose and Prepare Your Leaves
While most deciduous leaves work, some are better than others. Smaller, softer leaves like those from maple, oak, birch, or fruit trees break down relatively quickly (6-12 months). Larger, tougher leaves like sycamore, magnolia, or horse chestnut take longer (1-2 years). Pine needles, while technically not leaves, can also be treated this way, but they break down very slowly and can make the soil more acidic.
Fresh vs. Shredded Leaves for Leaf Mold
| Feature | Fresh, Whole Leaves | Shredded Leaves |
|---|---|---|
| Decomposition Time | 1-2 years | 6-12 months |
| Bag Space | More bulky, fills fewer bags | Compresses more, fills bags efficiently |
| Effort | Less initial effort | More initial effort (mowing/shredding) |
| Best Use | Good for long-term projects, larger batches | Ideal for faster results, smaller spaces |
Storage of Finished Leaf Mold
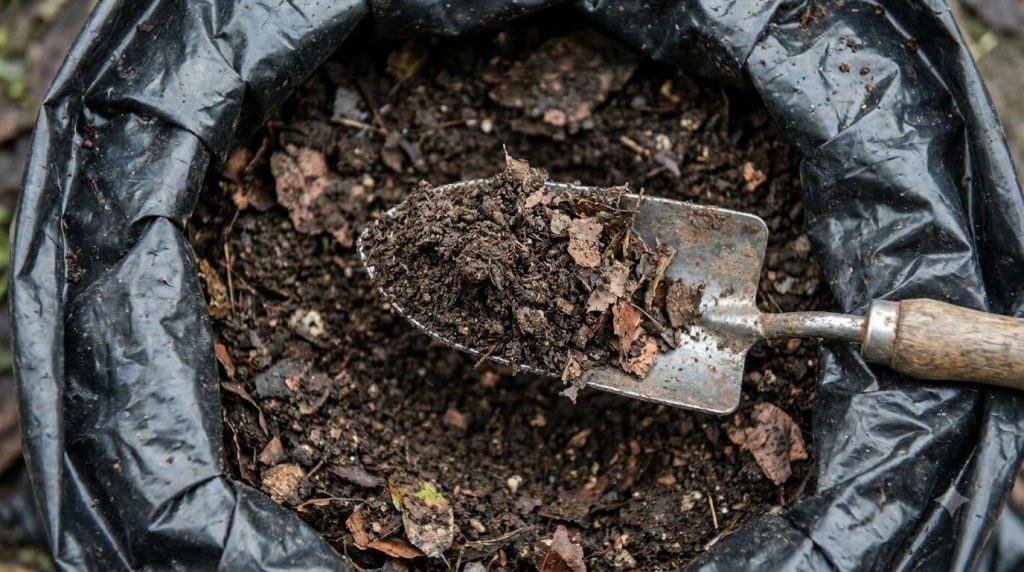
Once your leaf mold is ready (dark, crumbly, and earthy-smelling, with no recognizable leaf pieces), you can store it in the original bags, or transfer it to bins, buckets, or even open piles. Keep it slightly damp to maintain its beneficial properties. It doesn’t attract pests and doesn’t need to be kept airtight once processed.
Practical Tips for Success
- Moisture is Key: Check your bags periodically. If they feel dry and light, add a bit more water.
- Shade Location: Placing bags in the shade prevents them from drying out too quickly and keeps the plastic from degrading under UV light.
- Consider a Mesh Bin: For larger quantities or a more aesthetic approach, you can create a simple wire mesh bin for leaf mold. This method is more aerobic but still effective, though it might take a bit longer than the bag method.
- Mix Leaf Types: A mix of leaf types can create a more balanced product and sometimes speed decomposition.
Common Mistakes to Avoid
- Using Diseased Leaves: While the decomposition process usually kills pathogens, it’s best to avoid leaves with visible signs of disease to prevent potential spread.
- Not Shredding Tough Leaves: Attempting to break down whole sycamore or horse chestnut leaves in a bag without shredding them first will significantly prolong the process.
- Letting Bags Dry Out: Fungi need moisture to thrive. If your bags dry out, decomposition will halt.
- Too Many Air Holes: While some holes are good for drainage, too many can dry out the leaves and turn the process into regular composting, which isn’t the goal here.
- Using Treated Leaves: Avoid leaves from areas treated with herbicides or pesticides, as these chemicals can persist and harm your garden.
Cautions / Who Should Avoid It
Leaf mold is generally safe and beneficial for almost all gardens. The main caution is to ensure the leaves you collect are free from chemical treatments. If you’re unsure about the source of leaves (e.g., from a public park where chemicals might be used), it’s best to stick to your own yard or known organic sources.
Quick Summary: Your Leaf Mold Checklist
- Best Preparation: Shredded leaves, thoroughly moistened, packed into black bags with a few drainage holes.
- Best Use-Case: Soil amendment, potting mix component, or moisture-retaining mulch.
- Storage: Keep slightly damp in bags or bins, in a cool, shady spot.
- When to Use: Annually in spring for planting, or autumn as a winter mulch.
- What to Avoid: Diseased or chemically treated leaves; overly dry bags.
FAQ
- How long does it take to make leaf mold?
Typically 6-12 months for shredded leaves, 1-2 years for whole leaves. - Can I use fresh or dried leaves?
Freshly fallen leaves are ideal. If they are dried, moisten them thoroughly before bagging. - Do I need to turn or mix the bags?
No, the beauty of the bag method is that it requires very little maintenance once set up. - What kind of bags are best?
Heavy-duty black contractor bags are preferred as they are durable and create a warm, dark environment. - Can I make leaf mold in a compost pile?
Yes, but it will be a slower process in an open pile, or it might get mixed with other compost ingredients, turning it into regular compost rather than pure leaf mold. - What’s the difference between leaf mold and compost?
Leaf mold is primarily broken down by fungi, focuses on improving soil structure and water retention, and is low in nutrients. Compost is broken down by bacteria, is rich in nutrients, and decomposes much faster. - Will leaf mold make my soil acidic?
Deciduous leaf mold is generally pH neutral. Pine needles, however, can be acidic.
Conclusion
Transforming fallen leaves into leaf mold is one of the easiest and most rewarding gardening tasks. It’s a testament to nature’s efficiency, turning what many consider waste into a valuable asset for your garden. By following this simple black bag method, you’re not just improving your soil; you’re participating in a sustainable cycle that enriches your plants, conserves water, and fosters a healthier ecosystem right in your backyard. Don’t let another autumn pass you by without collecting your ‘garden gold’!
You may also like: Composting Basics for Beginners
Related remedy: DIY Natural Pest Control for Your Garden