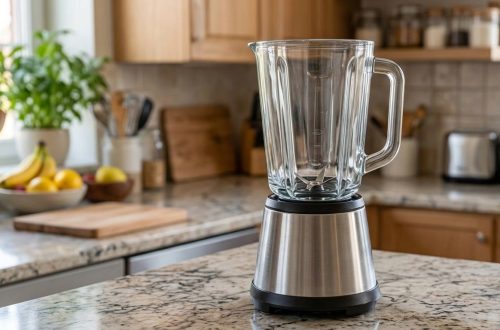
Are you searching for a deliciously wholesome treat that’s incredibly easy to make? Look no further than this amazing Oat & Banana Blender Cake! This recipe takes convenience to the next level by using your blender to whip up a moist, flavorful cake that’s perfect for any time of day.
Imagine a tender crumb, naturally sweetened by ripe bananas, with the wholesome goodness of oats in every bite. This isn’t just a cake; it’s a versatile snack, a delightful breakfast companion, or a lovely light dessert. It comes together with minimal effort and leaves you with an irresistible aroma filling your kitchen. Get ready to bake a cake that feels like a hug in every slice!
Why You’ll Love This Oat & Banana Blender Cake
- Effortlessly Easy: All the mixing happens in your blender, significantly cutting down on prep time and dishes.
- Wholesome Ingredients: Made with oats and ripe bananas, it’s a healthier alternative to many traditional cakes.
- Naturally Sweetened: Ripe bananas provide most of the sweetness, reducing the need for excessive added sugar.
- Moist & Fluffy Texture: Despite being gluten-free (if using certified GF oats), this cake boasts an incredibly moist and tender crumb.
- Family-Friendly: A delicious treat that appeals to both kids and adults, making it perfect for any household.
- Versatile: Enjoy it for breakfast, as a snack, or even a light dessert.
Ingredients
Here’s what you’ll need to make this delightful oat and banana cake:
- 2 cups (180 g) rolled oats (certified gluten-free if needed)
- 2-3 very ripe medium bananas (about 1 cup or 240 g mashed)
- 2 large eggs
- ½ cup (120 ml) milk (any kind, dairy or non-dairy)
- ¼ cup (60 ml) neutral oil (such as vegetable, canola, or melted coconut oil)
- ¼ cup (60 ml) maple syrup or honey (adjust to your sweetness preference)
- 1 teaspoon vanilla extract
- 1 teaspoon baking powder
- ½ teaspoon baking soda
- ½ teaspoon ground cinnamon (optional)
- ¼ teaspoon salt
Ingredient Notes
- Rolled Oats: Use old-fashioned rolled oats for the best texture and structure. Quick oats can work in a pinch but may result in a slightly denser cake. Do not use steel-cut oats for this recipe. If you need a gluten-free cake, ensure your oats are certified gluten-free.
- Ripe Bananas: The riper the bananas, the sweeter and more flavorful your cake will be. Look for bananas with plenty of brown spots on their peel.
- Milk: Any type of milk will work here – whole milk, skim milk, almond milk, or oat milk are all great choices.
- Oil: A neutral-flavored oil ensures the banana flavor shines through. You can also use melted unsalted butter for a richer taste.
- Sweetener: Maple syrup or honey are excellent natural sweeteners that complement the banana. You can adjust the amount based on the sweetness of your bananas and your personal preference.
Equipment You’ll Need
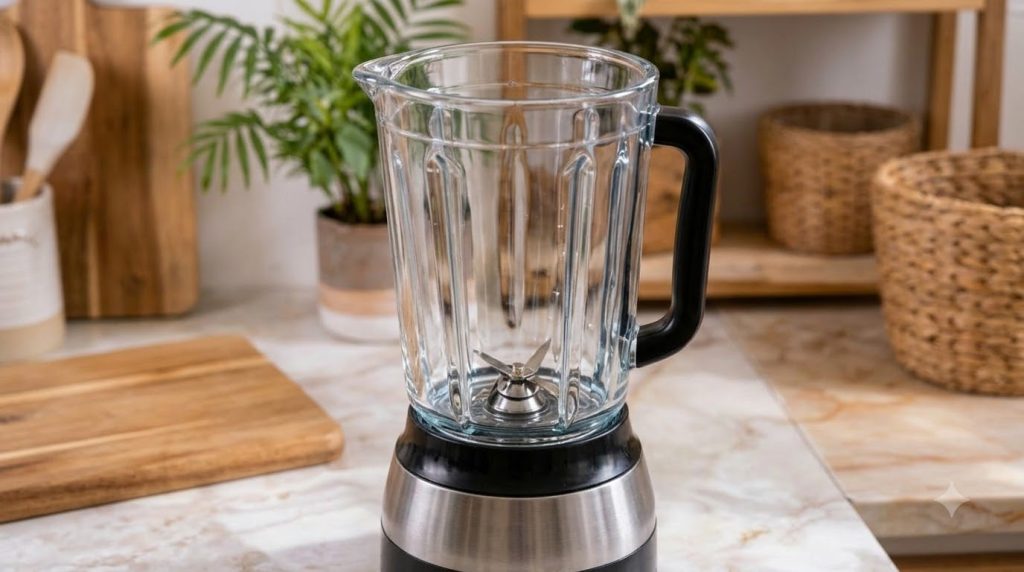
- Blender (high-speed recommended)
- 9×5 inch loaf pan or an 8×8 inch square baking pan
- Measuring cups and spoons
- Spatula or rubber scraper
- Wire rack for cooling
How To Make Fluffy Oat & Banana Blender Cake
Follow these simple steps to create your delicious blender cake:
- Preheat Oven & Prepare Pan: Preheat your oven to 350°F (175°C). Lightly grease and flour (or spray with non-stick spray) a 9×5 inch loaf pan or an 8×8 inch square baking pan. If you’re using gluten-free oats, you can use gluten-free flour or extra oats to ‘flour’ the pan.
- Blend the Oats: Add the rolled oats to your blender. Blend on high speed for about 30-60 seconds, or until the oats are ground into a fine flour-like consistency.
- Add Wet Ingredients: Add the very ripe bananas, eggs, milk, oil, maple syrup (or honey), and vanilla extract to the blender with the oat flour.
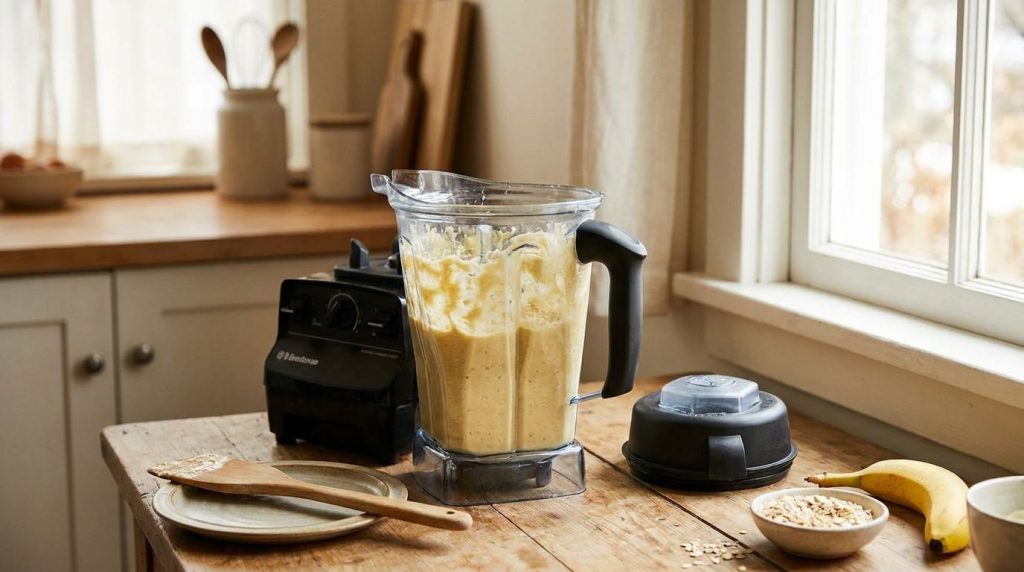
- Blend Until Smooth: Blend on high speed until all the ingredients are thoroughly combined and the batter is smooth. Scrape down the sides of the blender with a spatula as needed to ensure everything is incorporated. This usually takes about 1-2 minutes.
- Add Leavening & Spice: Add the baking powder, baking soda, ground cinnamon (if using), and salt to the blender.
- Briefly Blend Again: Pulse the blender a few times (just 5-10 seconds) until these dry ingredients are just incorporated. Be careful not to overblend at this stage, as overmixing can lead to a tougher cake.
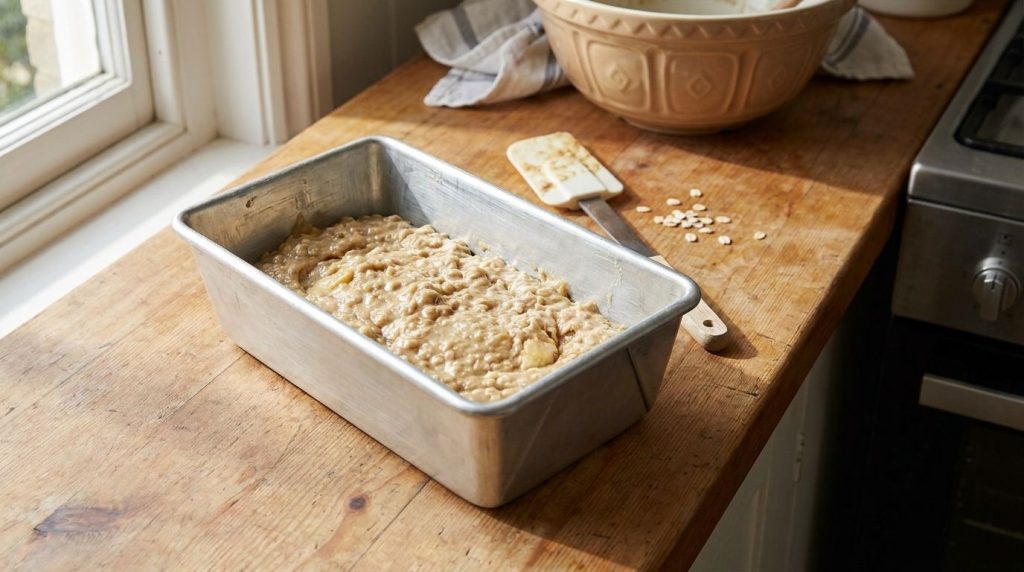
- Pour & Bake: Pour the batter into your prepared loaf or square pan, spreading it evenly with a spatula.
- Bake Until Golden: Bake for approximately 45-55 minutes for a loaf pan, or 30-40 minutes for an 8×8 inch square pan, or until a wooden skewer or toothpick inserted into the center comes out clean. The top should be golden brown and spring back lightly when touched.
- Cool: Once baked, remove the pan from the oven and let the cake cool in the pan for 10-15 minutes before carefully inverting it onto a wire rack to cool completely.
Pro Tips for the Best Results
- Use Very Ripe Bananas: This is key for natural sweetness and intense banana flavor. Don’t be afraid of bananas that are heavily spotted or even slightly brown!
- Don’t Overblend the Leavening: Once you add the baking powder and baking soda, blend only until just combined. Overmixing can cause the cake to be dense or tough.
- Measure Oats by Weight: For the most accurate results, weigh your rolled oats (180g) instead of using cup measurements, as cup measurements can vary.
- Grease Your Pan Thoroughly: Ensure your pan is well-greased and floured (or sprayed) to prevent sticking, especially with this moist cake.
- Test for Doneness: Baking times can vary by oven. Always use the toothpick test to ensure the cake is cooked through. If the top is browning too quickly, you can loosely tent it with foil.
- Cool Completely: While tempting, allow the cake to cool mostly or completely on a wire rack before slicing. This helps it firm up and prevents it from crumbling.
Common Mistakes to Avoid
- Using Under-Ripe Bananas: This will result in a less sweet cake with less prominent banana flavor. Wait for those brown spots!
- Overmixing the Batter: Blending too long after adding the leavening agents can develop the gluten in the oats too much (even though it’s minimal), leading to a tougher texture.
- Not Grinding Oats Enough: If your oats aren’t finely ground, your cake will have a coarser, more rustic texture rather than a fluffy one.
- Opening the Oven Door Too Early: Resist the urge to check on your cake too often, especially in the first 25-30 minutes, as this can cause it to sink.
Variations & Substitutions
- Add-Ins: Stir in ½ cup of chocolate chips, chopped nuts (walnuts or pecans), or shredded coconut after blending the batter (gently fold in with a spatula).
- Spice It Up: Enhance the flavor with a pinch of nutmeg, a dash of cardamom, or a bit more cinnamon.
- Sweetener Swap: You can use brown sugar or granulated sugar instead of maple syrup or honey, adjusting to your taste. Start with about ¼ to ⅓ cup.
- Dairy-Free: Simply use a non-dairy milk (like almond or oat milk) and ensure your oil is dairy-free (most are, but check labels if using butter alternatives).
- Protein Boost: Add 1-2 scoops of your favorite unflavored or vanilla protein powder to the blender with the dry ingredients for an added protein kick.
Serving Suggestions
This Oat & Banana Blender Cake is wonderfully versatile! Enjoy a warm slice as a wholesome breakfast or brunch item, perhaps with a dollop of Greek yogurt or a sprinkle of extra cinnamon. It’s also fantastic as a satisfying afternoon snack with a cup of coffee or tea. For a simple dessert, serve it slightly warm with a scoop of vanilla ice cream or a drizzle of warm caramel sauce.
Storage & Reheating
- Refrigerator: Store leftover cake in an airtight container at room temperature for up to 2-3 days, or in the refrigerator for up to 5 days.
- Freezer: For longer storage, slice the cooled cake and wrap individual slices tightly in plastic wrap, then place in a freezer-safe bag or container. It will keep in the freezer for up to 2-3 months.
- Reheating: Thaw frozen slices at room temperature or warm gently in the microwave for 15-30 seconds, or in a toaster oven until warmed through.
FAQ
Q: Can I make this cake gluten-free?
A: Yes! As long as you use certified gluten-free rolled oats, this recipe is naturally gluten-free.
Q: Can I use quick oats instead of rolled oats?
A: Quick oats can be used, but they might result in a slightly denser cake texture. Ensure they are still ground into a fine flour in the blender.
Q: How ripe should the bananas be?
A: The riper, the better! Look for bananas with significant brown spots on the peel, as these are sweetest and easiest to mash.
Q: Can I add chocolate chips to this cake?
A: Absolutely! Gently fold in about ½ cup of chocolate chips (or nuts, or shredded coconut) after the batter is blended and before pouring it into the pan.
Q: How do I know when the cake is done baking?
A: Insert a wooden skewer or toothpick into the center of the cake. If it comes out clean or with only a few moist crumbs attached, the cake is done. The top should also be golden brown and spring back when lightly touched.
Q: What if I don’t have a high-speed blender?
A: A regular blender should work, but you may need to blend the oats for a bit longer to achieve a fine flour. You might also need to stop and scrape down the sides more frequently.
Recipe Card
Recipe Name: Fluffy Oat & Banana Blender Cake
Short Description: A wonderfully moist and wholesome cake made easily in your blender, perfect for breakfast, snack, or dessert.
Prep Time: 10 minutes
Cook Time: 45-55 minutes
Total Time: 55-65 minutes
Servings: 8-10 slices
Course: Dessert, Breakfast, Snack
Cuisine: American
Cooking Method: Baking
Ingredients:
- 2 cups (180 g) rolled oats (certified gluten-free if needed)
- 2-3 very ripe medium bananas (about 1 cup or 240 g mashed)
- 2 large eggs
- ½ cup (120 ml) milk (any kind, dairy or non-dairy)
- ¼ cup (60 ml) neutral oil (such as vegetable, canola, or melted coconut oil)
- ¼ cup (60 ml) maple syrup or honey (adjust to your sweetness preference)
- 1 teaspoon vanilla extract
- 1 teaspoon baking powder
- ½ teaspoon baking soda
- ½ teaspoon ground cinnamon (optional)
- ¼ teaspoon salt
Instructions:
- Preheat your oven to 350°F (175°C). Lightly grease and flour (or spray with non-stick spray) a 9×5 inch loaf pan or an 8×8 inch square baking pan.
- Add the rolled oats to your blender. Blend on high speed for about 30-60 seconds, or until the oats are ground into a fine flour-like consistency.
- Add the very ripe bananas, eggs, milk, oil, maple syrup (or honey), and vanilla extract to the blender with the oat flour.
- Blend on high speed until all the ingredients are thoroughly combined and the batter is smooth. Scrape down the sides of the blender with a spatula as needed.
- Add the baking powder, baking soda, ground cinnamon (if using), and salt to the blender.
- Pulse the blender a few times (just 5-10 seconds) until these dry ingredients are just incorporated. Do not overblend.
- Pour the batter into your prepared loaf or square pan, spreading it evenly.
- Bake for approximately 45-55 minutes for a loaf pan, or 30-40 minutes for an 8×8 inch square pan, or until a wooden skewer or toothpick inserted into the center comes out clean.
- Remove the pan from the oven and let the cake cool in the pan for 10-15 minutes before carefully inverting it onto a wire rack to cool completely.
Notes: For best results, use very ripe bananas and avoid overmixing after adding the leavening agents. Weighing oats can ensure accuracy. Ensure oats are certified gluten-free for a truly GF cake.
Storage: Store at room temperature in an airtight container for 2-3 days, or refrigerate for up to 5 days. Freeze individual slices for up to 2-3 months. Reheat gently in the microwave or toaster oven.
Nutrition: Nutrition information is an estimate and may vary depending on the ingredients and brands used.