Craving a sweet, refreshing treat that’s also incredibly good for you? Look no further than this delightful Homemade Blueberry Avocado Ice Cream! Forget the guilt that often comes with dessert; this recipe transforms simple, wholesome ingredients into a lusciously creamy, vibrant purple scoop that’s perfect for satisfying your sweet tooth any day of the week.
Made without dairy and packed with healthy fats from avocado and antioxidants from blueberries, this ice cream offers a velvety texture and naturally sweet flavor. It’s an ideal choice for a light dessert, a healthy snack, or even a refreshing breakfast on a warm morning. Get ready to fall in love with your new favorite healthy frozen treat!
Why You’ll Love This Homemade Blueberry Avocado Ice Cream Recipe
- Healthy Indulgence: Satisfy your sweet cravings without the guilt. It’s naturally dairy-free, vegan, and uses wholesome ingredients.
- Naturally Creamy: Thanks to ripe avocados, this ice cream boasts an incredibly smooth, rich, and creamy texture without the need for heavy cream or an ice cream maker.
- No-Churn Required: Simply blend and freeze! This recipe requires no special equipment beyond a good blender or food processor.
- Simple Ingredients: You’ll only need a handful of readily available ingredients, making this a fuss-free dessert option.
- Vibrant & Refreshing: The beautiful purple hue from the blueberries is as appealing as the refreshing taste.
- Customizable: Easily adjust the sweetness or add other flavors to make it your own.
Ingredients
This recipe focuses on minimal, wholesome ingredients for maximum flavor and creaminess.
- 2 ripe medium avocados (about 300-350 g), peeled and pitted
- 2 cups (280 g) frozen blueberries
- 1/2 cup (120 ml) unsweetened almond milk (or other plant-based milk)
- 1/4 cup (60 ml) maple syrup (or agave nectar), adjust to taste
- 1 tsp (5 ml) vanilla extract
- 1 tbsp (15 ml) fresh lime juice (or lemon juice)
- Pinch of salt
Ingredient Notes
- Avocados: Choose very ripe avocados. They are the key to the super creamy texture and provide healthy fats. Unripe avocados will leave a grassy taste and a less smooth consistency.
- Frozen Blueberries: Using frozen blueberries helps to thicken the mixture and keeps the ice cream colder, resulting in a better texture. If you only have fresh, you might want to add a few ice cubes when blending or reduce the plant milk slightly.
- Maple Syrup: This is our natural sweetener. Feel free to adjust the amount based on your preference for sweetness. Agave nectar also works well.
- Plant-Based Milk: Unsweetened almond milk is a great neutral base. Coconut milk (full-fat canned) can be used for an even richer, slightly tropical flavor, but start with less and add as needed for desired consistency.
- Lime Juice: A small amount of lime or lemon juice brightens the blueberry flavor and helps prevent the avocado from browning, keeping that beautiful vibrant color. Don’t skip it!
Equipment You’ll Need
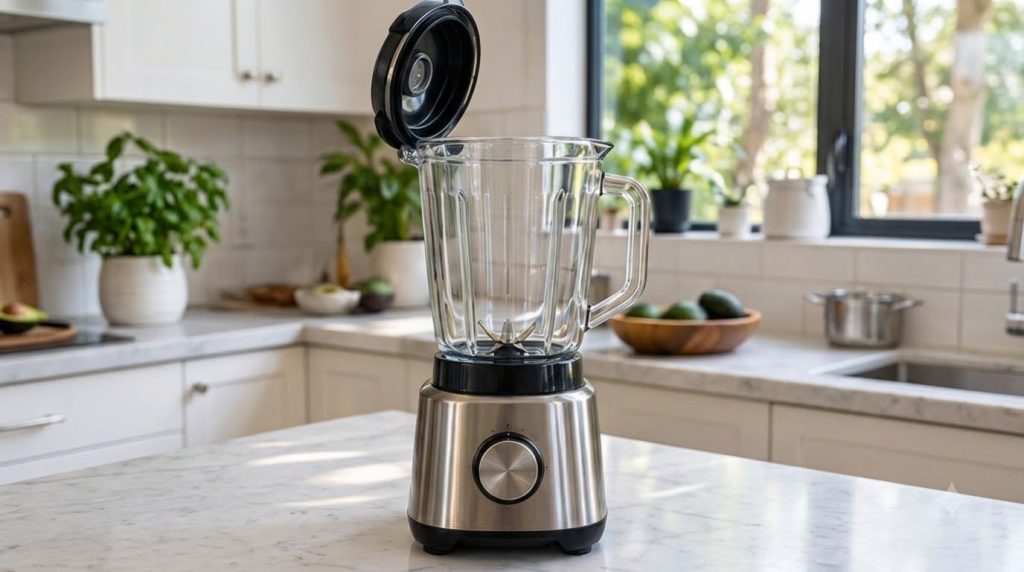
- High-speed blender or food processor
- Freezer-safe container (e.g., a loaf pan or an airtight container)
- Spatula or spoon
How to Make Homemade Blueberry Avocado Ice Cream
Making this creamy treat is incredibly simple! Just follow these easy steps:
-
Prepare Your Ingredients
Peel and pit your ripe avocados. Ensure your frozen blueberries are ready. Measure out your almond milk, maple syrup, vanilla extract, and lime juice.
-
Blend Until Smooth
Add the peeled and pitted avocados, frozen blueberries, almond milk, maple syrup, vanilla extract, lime juice, and a pinch of salt to your high-speed blender or food processor. Blend on high speed, stopping occasionally to scrape down the sides with a spatula, until the mixture is completely smooth and creamy. There should be no lumps of avocado or blueberry visible.
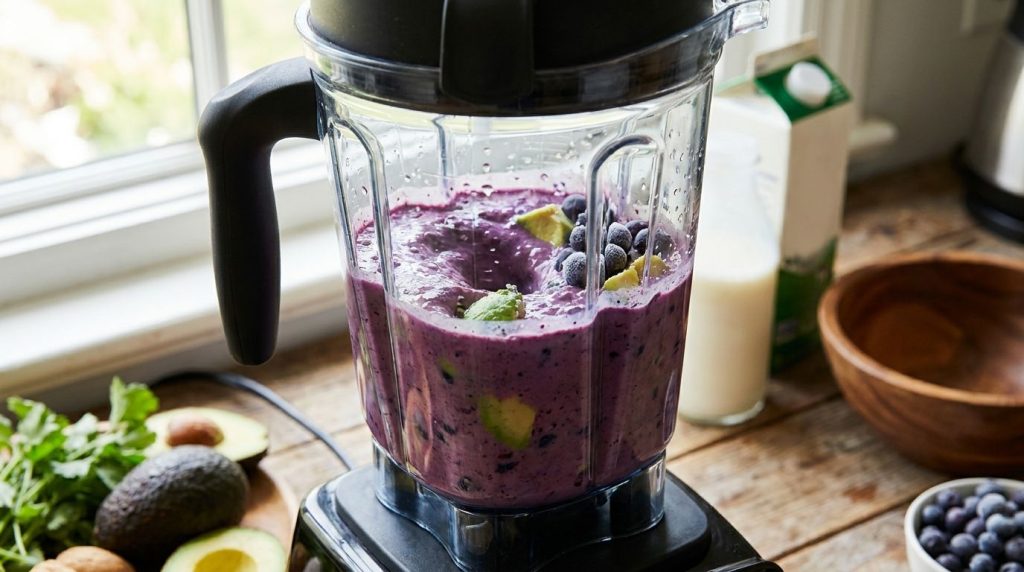
Blend until the mixture is completely smooth and creamy. -
Pour into a Freezer-Safe Container
Pour the smooth ice cream mixture into your chosen freezer-safe container. A loaf pan works well, or any shallow airtight container. Smooth out the top with a spatula.
-
Freeze Until Firm
Place the container in the freezer. Freeze for at least 4-6 hours, or until the ice cream is firm enough to scoop. For best results, freeze overnight. The longer it freezes, the firmer it will become.
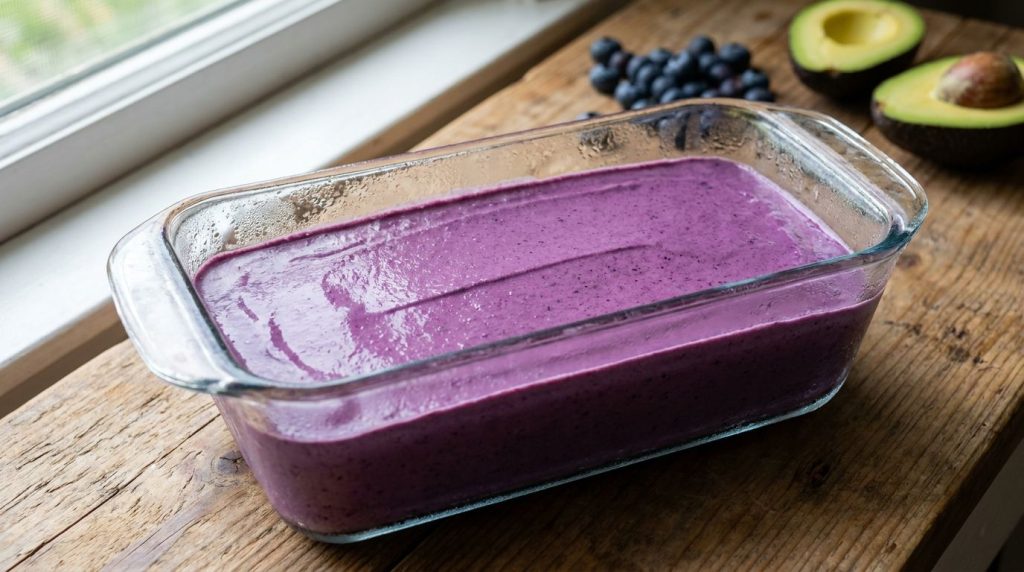
Pour the mixture into a container and freeze until firm. -
Scoop and Serve
When ready to serve, remove the ice cream from the freezer and let it sit at room temperature for 5-10 minutes to soften slightly, making it easier to scoop. Scoop into bowls or cones and enjoy!
Pro Tips for the Best Results
- Use Very Ripe Avocados: This is crucial! Ripe avocados contribute to the creamy texture and mild flavor. They should yield slightly to gentle pressure.
- Don’t Skimp on Blending: Ensure your mixture is absolutely smooth. Any small lumps of avocado will affect the final texture. A high-speed blender is ideal for this.
- Adjust Sweetness: Taste the mixture before freezing and adjust the maple syrup to your preferred level of sweetness. Remember, frozen foods tend to taste a little less sweet.
- Chill Your Container: For even faster freezing and a slightly smoother texture, consider chilling your freezer-safe container in the freezer for about 30 minutes before pouring in the ice cream mixture.
- Allow to Soften Before Scooping: Healthy, dairy-free ice creams can get very firm when fully frozen. Let it sit on the counter for 5-10 minutes before scooping for the perfect consistency.
- Cover During Freezing: To prevent freezer burn and ice crystals, press a piece of parchment paper or plastic wrap directly onto the surface of the ice cream before covering the container.
Common Mistakes to Avoid
- Using Unripe Avocados: This is the most common mistake. Unripe avocados will result in a less creamy, potentially bitter, and noticeably green ice cream.
- Not Blending Enough: If the mixture isn’t perfectly smooth, you’ll end up with tiny avocado chunks or a grainy texture in your ice cream.
- Too Much Liquid: Adding too much plant milk can make the ice cream icy rather than creamy. Start with the recommended amount and only add more if your blender struggles.
- Forgetting the Acid (Lime/Lemon Juice): This small addition is vital for brightening the flavors and maintaining the beautiful purple color of the blueberries, preventing the avocado from oxidizing and turning brown.
Variations & Substitutions
- Other Berries: Feel free to swap blueberries for frozen raspberries or a mixed berry blend for different flavor profiles.
- Chocolatey Twist: Add 2-3 tablespoons of unsweetened cocoa powder to the blender for a rich chocolate avocado ice cream with a hint of blueberry.
- Extra Sweetness: If you prefer a more decadent treat, you can add a few drops of liquid stevia or use more maple syrup.
- Nut Butter Swirl: Swirl in a tablespoon or two of almond butter or cashew butter before freezing for added richness.
- Tropical Flair: Add a small amount of frozen mango or pineapple to the blend for a more tropical taste.
Serving Suggestions
This Homemade Blueberry Avocado Ice Cream is delicious on its own, but here are some ideas to elevate your serving experience:
- Classic Scoops: Serve in a bowl or a sugar cone for a simple, refreshing dessert.
- Fresh Fruit Topping: Garnish with extra fresh blueberries, raspberries, or sliced strawberries.
- Crunchy Additions: A sprinkle of granola, chopped nuts (like almonds or pistachios), or shredded coconut adds a pleasant textural contrast.
- Drizzle: A light drizzle of extra maple syrup or a homemade berry coulis can enhance the flavors.
Storage & Reheating
This blueberry avocado ice cream stores beautifully in the freezer.
- Refrigerator Storage: Not recommended. This is a frozen dessert and will melt in the refrigerator.
- Freezer Storage: Transfer the ice cream to an airtight, freezer-safe container. Press a piece of parchment paper or plastic wrap directly onto the surface of the ice cream before sealing the container to prevent ice crystals and freezer burn.
- Storage Duration: It will keep well in the freezer for up to 1-2 weeks. After that, the texture may start to degrade slightly, becoming a bit icier.
- Reheating (Softening): When ready to enjoy, remove the container from the freezer and let it sit at room temperature for 5-10 minutes to soften to a scoopable consistency. Do not microwave to soften, as this can affect the texture.
FAQ
Is this ice cream truly dairy-free?
Yes, this recipe is completely dairy-free as it uses plant-based milk and no other dairy products, making it suitable for vegan diets and those with dairy sensitivities.
Can I make this without a high-speed blender or food processor?
For the creamiest texture, a high-speed blender or a powerful food processor is highly recommended to fully pulverize the avocado and frozen blueberries. A standard blender might struggle to get it perfectly smooth.
How long does it take for the ice cream to freeze solid?
It typically takes 4-6 hours to reach a scoopable consistency, but for best results and firm ice cream, freezing overnight is ideal.
Why use avocado in ice cream? Does it taste like avocado?
Avocado is used for its incredibly creamy texture and healthy fat content, which mimics the richness of dairy cream. When combined with blueberries and sweetener, the avocado’s flavor is very mild and practically undetectable, allowing the blueberries to shine.
Can I use fresh blueberries instead of frozen?
You can, but the texture might be less firm since fresh blueberries introduce more liquid. If using fresh, you might want to add a handful of ice cubes to the blender to help with thickening or reduce the amount of plant milk slightly.
How can I prevent the ice cream from becoming too hard in the freezer?
Dairy-free ice creams can get quite firm. To help keep it softer, ensure you have enough sweetener (sugar helps prevent hard crystallization). You can also add a tablespoon of a high-proof alcohol like vodka to the mixture before freezing, as alcohol doesn’t freeze and helps keep the texture softer. However, the easiest method is simply letting it sit at room temperature for a few minutes before scooping.
Is this ice cream healthy?
Yes, compared to traditional ice cream, this version is made with healthy fats from avocado, antioxidants from blueberries, and naturally sweetened. It’s a great option for a wholesome frozen dessert.
Homemade Blueberry Avocado Ice Cream Recipe Card
Recipe Name: Homemade Blueberry Avocado Ice Cream
Short Description: Indulge in a creamy, healthy, and vibrant blueberry avocado ice cream. This dairy-free, no-churn recipe is easy to make and perfect for a guilt-free frozen treat!
Prep Time: 10 minutes
Cook Time: 0 minutes
Total Time: 10 minutes (plus 4-6 hours freezing)
Servings: 4
Course: Dessert
Cuisine: American (Healthy)
Cooking Method: Blending, Freezing
Ingredients:
- 2 ripe medium avocados (about 300-350 g), peeled and pitted
- 2 cups (280 g) frozen blueberries
- 1/2 cup (120 ml) unsweetened almond milk (or other plant-based milk)
- 1/4 cup (60 ml) maple syrup (or agave nectar), adjust to taste
- 1 tsp (5 ml) vanilla extract
- 1 tbsp (15 ml) fresh lime juice (or lemon juice)
- Pinch of salt
Instructions:
- Prepare Your Ingredients: Peel and pit your ripe avocados. Ensure your frozen blueberries are ready. Measure out your almond milk, maple syrup, vanilla extract, and lime juice.
- Blend Until Smooth: Add the peeled and pitted avocados, frozen blueberries, almond milk, maple syrup, vanilla extract, lime juice, and a pinch of salt to your high-speed blender or food processor. Blend on high speed, stopping occasionally to scrape down the sides with a spatula, until the mixture is completely smooth and creamy. There should be no lumps of avocado or blueberry visible.
- Pour into a Freezer-Safe Container: Pour the smooth ice cream mixture into your chosen freezer-safe container (e.g., a loaf pan or an airtight container). Smooth out the top with a spatula.
- Freeze Until Firm: Place the container in the freezer. Freeze for at least 4-6 hours, or until the ice cream is firm enough to scoop. For best results, freeze overnight.
- Scoop and Serve: When ready to serve, remove the ice cream from the freezer and let it sit at room temperature for 5-10 minutes to soften slightly, making it easier to scoop. Scoop into bowls or cones and enjoy!
Notes:
For the best texture, use very ripe avocados and blend until completely smooth. Adjust the sweetness to your liking before freezing. Covering the surface of the ice cream with parchment paper or plastic wrap during freezing helps prevent ice crystals.
Storage:
Store in an airtight, freezer-safe container for up to 1-2 weeks. Let soften at room temperature for 5-10 minutes before scooping.
Nutrition:
Nutrition information is an estimate and may vary depending on the ingredients and brands used.
