Effortless DIY Stovetop Cleaner: Tackle Burnt Grime Naturally
Are you tired of battling stubborn, burnt-on stains on your stovetop after every cooking adventure? Those caked-on messes can seem impossible to remove, often requiring endless scrubbing with harsh chemicals. But what if you could make quick work of kitchen grime using simple, natural ingredients you likely already have in your pantry?
This DIY stovetop cleaner harnesses the power of common household items to lift tough stains, cut through grease, and restore the shine to your cooking surfaces. It’s an effective, affordable, and eco-friendly alternative to commercial cleaners, proving that a sparkling clean kitchen is within easy reach.
What You’ll Need
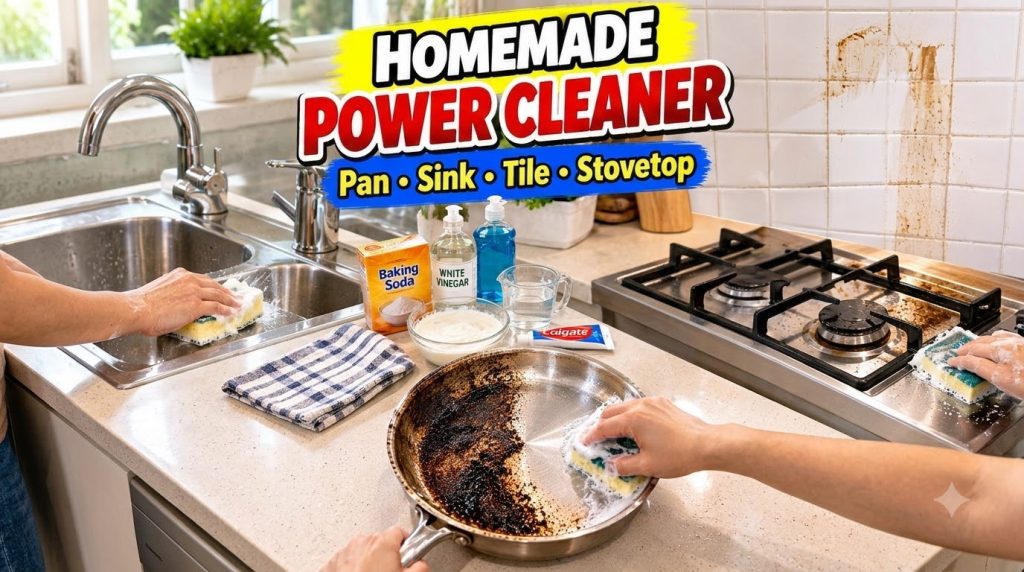
- 1/2 cup Baking Soda: A gentle abrasive that helps to scrub away tough stains.
- 1-2 tablespoons White Vinegar: An acidic cleaner that cuts through grease and dissolves mineral deposits.
- 1 tablespoon Liquid Dish Soap: A powerful degreaser to break down sticky residues.
- Small Mixing Bowl: For combining your ingredients.
- Scrub Brush or Non-Abrasive Sponge: For applying the paste and scrubbing.
- Clean Cloths or Paper Towels: For wiping and rinsing.
- Gloves (Optional): Recommended for protecting your hands during cleaning.
Why This DIY Can Be Useful
Each ingredient in this DIY cleaner plays a crucial role in tackling different types of kitchen grime:
- Baking Soda: Its fine crystalline structure provides a gentle abrasive action, helping to mechanically lift dried food and burnt-on residues without scratching most surfaces. It also works as a natural deodorizer.
- White Vinegar: The acetic acid in white vinegar is excellent at dissolving hard water stains, grease, and grime. When mixed with baking soda, it creates a fizzing reaction that helps to loosen stubborn deposits.
- Liquid Dish Soap: Dish soap is specifically formulated to break down fats and oils, making it an ideal choice for cutting through greasy stovetop splatters and sticky food residues.
Together, these ingredients create a synergistic cleaning solution that is tough on stains but gentle on your kitchen surfaces and the environment.
How to Make It
Creating your homemade stovetop cleaner is quick and easy:
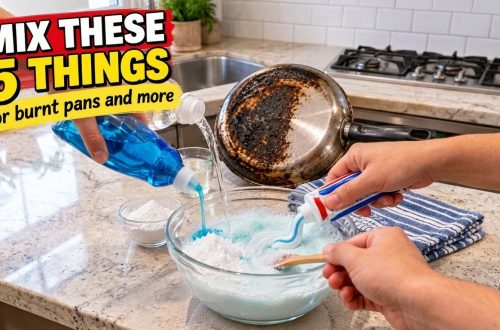
- In your small mixing bowl, combine the 1/2 cup of baking soda and 1 tablespoon of liquid dish soap.
- Gradually add 1 tablespoon of white vinegar to the mixture. It will immediately begin to fizz and bubble. This reaction helps activate the cleaning power.
- Stir well until a thick, spreadable paste forms. If the paste is too thin, add a little more baking soda. If it’s too thick, add a few more drops of vinegar or dish soap. The ideal consistency should be like a thick frosting.
How to Use It
Follow these steps to effectively clean your stovetop:
- Prepare the Surface: First, ensure your stovetop is cool to the touch. Remove any loose crumbs, food particles, or debris with a dry cloth or paper towel.
- Apply the Paste: Using your scrub brush or sponge, apply a generous layer of the cleaning paste directly onto the burnt-on stains and greasy areas of your stovetop. Make sure the paste completely covers the soiled spots.
- Let It Sit: Allow the paste to sit on the stains for at least 15-30 minutes. For exceptionally tough or old stains, you can let it sit for up to a few hours, or even overnight. This gives the ingredients time to penetrate and loosen the grime.
- Scrub: After the waiting period, use your scrub brush or non-abrasive sponge to gently scrub the treated areas in circular motions. You’ll notice the grime beginning to lift. Apply more pressure to stubborn spots as needed.
- Wipe Clean: Dampen a clean cloth with warm water and wipe away the paste and lifted grime. Rinse the cloth frequently and continue wiping until all residue is removed and your stovetop is clean.
- Dry and Polish: Finish by wiping the stovetop dry with a clean, dry cloth or paper towel to reveal a sparkling, residue-free surface.
What to Expect
You can expect a significant reduction in burnt-on food and grease stains on your stovetop. This DIY method is very effective at lifting common cooking messes and restoring shine. While very old, deeply embedded stains might not disappear completely on the first try, they will be substantially diminished. For particularly stubborn areas, you may need to repeat the application or allow the paste to sit for a longer duration.
Helpful Tips
- Pre-Dampen the Surface: For better adhesion and to help the paste start working faster, you can lightly dampen the stained areas with warm water before applying the cleaner.
- Cover for Tough Stains: If you’re dealing with exceptionally tough, dried-on grime, consider covering the applied paste with plastic wrap. This helps to keep the paste moist and active for a longer period, enhancing its cleaning power.
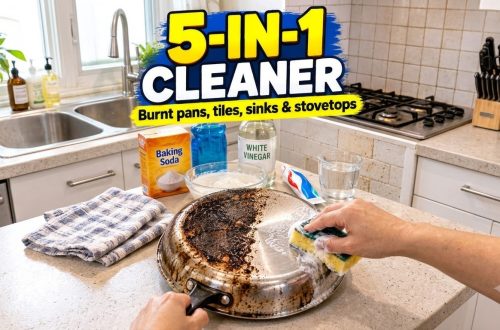
- Versatile Cleaner: This paste isn’t just for stovetops! It works wonderfully on burnt pots and pans, inside ovens (avoid heating with paste inside), and even to scrub stainless steel sinks.
- Test First: Always perform a small patch test in an inconspicuous area, especially if you have a unique stovetop material, to ensure there are no adverse reactions or discoloration.
Important Notes / Safety
- Ventilation: Although this DIY uses natural ingredients, it’s always good practice to ensure proper ventilation in your kitchen while cleaning.
- Surface Compatibility: Be cautious when using vinegar on natural stone surfaces like marble or granite, as its acidity can etch or dull the finish over time. This cleaner is generally safe for most stovetop materials like glass-ceramic, enamel, and stainless steel, but a patch test is always recommended.
- Rinse Thoroughly: Ensure you rinse and wipe away all cleaning paste residue from your stovetop to prevent streaks or a dull film.
- Avoid Combining with Bleach: Never mix vinegar with bleach, as this can create toxic chlorine gas. Always use these cleaning agents separately.