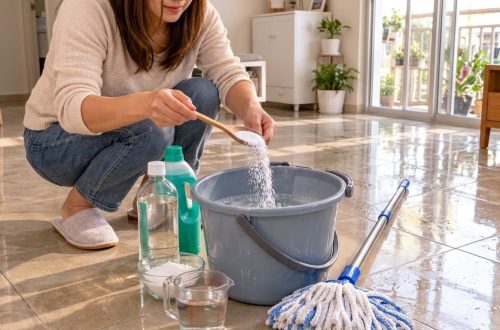
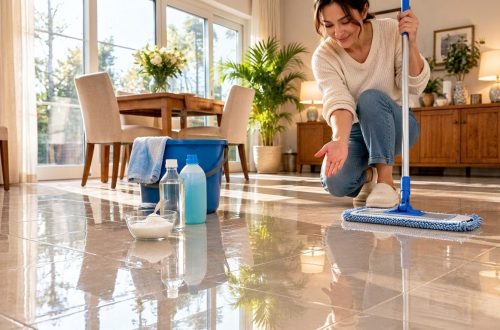
Are your tiled floors looking dull, showing every footprint, and lacking that fresh, clean sparkle? You’re not alone! Everyday traffic, spills, and even some cleaning products can leave behind a residue that diminishes your floor’s natural shine. But what if you could restore that mirror-like gleam without hours of scrubbing or expensive specialized cleaners?
This simple DIY mopping technique combines common household ingredients to cut through grime and residue, leaving your hard floors looking absolutely radiant and reflecting light beautifully throughout your home. It’s an easy, cost-effective way to bring back the brilliance you love.
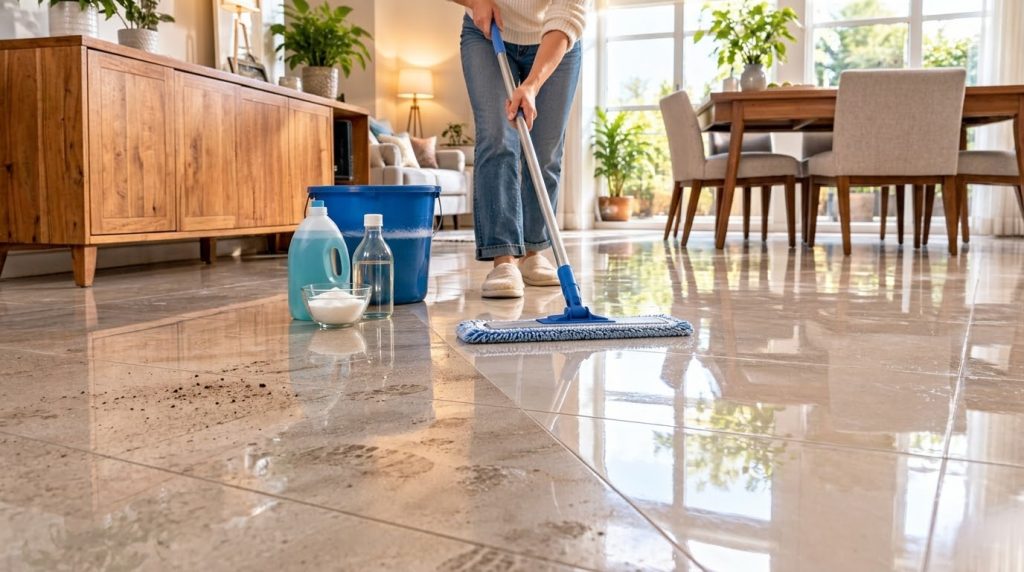
What You’ll Need
Ingredients
- 1 gallon (approx. 4 liters) warm water
- 1/4 cup all-purpose floor detergent
- 1 cup white vinegar
Tools
- Mop
- Mop bucket
- Broom or vacuum cleaner
Why This DIY Can Be Useful
This cleaning solution works wonders because of the synergistic action of its simple components:
- All-Purpose Floor Detergent: This is your primary weapon against dirt, grease, and grime. It helps to lift and suspend particles from the floor’s surface, making them easy to wipe away.
- White Vinegar: A natural acid, white vinegar is excellent at dissolving hard water spots, soap scum, and other sticky residues that can dull your floors. It also acts as a natural deodorizer and helps to leave a streak-free shine by preventing detergent residue from forming.
How to Make It
- Fill your mop bucket with approximately 1 gallon of warm water. Warm water helps to activate the detergent and lift dirt more effectively.
- Add 1/4 cup of your favorite all-purpose floor detergent to the water.
- Carefully pour 1 cup of white vinegar into the bucket. Stir the solution gently to combine the ingredients.
How to Use It
- Prepare Your Floors: Before mopping, sweep or vacuum your tiled floors thoroughly to remove any loose dirt, dust, and debris. This prevents you from just pushing grime around with your mop.
- Dip and Wring: Dip your mop into the cleaning solution, ensuring it’s fully saturated. Then, wring it out very well. A damp mop is much better than a soaking wet one, as excessive water can leave streaks and prolong drying time.
- Mop in Sections: Mop a small section of your floor at a time, working your way backward to avoid stepping on the freshly cleaned areas. Overlap your strokes slightly for even coverage.
- Allow to Dry: Once you’ve mopped an area, let it air dry completely. The vinegar in the solution helps it dry quickly and without streaks.
What to Expect
After using this DIY mop solution, you can expect your tiled floors to look noticeably cleaner, brighter, and more reflective. The combination of detergent and vinegar effectively removes dirt and dulling residue, revealing a fresh, streak-free shine. While it won’t magically repair deep scratches or damage, it will significantly improve the overall appearance and radiance of your hard floors.
Helpful Tips
- Pre-Treat Stubborn Spots: For particularly stubborn stains or dried-on spills, apply a small amount of the cleaning solution directly to the spot and let it sit for a few minutes before mopping.
- Change Water Frequently: If you’re cleaning a large or very dirty area, change your mop water when it becomes visibly cloudy to avoid spreading dirt.
- Microfiber Mops: Consider using a microfiber mop head. They are excellent for picking up dirt and are very effective at leaving a streak-free finish.
- Work from Cleanest to Dirtiest: If some areas of your floor are dirtier than others, start mopping in the cleaner sections and gradually move towards the dirtiest parts.
Important Notes / Safety
- Ventilation: Ensure good ventilation in the room while cleaning, especially when using vinegar.
- Patch Test: While generally safe for most tiled floors, always perform a patch test in an inconspicuous area if you have delicate or unsealed natural stone tiles, as vinegar can be acidic.
- Do NOT Mix with Bleach: Never mix vinegar with bleach, as this can create dangerous chlorine gas.
- Storage: Store any leftover cleaning solution in a clearly labeled bottle for future use, but it’s generally best to make a fresh batch for optimal effectiveness.