Are you still battling stubborn black crust on your pots and pans? Before you consider tossing that ‘beyond repair’ cookware, there’s a simple, effective solution using common household items.
This powerful combination of everyday ingredients is designed to tackle even the toughest burnt-on grime, making those dreaded scrubbing sessions much easier. It’s surprisingly satisfying to watch it lift away, bringing the shine back to your stainless steel without resorting to harsh, chemical-laden cleaners.
Give your neglected cookware a new lease on life with this clever DIY approach!
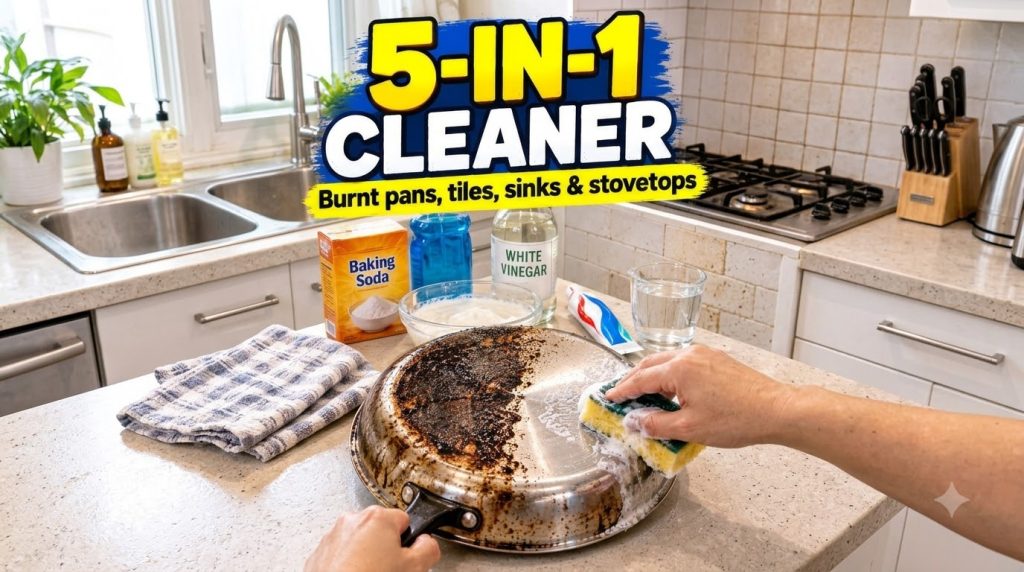
What You’ll Need
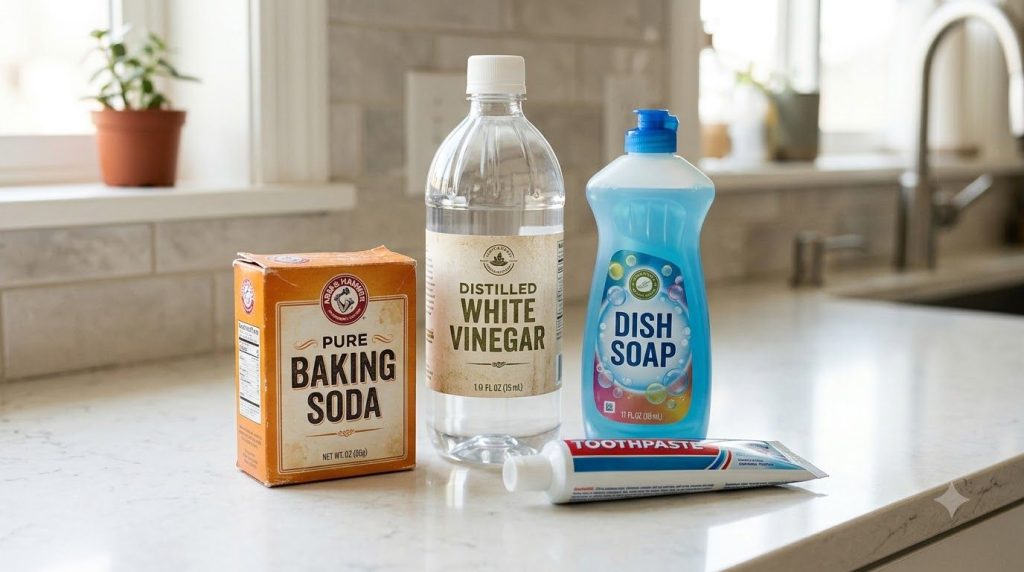
Ingredients for the Cleaning Paste:
- 1/2 cup Baking Soda
- 1/4 cup White Vinegar
- 1 tablespoon Dish Soap
- A small squeeze of Toothpaste (about 1 teaspoon, white paste recommended)
- Warm water (as needed to adjust consistency)
Tools:
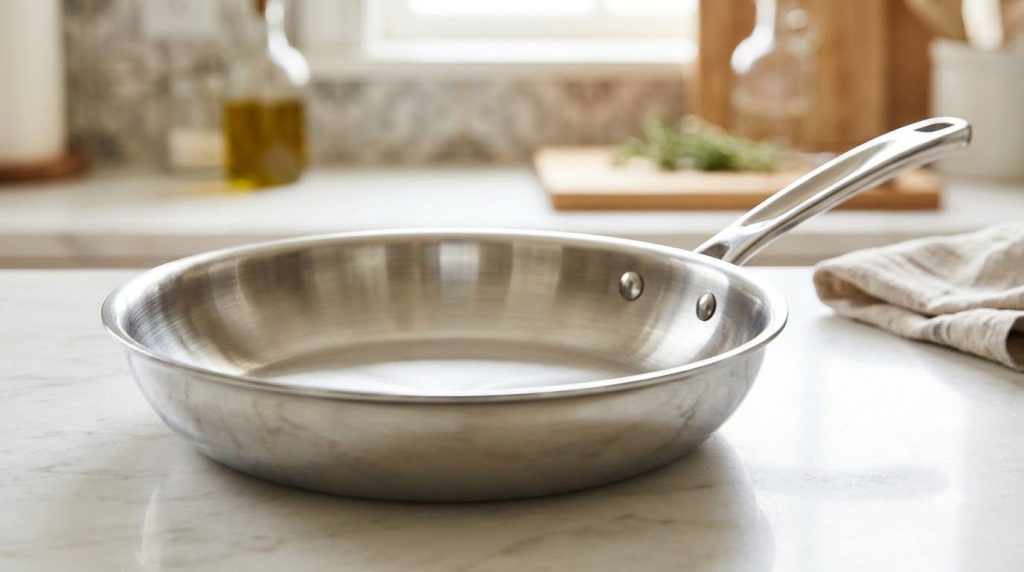
- Burnt stainless steel pan
- Scrubbing sponge (with an abrasive side)
- Small mixing bowl (for combining ingredients)
Why This DIY Can Be Useful
This 5-in-1 cleaning solution harnesses the power of several household staples, each playing a crucial role:
- Baking Soda: A mild abrasive and alkaline compound, baking soda helps to physically scrub away burnt residues while also neutralizing odors and gently lifting grime.
- White Vinegar: Its acidic nature helps to dissolve mineral deposits, cut through grease, and react with baking soda to create a fizzing action that further loosens stubborn stains.
- Dish Soap: An excellent degreaser, dish soap breaks down oily residues, helps suspend the other ingredients, and creates suds that lift dirt away.
- Toothpaste: Often containing mild abrasives and detergents similar to those found in cleaning products, toothpaste contributes to the scrubbing and polishing action, helping to restore the pan’s shine.
How to Make It
- First, ensure your burnt pan is empty and has been lightly rinsed to remove any loose debris.
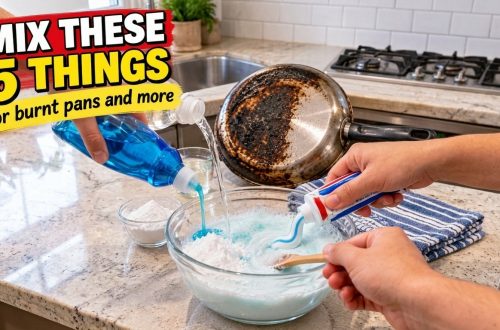
- In a small mixing bowl, combine the baking soda, white vinegar, dish soap, and toothpaste.
- Stir the mixture thoroughly to form a thick paste. If it’s too thick to spread easily, add warm water a teaspoon at a time until you reach a spreadable consistency.
How to Use It
- Liberally apply the prepared cleaning paste to all the burnt areas of your stainless steel pan. Make sure the grime is fully covered.
- Allow the paste to sit on the burnt areas for at least 30 minutes. For very stubborn or heavily crusted grime, let it sit for a few hours, or even overnight, to give the ingredients more time to work.
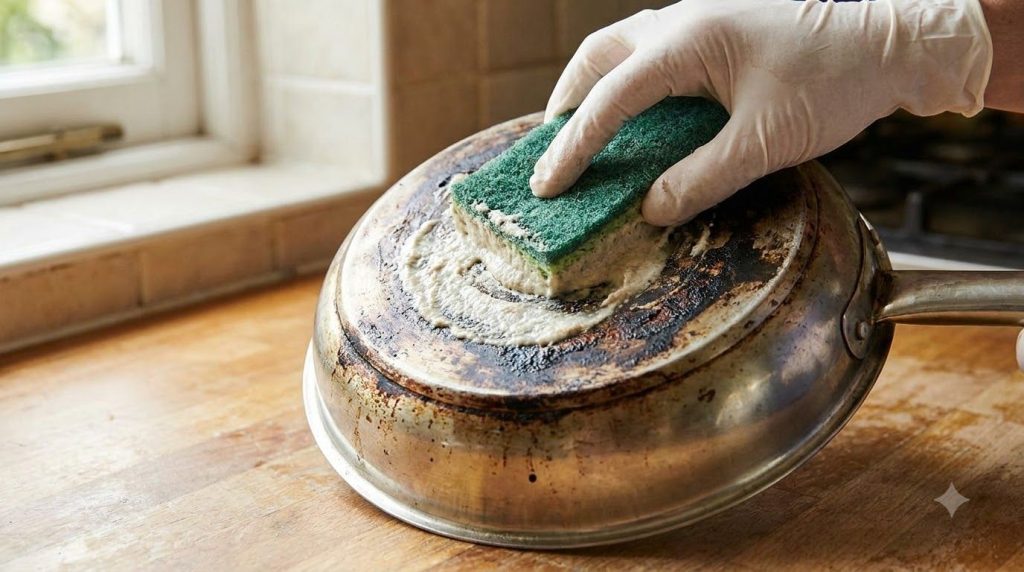
- Using the abrasive side of your scrubbing sponge, begin to firmly scrub the burnt areas of the pan. You should start to see the grime lifting away.
- Once you’ve scrubbed the entire affected surface, rinse the pan thoroughly with warm water, making sure to wash away all the paste and loosened grime.
- Inspect your pan. If some stubborn spots remain, you can repeat the application and scrubbing process until you achieve your desired results.
What to Expect
After using this DIY cleaner, you can expect a significant reduction or complete removal of burnt-on food and black crust from your stainless steel pan. While extremely heavy or old damage might not completely disappear, your pan will look noticeably cleaner and its shine largely restored. The level of success depends on the severity and age of the burnt stains, but most common burnt messes should see impressive results.
Helpful Tips
- Pre-Soak for Tough Stains: For exceptionally stubborn burnt food, try soaking the pan in hot water for 15-30 minutes before applying the cleaning paste. This can help loosen some of the grime, making the scrubbing process easier.
- Scrape First: If there are large, loose chunks of burnt food, use a plastic scraper or a wooden spoon to gently remove them before applying the paste. This ensures the cleaner can work directly on the embedded grime.
- Consider Gloves: While the ingredients are mild, wearing gloves can protect your hands during the scrubbing process and keep them clean.
Important Notes / Safety
- Test First: Although these ingredients are generally safe for stainless steel, always test a small, inconspicuous area first if you are unsure, especially on non-stainless steel or specialty coated pans.
- Avoid Metal Scrubbers: For stainless steel, stick to abrasive sponges or nylon scrubbers. Metal scouring pads can scratch the surface of your pan.
- Good Ventilation: While these household items are not strong chemicals, it’s always good practice to ensure adequate ventilation in your kitchen when cleaning.
- Do Not Mix with Other Cleaners: Never combine this DIY cleaner with commercial cleaning products, especially those containing bleach, as it can create harmful fumes.