Discover how to create your own anti-aging gel at home with a simple blend of nourishing ingredients. This easy-to-make gel can help your skin feel hydrated and appear smoother for a more radiant, youthful-looking complexion.
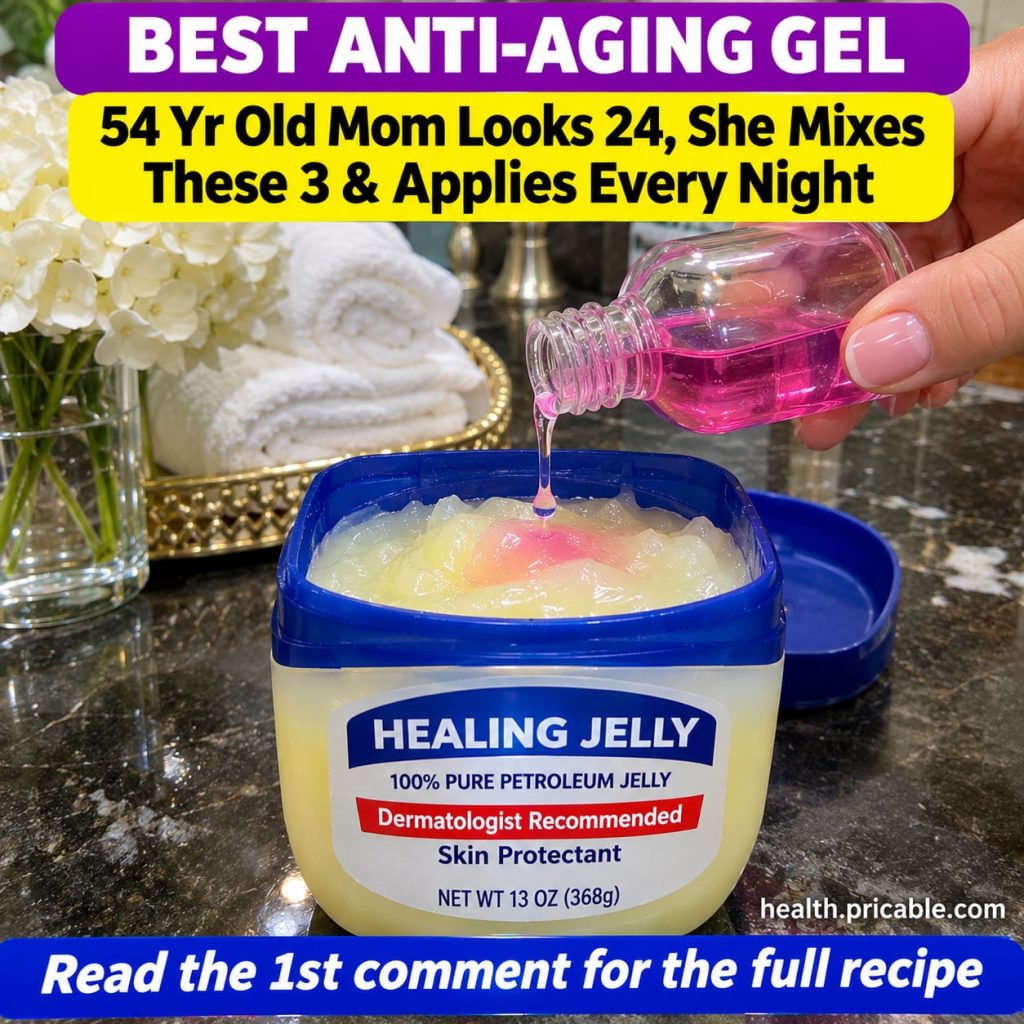
Quick Recipe
Prep time: 5 minutes
Best for: Fine lines, dullness, promoting a smoother skin appearance
Use type: Gel
Main ingredients:
- Aloe Vera Gel
- Rose Water
- Vitamin E Oil
Ingredients
- 3 tablespoons pure aloe vera gel
- 1 tablespoon rose water
- ½ teaspoon liquid Vitamin E oil (from a capsule or bottle)
How to Make It
- Gather Your Tools: Make sure you have a small, clean bowl, a spoon for mixing, and an airtight container (like a small glass jar or a clean cosmetic pot) for storage.
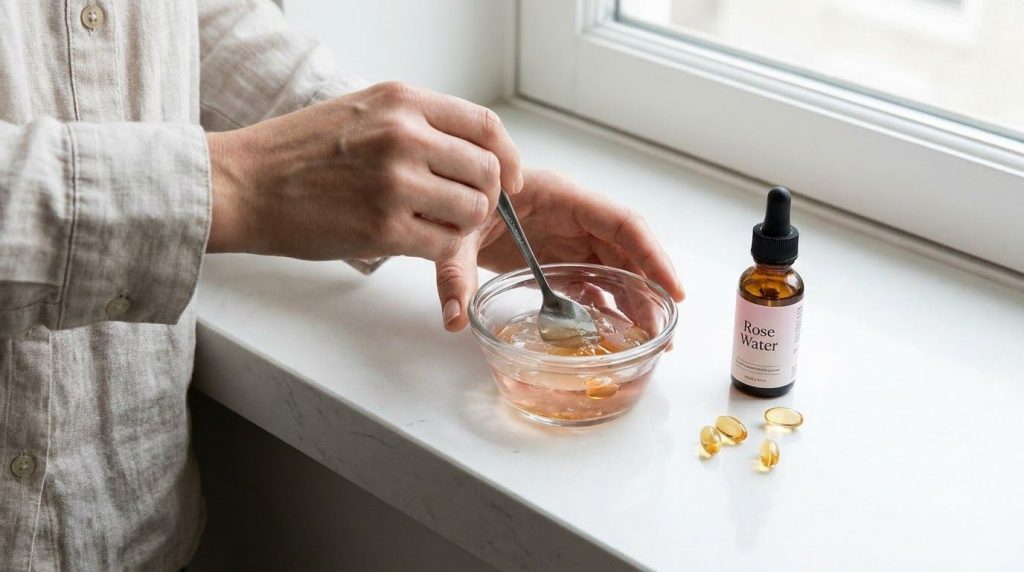
- Combine Ingredients: In your clean bowl, add the 3 tablespoons of pure aloe vera gel. Next, pour in the 1 tablespoon of rose water.
- Add Vitamin E: Carefully add ½ teaspoon of liquid Vitamin E oil. If you’re using capsules, simply pierce a few with a clean pin and squeeze out the oil.
- Mix Thoroughly: Stir all the ingredients together vigorously with your spoon until they are well combined and form a smooth, consistent gel.
- Transfer and Store: Carefully spoon the freshly made anti-aging gel into your airtight container. Store it in the refrigerator to maintain its freshness and extend its shelf life.
How to Use It
- Cleanse Your Skin: Start with a freshly cleansed face and neck. Gently pat your skin dry with a soft towel.
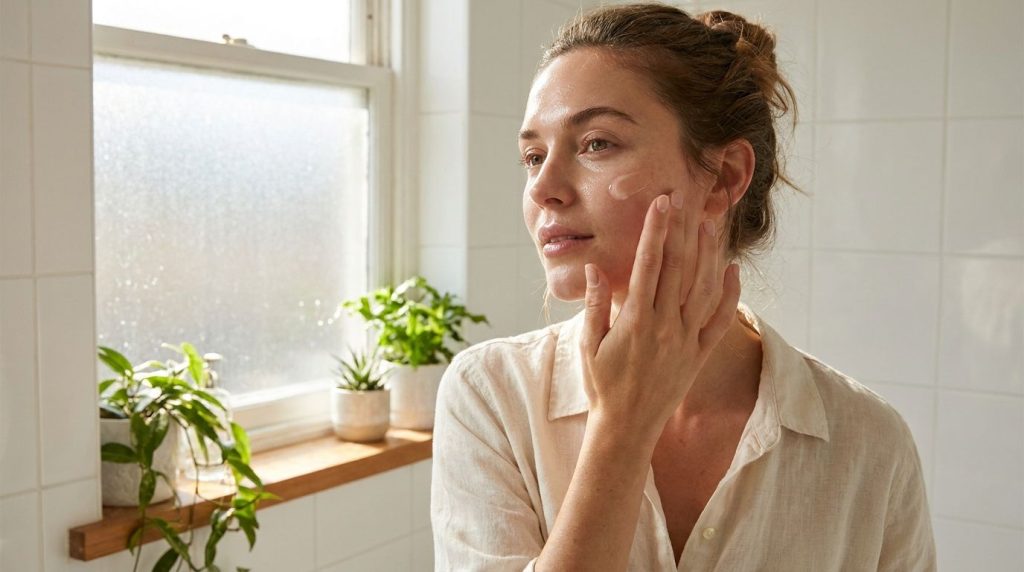
- Apply a Small Amount: Take a pea-sized amount of the homemade anti-aging gel onto your fingertips. A little goes a long way.
- Massage Gently: Using gentle, upward circular motions, massage the gel onto your face and neck. Focus on areas where you notice fine lines or dryness.
- Allow to Absorb: Let the gel fully absorb into your skin before applying any makeup or other skincare products. It should feel light and non-greasy.
How Often to Use It
For best results, incorporate this DIY anti-aging gel into your daily skincare routine. You can use it once in the morning after cleansing and toning, and again in the evening before bed. Consistent use helps maintain skin hydration and supports a smoother-looking complexion.
Why These Ingredients Are Used
Aloe Vera Gel
Known for its soothing and hydrating properties, pure aloe vera gel is a wonderful base for many DIY beauty remedies. It can help moisturize the skin without feeling heavy, making it an excellent choice for a lightweight gel.
Rose Water
Rose water acts as a gentle toner, helping to balance the skin’s appearance and refresh the complexion. It also imparts a lovely, subtle natural scent, making your skincare routine feel more luxurious.
Vitamin E Oil
A well-known antioxidant, Vitamin E oil is often used in skincare to help nourish the skin. It can contribute to improving the appearance of skin texture and is traditionally valued for its role in supporting a healthy-looking complexion.
What Results to Expect
With regular use of this homemade anti-aging gel, you may notice your skin feeling more deeply hydrated and appearing smoother. It can help support a fresher, more radiant complexion and contribute to a more supple and youthful-looking skin appearance over time. While individual results vary, this natural blend aims to enhance your skin’s natural vitality.
Safety Notes
- Patch Test First: Always perform a patch test on a small, inconspicuous area of your skin (like behind your ear or on your inner arm) 24 hours before applying the gel to your face, especially if you have sensitive skin.
- Use Gently: Apply the gel with soft, gentle motions. Avoid vigorous rubbing, which can irritate the skin.
- Avoid Irritated or Broken Skin: Do not apply the gel to skin that is irritated, broken, or has open wounds.
- Stop If Discomfort Occurs: If you experience any redness, itching, burning, or discomfort, discontinue use immediately and rinse your skin thoroughly with cool water.
- Storage: Store your homemade gel in an airtight container in the refrigerator to prevent bacterial growth and extend its freshness. Aim to use it within 1-2 weeks.
FAQ
How long can I store this homemade gel?
Due to the natural ingredients and absence of strong preservatives, it’s best to store this gel in the refrigerator and use it within 1 to 2 weeks for optimal freshness and safety.
Can I use this gel around my eyes?
The skin around the eyes is very delicate. While the ingredients are generally gentle, always perform a patch test first. Apply a tiny amount and observe for any reaction before regular use in this sensitive area.
Is this gel suitable for all skin types?
This gel is generally suitable for most skin types, particularly those looking for hydration and a smoother appearance. However, as with any new product, a patch test is highly recommended, especially for very sensitive or acne-prone skin.
Final Thoughts
Embracing natural, homemade beauty solutions can be a rewarding way to care for your skin. This DIY anti-aging gel offers a simple yet effective approach to support a hydrated, smoother, and more radiant complexion. Give it a try and see how these accessible ingredients can enhance your natural glow! Share your experience in the comments below.