Are you dreaming of a vibrant vegetable garden bursting with fresh produce? One of the most satisfying parts of gardening is seeing tiny seeds sprout into strong, healthy plants. But sometimes, despite our best efforts, germination rates can be disappointing. What if there was a simple trick to give your seeds a head start and boost your chances of success? There is! It’s called seed soaking, and it’s a game-changer for many home gardeners.
Why Soak Your Seeds? The Benefits of Pre-Germination
Seed soaking isn’t just an old gardener’s tale; it’s a proven method to improve germination. Here’s why it works wonders:
- Softens the Seed Coat: Many seeds have tough outer shells that prevent water from entering, delaying germination. Soaking helps soften these coats, allowing moisture to penetrate more easily.
- Wakes Up Dormant Embryos: Seeds are essentially miniature plants in a dormant state. Soaking provides the necessary moisture to signal the embryo that it’s time to wake up and start growing.
- Speeds Up Germination: By giving seeds a head start in hydration, you can significantly reduce the time it takes for them to sprout once planted. This means you’ll see those exciting green shoots sooner!
- Improved Germination Rates: You’ll often find a higher percentage of your soaked seeds successfully germinating compared to those planted dry. More sprouts mean more potential plants for your garden!
How to Soak Your Seeds: A Simple Step-by-Step Guide
The process of soaking seeds is incredibly simple, making it accessible for even beginner gardeners.
What You’ll Need:
- Your chosen seeds
- Small bowls or glasses
- Clean, room-temperature water
- Labels (optional, but highly recommended!)
The Soaking Process:
- Choose Your Seeds: Select the seeds you want to soak. This method is particularly beneficial for larger seeds with hard coats, like beans, peas, corn, and beets.
- Place Seeds in Water: Put your seeds into separate bowls or glasses. Pour enough clean, room-temperature water over them to cover them completely, plus a little extra.
- Label (Crucial!): If you’re soaking multiple types of seeds, make sure to label each container clearly with the seed type and the start time. You don’t want to mix up your peas and your spinach!
- Wait: Let the seeds soak for the recommended duration (more on this below). Most seeds benefit from 8-24 hours of soaking. Avoid soaking for too long, as this can lead to rot or oxygen deprivation.
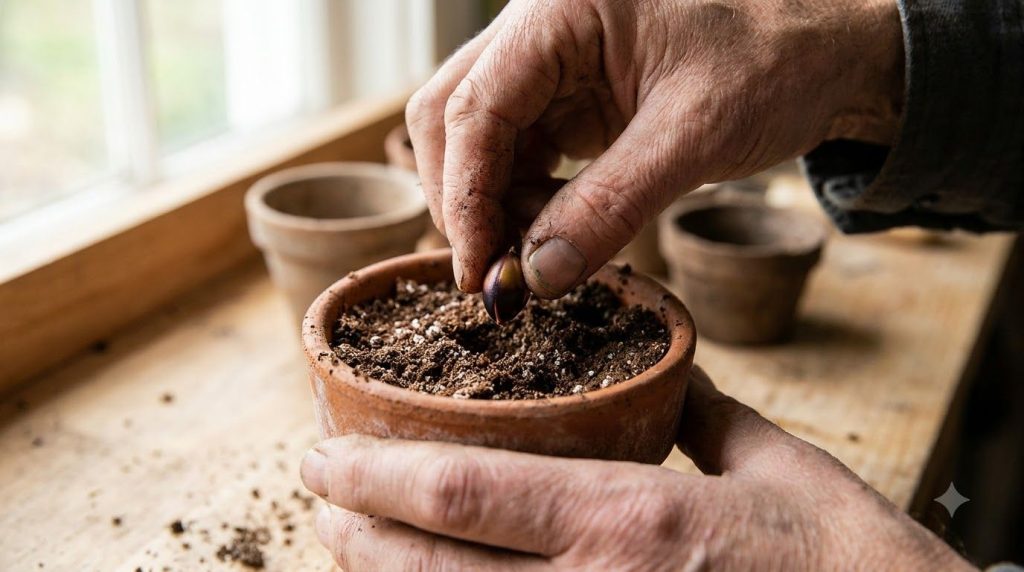
- Plant Immediately: Once the soaking time is up, drain the water and plant your seeds right away. They are now primed and ready for growth!
Which Seeds Benefit Most from Soaking?
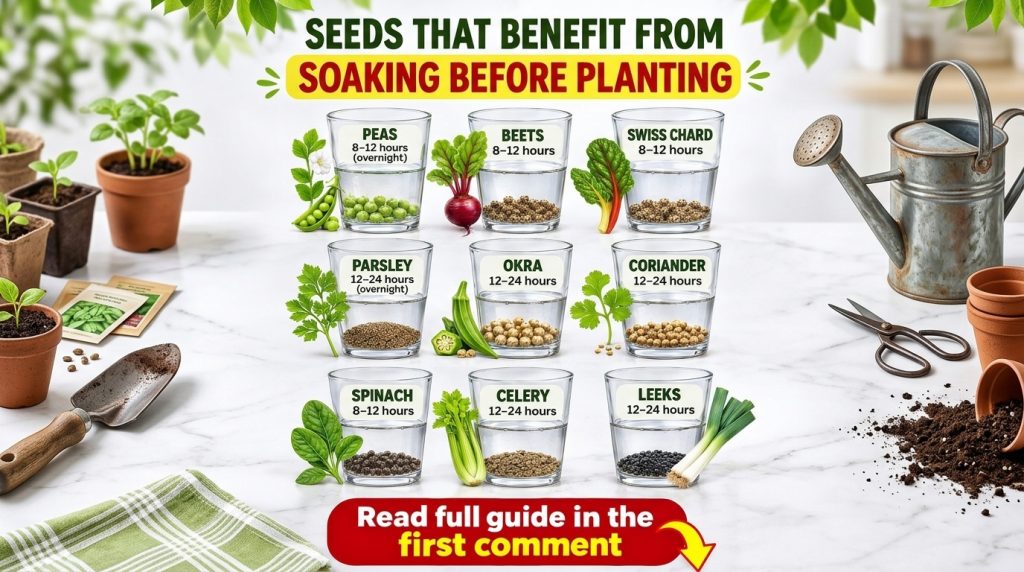
While many seeds benefit from soaking, some truly thrive with this extra care. Generally, larger seeds with tougher coats respond best. Think about the thickness of the seed coat – the harder it is, the more likely soaking will help.
- Peas: 8-12 hours
- Beans (Green Beans, Pole Beans, etc.): 8-12 hours
- Corn: 12-24 hours
- Beets: 12-24 hours
- Chard: 12-24 hours
- Cucumbers: 6-12 hours
- Squash/Pumpkins: 6-12 hours
- Spinach: 6-12 hours
Always check the specific recommendations for your particular seed packet, as varieties can differ.
Seeds to Avoid Soaking:
Not all seeds like a pre-soak. Small seeds, especially those with thin coats or a mucilaginous (slimy) coating when wet, should generally be planted dry. These include:
- Carrots
- Lettuce
- Radishes
- Most Herbs
- Onions
Soaking these can wash away natural protective coatings or make them difficult to handle and plant.
Tips for Soaking Success
- Use Room Temperature Water: Cold water can shock seeds, while very hot water can damage them.
- Don’t Over-Soak: Soaking for too long can actually drown your seeds or make them susceptible to fungal diseases. When in doubt, err on the side of a shorter soak.
- Change Water (Optional but Recommended for Longer Soaks): If you’re soaking for more than 12 hours, consider changing the water once or twice to provide fresh oxygen.
- Plant Immediately After Soaking: Soaked seeds are vulnerable. Plant them into your prepared soil or seed-starting mix as soon as they’re ready.
- Keep Soil Moist: After planting soaked seeds, ensure the soil remains consistently moist (but not waterlogged) to continue the hydration process.
Ready for Your Best Garden Yet?
Seed soaking is a simple, yet powerful technique that can dramatically improve your germination rates and set your vegetable garden up for success. By taking a little extra time before planting, you’re investing in stronger, healthier seedlings and ultimately, a more bountiful harvest.
So, the next time you’re starting seeds, give this method a try. You’ll be amazed at the difference it makes! Happy gardening!