Stubborn, baked-on grease and carbon can make cleaning your oven feel like an overwhelming task. If you’ve been putting off that deep clean, you’re not alone. The good news is that a powerful foam oven cleaner can transform this chore from endless scrubbing into a simple wipe-down. This method is designed to cut through layers of grime, making the whole process significantly easier and more satisfying.
Using a specialized foam spray is a practical approach for tackling tough oven messes. It adheres to vertical surfaces, penetrates dried-on food and grease, and significantly reduces the manual effort required. Let’s get your oven sparkling clean with less fuss!
What You’ll Need
- Commercial foam oven cleaner spray (check label for compatibility with your oven type)
- Rubber gloves
- Old rags or microfiber cloths
- Paper towels
- Scrub brush or non-abrasive sponge (optional, for very stubborn spots)
- Plastic scraper (optional, for heavily caked-on residue)
- Large trash bag or newspaper to protect floor
- Good ventilation (open windows, use fan)
Why This DIY Can Be Useful
Foam oven cleaners are specifically formulated to cling to surfaces, allowing the active ingredients more time to break down tough grease and baked-on food particles. The foam consistency helps it stay where you spray it, even on vertical oven walls and door glass, ensuring maximum contact with the grime. This chemical action penetrates and dissolves hardened carbon and fat, loosening the bond between the mess and the oven surface. The result is grime that can often be simply wiped away, drastically reducing the need for aggressive scrubbing.
How to Prepare for Cleaning
- Ensure Oven is Cool: Make sure your oven is completely cool and turned off before you begin.
- Prepare the Area: Lay down newspaper or a large trash bag on the floor in front of your oven to catch any drips and protect your flooring.
- Ventilate: Open nearby windows and turn on your kitchen fan to ensure good ventilation. This is crucial when working with chemical cleaners.
- Remove Racks: Take out all oven racks, baking sheets, and any other items from inside the oven. These can be cleaned separately if needed.
- Wear Gloves: Put on rubber gloves to protect your hands from the strong chemicals in the cleaner.
How to Use It
- Shake the Can: Shake the foam oven cleaner can vigorously for about 30 seconds to ensure the product is well mixed and ready to spray effectively.
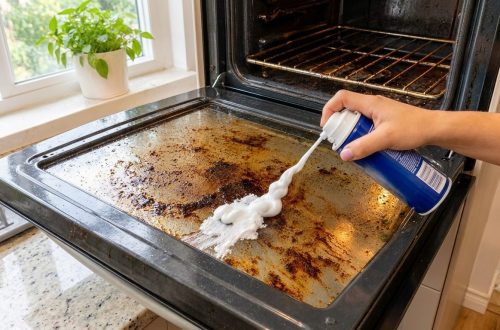
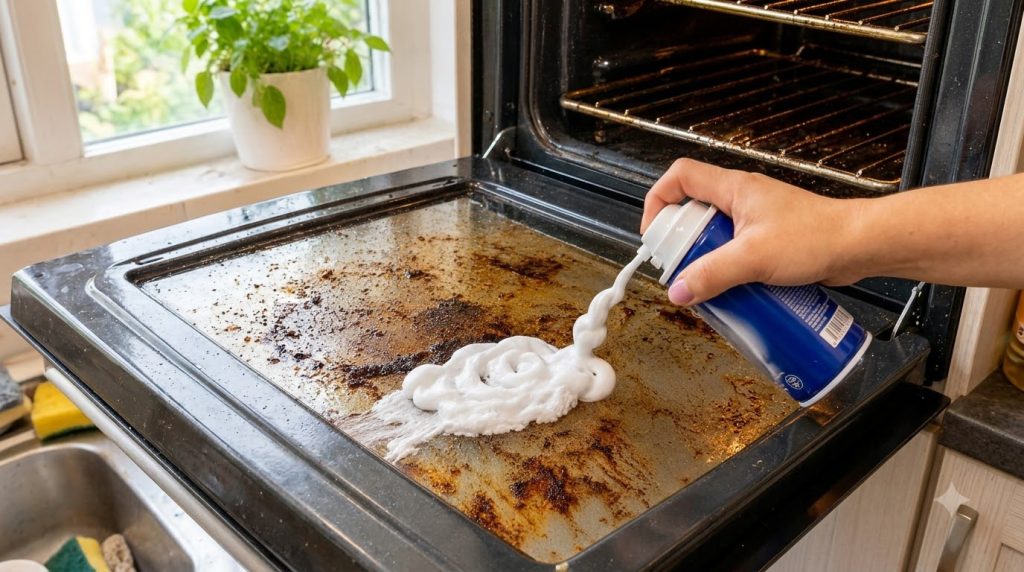
- Spray the Interior: Holding the can upright, spray an even, thorough layer of foam over all soiled surfaces inside your oven, including the walls, bottom, and especially the oven door glass. Keep the spray nozzle about 9-12 inches (23-30 cm) away from the surface as you spray. Avoid spraying on electrical elements, pilot lights, fan openings, or gaskets.
- Allow to Sit: Check the product’s instructions for the recommended waiting time. This can vary significantly, from 20 minutes for light soil to several hours or even overnight for heavy, baked-on grime. Allow the foam to work its magic.
- Wipe Away Grime: Once the waiting period is over, use old rags or paper towels to wipe away the loosened grime and foam. You’ll often find that the baked-on residue comes off much more easily than before.
- Tackle Stubborn Spots: For any remaining stubborn spots, you can apply a small amount of fresh foam, let it sit for a shorter period (e.g., 5-10 minutes), and then gently scrub with a non-abrasive sponge or brush, or carefully scrape with a plastic scraper.
- Rinse Thoroughly: After removing all the grime, use a clean, damp rag to thoroughly wipe down all cleaned surfaces inside the oven multiple times. Rinse the rag frequently with clean water to remove all chemical residue. This step is essential to prevent fumes when you next use the oven.
- Replace Racks: Once the oven is clean and dry, replace the oven racks.
What to Expect
After using a foam oven cleaner, you can expect a significantly cleaner oven interior, especially the glass door, with considerably less effort than scrubbing without treatment. Heavy baked-on grease and carbon should be loosened and easier to remove, leaving surfaces much brighter. While a perfectly pristine finish might require a second application for exceptionally tough areas, the foam method makes a dramatic difference in overall cleanliness and reduces your cleaning time.
Helpful Tips
- Test on a Small Area: If you’re unsure about the cleaner’s effect on a particular part of your oven, test a small, inconspicuous area first.
- Overnight for Tough Jobs: For the most challenging grime, consider letting the foam sit overnight. This extended contact time can be very effective.
- Don’t Forget the Gasket: The rubber gasket around your oven door should typically only be wiped with a damp cloth and not sprayed with oven cleaner, as it can degrade the material.
- Clean Racks Separately: While the cleaner works in the oven, you can clean your racks. Some people put them in a bathtub lined with old towels, spray them with oven cleaner, let them sit, and then scrub and rinse.
Important Notes / Safety
- Ventilation is Key: Always ensure your kitchen is well-ventilated during and after using oven cleaners.
- Protect Your Skin and Eyes: Wear rubber gloves throughout the process. Consider eye protection as well. If the cleaner gets on your skin or in your eyes, follow the first aid instructions on the product label immediately.
- Avoid Heating Elements and Pilot Lights: Never spray oven cleaner on heating elements, pilot lights, thermostats, fan openings, or oven gaskets.
- Check Oven Compatibility: Some self-cleaning or continuous-cleaning ovens have special coatings that can be damaged by chemical oven cleaners. Always read your oven’s manual and the cleaner’s label to ensure compatibility.
- Thorough Rinsing: Inadequate rinsing can lead to fumes and a lingering chemical smell when the oven is next used. Wipe down repeatedly with clean, damp cloths.
- First Use After Cleaning: After cleaning, ventilate your kitchen and preheat the oven to 300-350°F (150-175°C) for 15-30 minutes before cooking. This helps to burn off any remaining fumes or residue.
- Storage: Store oven cleaner in a cool, dry place, out of reach of children and pets.