Is your oven door covered in stubborn, baked-on grime that seems impossible to remove? Instead of spending hours scrubbing, there’s a straightforward method that can significantly cut down your cleaning time and effort. This DIY approach uses a powerful foam cleaner to tackle even the toughest grease and carbon deposits, making oven door cleaning a much more satisfying task.
This method focuses on letting the product do the hard work, minimizing the need for intense scrubbing. It’s a practical choice for anyone looking for an efficient way to achieve a sparkling clean oven glass without the headache.
What You’ll Need
- Commercial foam oven cleaner (in a spray can)
- Rubber gloves
- Clean cloths or paper towels
- Warm water
- Optional: Plastic scraper for extremely stubborn spots
Why This DIY Can Be Useful
Commercial foam oven cleaners are specifically formulated to penetrate and dissolve baked-on food, grease, and carbon. Unlike simple detergents, these powerful formulas use chemical reactions to break down tough stains, allowing them to be wiped away more easily. The foam consistency helps the product cling to vertical surfaces like oven doors, ensuring extended contact time with the grime for maximum effectiveness. This means less elbow grease for you and more effective cleaning.
How to Use It
Always work in a well-ventilated area and follow the specific instructions on your cleaner’s label, as products can vary.
- Prepare Your Area: Ensure your oven is cool before you begin. Open windows or turn on your kitchen fan for good ventilation. You might want to lay down old newspapers or a trash bag on the floor in front of the oven to catch any drips.
- Protect Yourself: Put on your rubber gloves to protect your hands from the strong chemicals. Eye protection is also recommended.
- Shake the Can: Shake the foam oven cleaner can vigorously for about 30 seconds to activate the product.
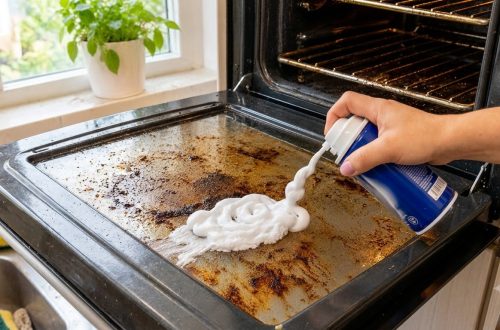
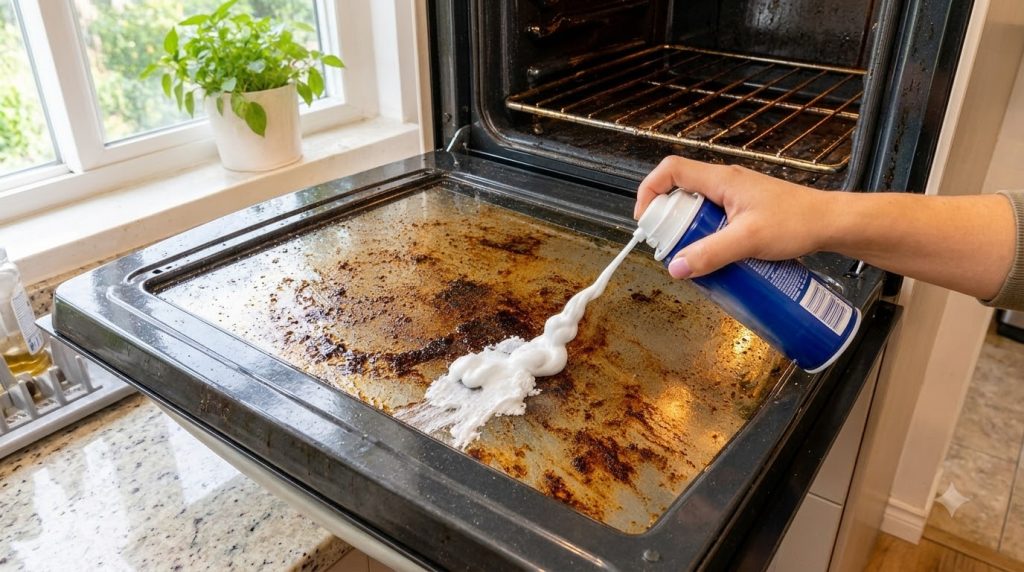
- Apply the Foam: Hold the can upright and spray a generous, even layer of foam directly onto the interior glass surface of your oven door. Make sure to cover all the soiled areas thoroughly.
- Wait for It to Work: Allow the foam to sit for the time recommended on the product label. For heavily baked-on grime, this could be anywhere from 15 minutes to several hours, or even overnight. The foam will likely turn brownish as it dissolves the grease.
- Wipe Away: Once the waiting time is up, use a damp clean cloth or sturdy paper towels to wipe away the foam and dissolved grime. You’ll likely be amazed at how easily the mess comes off.
- Rinse Thoroughly: Dampen a fresh cloth with clean water and wipe down the glass door repeatedly to ensure all chemical residue is removed. This is crucial for safety, especially before cooking. Continue wiping until the glass is streak-free and clean.
- Address Stubborn Spots: If any particularly stubborn spots remain, you can reapply the foam cleaner to just those areas and let it sit for a shorter period, then wipe and rinse again. A plastic scraper can carefully be used to gently lift any softened, remaining bits of grime, but be very careful not to scratch the glass.
What to Expect
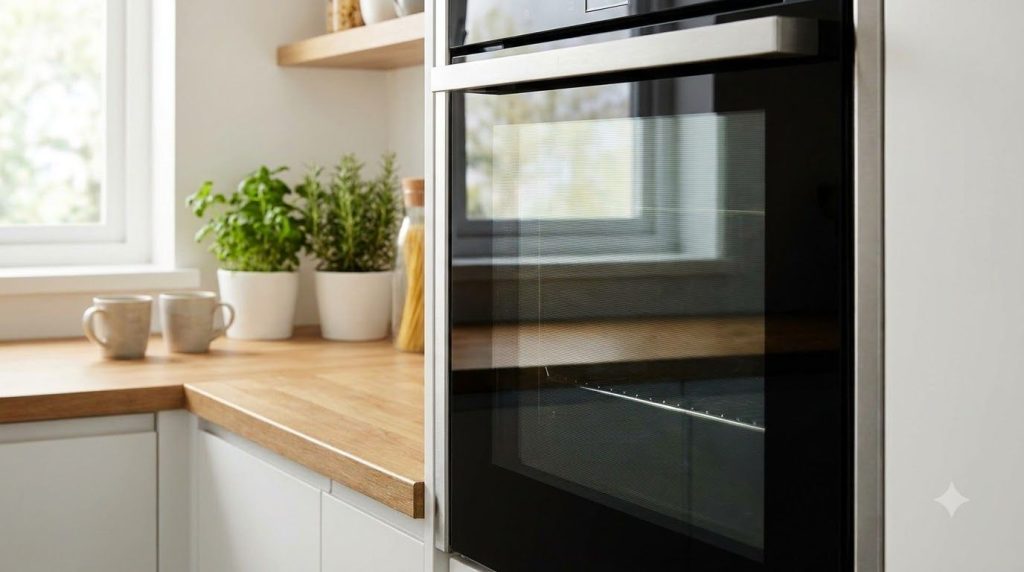
You can expect a significantly cleaner, often sparkling, oven glass door. Most baked-on food and grease should be dissolved and wiped away with relative ease. For ovens with years of built-up grime, a single application may not achieve a perfect, brand-new look, but it will certainly make a dramatic improvement. You might need a second application for truly challenging areas.
Helpful Tips
- Warm Oven Boost: Some oven cleaners are more effective when applied to a slightly warm (not hot!) oven. Check your product’s instructions to see if this is recommended.
- Regular Maintenance: The best way to avoid extreme oven cleaning sessions is to wipe spills as they happen or give your oven a quick clean every few weeks.
- Protect Surrounding Surfaces: While focusing on the glass, be careful not to spray cleaner onto rubber seals, painted surfaces, or heating elements unless the product explicitly states it’s safe.
Important Notes / Safety
- Ventilation is Key: Always ensure adequate airflow in your kitchen when using chemical oven cleaners.
- Wear Protection: Always wear rubber gloves and consider eye protection to prevent skin and eye irritation.
- Patch Test: If you’re unsure about the cleaner on a particular surface (though for oven glass it’s usually fine), test a small, inconspicuous area first.
- Read Instructions: Different brands have different formulas and instructions. Always read and follow the manufacturer’s directions carefully.
- No Food Contact: After cleaning, ensure all residue is thoroughly rinsed away from any surfaces that might come into contact with food.
- Storage: Store oven cleaner out of reach of children and pets, in a cool, dry place.