Most gardeners buy bags of soil amendment before checking what their kitchen and yard already produce. The soil under your beds can get noticeably richer for almost nothing, as long as you know which materials to layer, how much to use, and when to add them.
What Soil Enrichment Actually Means
Soil enrichment means improving the structure, moisture holding, and biological activity of your soil so plants can access water and nutrients more easily. Healthy soil is dark, loose, and crumbly. It smells earthy rather than sour, and it drains without becoming dusty or soggy.
Most garden soil problems come down to three things: compacted clay, sandy soil that drains too fast, or depleted organic matter after a season of harvests. Adding organic material fixes all three over time.
Materials You Can Use for Free
- Kitchen scraps such as vegetable peels, coffee grounds, and crushed eggshells
- Dry fallen leaves, shredded if possible
- Grass clippings from untreated lawns
- Small branches and twigs for lower layers
- Cardboard and plain paper without glossy coating
- Aged manure from a farm or horse stable, if you can source it
Approximate Measurements
For a standard 1 by 2 metre bed, aim for roughly 5 to 8 cm of finished organic matter worked into the top 15 to 20 cm of soil. Coffee grounds should stay under about 10 percent of the total volume, and eggshells should be crushed to a fine powder so they break down faster.
Formula: The Simple Layering Recipe
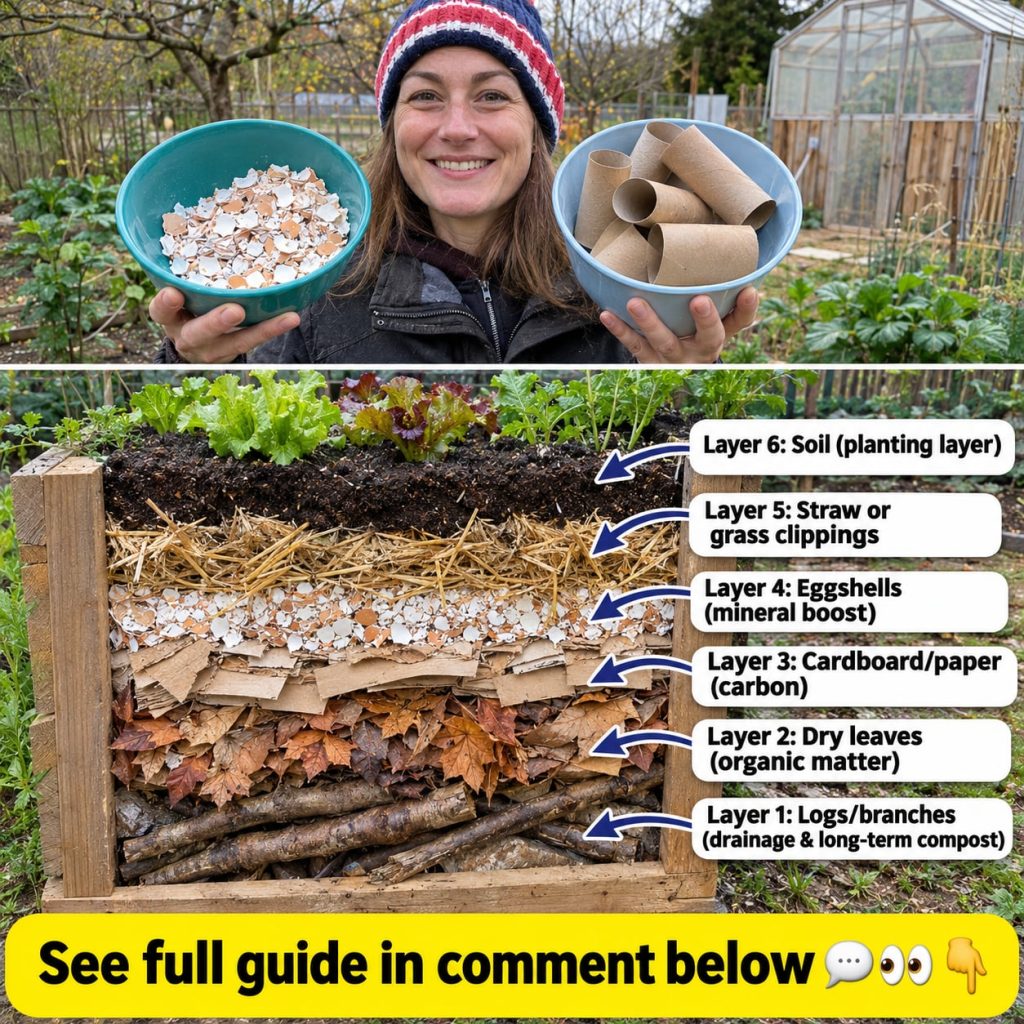
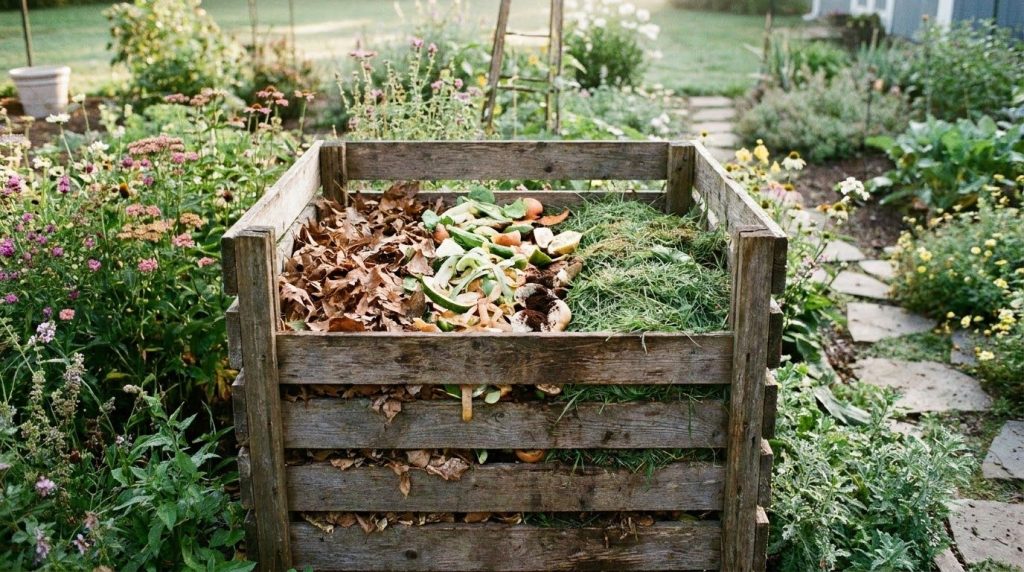
A reliable free mix for most vegetable beds follows a balanced ratio of roughly two parts brown material to one part green material. Brown materials include dry leaves, cardboard, and twigs. Green materials include kitchen scraps and grass clippings. This balance prevents the pile from smelling and helps it break down evenly.
Step-by-Step Method
- Clear weeds from the bed, cutting them above the root line if they have seeds.
- Spread a 2 to 3 cm layer of coarse material such as twigs or shredded cardboard at the bottom if the soil is compacted.
- Add a 5 cm layer of dry leaves over the top.
- Scatter a 2 to 3 cm layer of kitchen scraps and grass clippings, keeping them away from the stems of plants.
- Water lightly so the layers stay damp but not soggy.
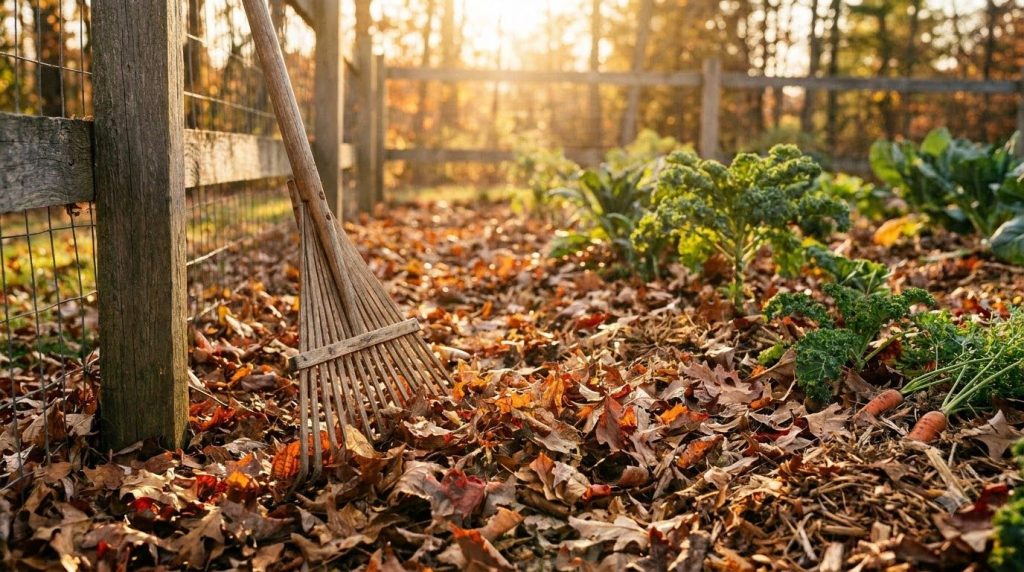
- Cover with a final 2 to 3 cm of dry leaves or straw.
- Leave the bed to break down for 4 to 8 weeks before planting, or work the top layer into the soil if you are short on time.
How to Use the Enriched Soil
Once the layers have broken down, mix the top 10 to 15 cm of soil lightly with a garden fork. Avoid turning the soil too deeply, since this disturbs the microorganisms that help build structure. Plant seedlings or sow seeds directly into the enriched area.
How Often to Add Material
For annual vegetable beds, add a fresh layer of organic matter once or twice per growing season. Established perennial beds usually only need a top-dressing of leaves or compost once a year in autumn or early spring.
Quick Reference: Which Material Does What
| Material | Main Benefit | Ready To Use | Best Amount |
|---|---|---|---|
| Dry leaves | Loosens soil and retains moisture | 6 to 12 months | 5 cm layer |
| Kitchen scraps | Adds nutrients and microbial life | 2 to 4 months | 2 to 3 cm layer |
| Grass clippings | Quick source of nitrogen | 1 to 2 months | 2 cm layer, thin |
| Coffee grounds | Adds organic matter | 1 to 2 months | Under 10 percent of mix |
| Crushed eggshells | Slow calcium release | 6 months or more | Light sprinkle |
| Cardboard | Suppresses weeds and adds bulk | 3 to 6 months | Single layer |
Storage and Freshness
Keep kitchen scraps in a sealed bucket with a lid, and empty it every two to three days to prevent odor and fruit flies. Store dry leaves in a covered bin so they do not become waterlogged, which can cause them to mat together. Use stored material within a few weeks for best results.
Practical Tips
Shred leaves with a lawnmower before adding them, since whole leaves can mat and block water. Chop kitchen scraps into small pieces to speed decomposition. If you are working with heavy clay, add a little extra coarse material to open up the soil.
Common Mistakes
- Adding too much coffee grounds, which can make the soil compact and slightly acidic.
- Using whole, wet leaves that mat together and block air and water.
- Placing cooked food, meat, or dairy in the pile, which attracts pests.
- Digging too deeply and disturbing the soil structure every time you plant.
- Using leaves from walnut trees or plants you suspect are diseased.
- Burying fresh kitchen scraps directly against plant stems.
Cautions and Who Should Be Careful
Do not use material from lawns or gardens treated with herbicides, since some of these chemicals can persist and harm sensitive crops. Be cautious with manure, which should be well aged to avoid burning plants and spreading pathogens. If you have young children or pets, keep fresh piles covered and away from play areas. Wash your hands after handling compost.
Quick Summary
- Best preparation: layered, partially broken-down mix of dry leaves and kitchen scraps.
- Best use case: annual vegetable beds and garden beds with compacted or depleted soil.
- Storage: sealed bucket for scraps, covered bin for dry leaves.
- When to use: before planting in spring or autumn.
- What to avoid: cooked food, dairy, meat, glossy paper, and herbicide-treated plant material.
Frequently Asked Questions
Can I use fresh or dried leaves?
Dried leaves work best because they are easier to store and break down more predictably. Fresh leaves can be used if they are shredded and mixed with kitchen scraps.
How long does it take for the layers to become usable soil?
Expect about 4 to 8 weeks for the top layers to break down enough for planting, and several months for full integration into deeper soil.
Can I refrigerate kitchen scraps before adding them?
Yes, a sealed container in the refrigerator is fine for a few days. Freezing also works well if you collect scraps over a longer period.
How often should I add new material?
Once or twice per growing season for vegetable beds, and once a year for perennial beds, is enough for most gardens.
Can I reuse leaves from last year?
Yes, as long as they are not moldy or diseased. Older leaves that have partly broken down are excellent for mixing into planting holes.
When should I avoid adding organic material?
Avoid adding fresh, undecomposed material right before sowing tiny seeds, since it can tie up nitrogen temporarily. Also avoid heavy applications around plants showing signs of disease.
For a deeper look at building a long-term compost routine, read more in our full guide to backyard composting. You may also like our guide on choosing the right mulch for vegetable beds, and see the full guide to growing healthy plants in clay soil.
Conclusion
Free soil enrichment is less about finding special materials and more about layering what you already produce in the right balance. Start with one bed, track how it drains and grows over a season, and expand from there.