Healthy Chocolate Popsicles
These healthy chocolate popsicles are creamy, rich, and lightly sweet, and they come together in one blender with simple ingredients. They taste like a chocolate treat without heavy cream or refined sugar, which makes them a good choice for an afternoon snack or a warm-weather dessert. Since the recipe is plant-based, they also work well for guests with dairy-free preferences.
Why You’ll Love This Recipe
- Quick to make: Blend everything, pour, and freeze.
- Simple ingredients: Ripe bananas, cocoa powder, and plant milk do most of the work.
- Creamy texture: Ripe bananas give the pops a smooth, almost fudgy body.
- Kid-friendly: Most children enjoy the chocolate flavor.
- Easy cleanup: One blender and a popsicle mold are all you need.
Ingredients
The original notes did not include measurements, so the amounts below are practical estimates for a standard popsicle mold that holds about 6 pops (roughly 3 fl oz or 90 ml each).
- 2 large ripe bananas (about 240 g peeled)
- 1/4 cup (20 g) unsweetened cocoa powder
- 1 cup (240 ml) unsweetened almond milk or oat milk
- 2 tbsp (30 ml) pure maple syrup, plus more to taste
- 1 tsp (5 ml) pure vanilla extract
- 1 pinch fine sea salt
Ingredient Notes
Ripe bananas with brown spots add natural sweetness and help create a creamy texture. Unsweetened cocoa powder gives a deep chocolate flavor without added sugar. Maple syrup sweetens the pops and helps keep them smooth. Plant milk thins the mixture so it blends evenly. Taste the mixture before freezing, because sweetness varies depending on how ripe the bananas are.
Equipment You’ll Need
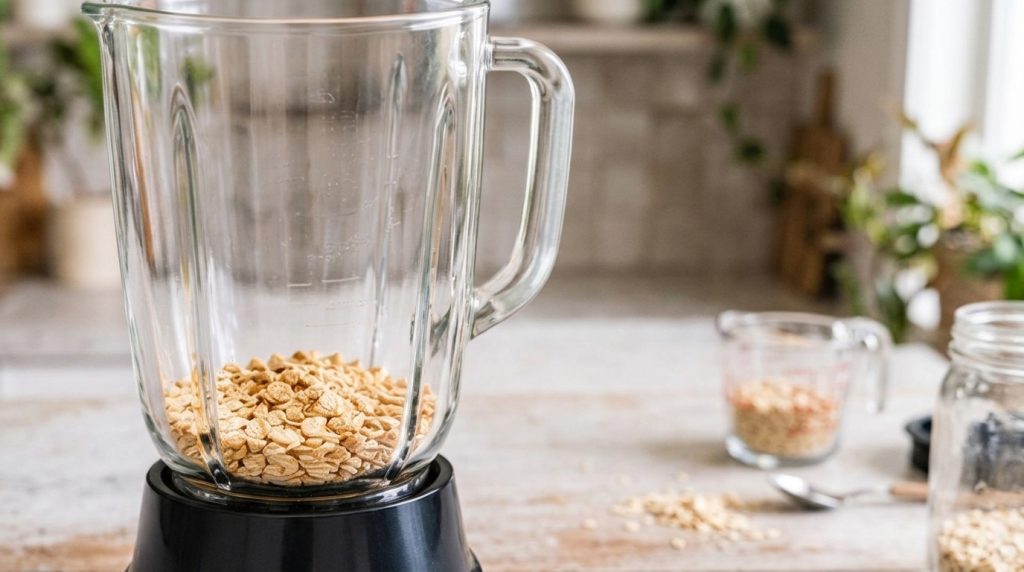
- High-speed blender or food processor
- Popsicle molds or small paper cups with wooden sticks
- Measuring cups and spoons
- Rubber spatula
How to Make Healthy Chocolate Popsicles
- Peel the bananas. Break them into chunks and add them to the blender.
- Add the remaining ingredients. Add the cocoa powder, plant milk, maple syrup, vanilla, and salt.
- Blend until smooth. Blend on high for 30 to 60 seconds, stopping to scrape down the sides if needed. The mixture should look thick, glossy, and free of banana lumps.
- Taste and adjust. Add more maple syrup a teaspoon at a time if you want it sweeter. Blend again briefly.
- Fill the molds. Pour the mixture into the molds, tapping gently on the counter to remove air bubbles. Leave a small gap at the top for expansion.
- Add the sticks. Insert the sticks and make sure they stand upright.
- Freeze. Freeze for at least 4 to 6 hours, or until the pops are completely firm when you press the center.
- Unmold. Run the outside of the mold under warm water for 10 to 15 seconds, then gently pull the popsicles out.
Pro Tips for the Best Results
- Use bananas that are heavily speckled with brown spots for the sweetest flavor.
- Choose a plant milk with a mild taste so the chocolate stands out.
- Blend longer for an extra-smooth texture.
- Tap the molds before freezing to release trapped air bubbles.
- Freeze the pops flat or upright on a level shelf so the sticks set straight.
Common Mistakes to Avoid
Using underripe bananas. Green or yellow bananas taste starchy and less sweet. Use ripe bananas for the best flavor.
Skipping the taste test. Sweetness varies, so adjust the maple syrup before freezing.
Removing the pops too early. If they are not fully frozen, they may stick, break, or lose their shape. Give them the full freezing time.
Variations and Substitutions
- Peanut butter swirl: Stir in 1 tbsp (16 g) smooth peanut butter just before filling the molds.
- Mint chocolate: Add a small drop of peppermint extract, starting with a few drops.
- Coffee chocolate: Add 1 tsp instant espresso powder to deepen the chocolate flavor.
- Different sweetener: Honey works if you do not need a vegan recipe, but it is sweeter, so start with less.
Serving Suggestions
Serve these pops straight from the freezer on a warm afternoon. For a fun dessert, dip them in melted dark chocolate and sprinkle with chopped nuts, toasted coconut, or crushed freeze-dried fruit. They also pair well with a glass of cold milk or a cup of hot coffee.
Storage and Reheating
Store the popsicles in an airtight container or freezer bag in the freezer. For the best texture, eat them within about 1 to 2 weeks. Let them sit at room temperature for 2 to 3 minutes before biting, since they will be very firm straight from the freezer. Do not refreeze pops that have fully thawed.
Frequently Asked Questions
Can I make these without a popsicle mold?
Yes. Pour the mixture into small paper cups, insert wooden sticks, and freeze them the same way. Paper cups may need to be peeled away carefully when the pops are firm.
Why are my chocolate popsicles icy?
Icy texture usually comes from too much liquid or bananas that were not ripe enough. Use less plant milk or add a bit more banana for a creamier result.
Can I use something other than bananas?
Avocado can add creaminess, but it changes the flavor. Start with a small amount and taste before freezing.
Are these pops sweet enough for kids?
Sweetness is a personal choice. Taste the mixture before freezing and add more maple syrup if needed.
Healthy Chocolate Popsicles Recipe Card
Recipe Name: Healthy Chocolate Popsicles
Short Description: Creamy, dairy-free chocolate popsicles made with ripe bananas, cocoa powder, and plant milk.
Prep Time: 10 minutes
Cook Time: None
Total Time: About 4 to 6 hours, including freezing
Servings: About 6 popsicles
Course: Dessert, Snack
Cuisine: American
Cooking Method: Blending and freezing
Ingredients: 2 large ripe bananas (about 240 g peeled); 1/4 cup (20 g) unsweetened cocoa powder; 1 cup (240 ml) unsweetened almond or oat milk; 2 tbsp (30 ml) pure maple syrup; 1 tsp (5 ml) pure vanilla extract; 1 pinch fine sea salt.
Instructions: Blend bananas, cocoa powder, plant milk, maple syrup, vanilla, and salt until smooth. Taste and adjust sweetness. Pour into popsicle molds, insert sticks, and freeze for at least 4 to 6 hours. Unmold by running the mold under warm water briefly.
Notes: Quantities are estimates because the original recipe notes did not include measurements. Freezing time depends on your freezer and mold size.
Storage: Keep in an airtight container or freezer bag in the freezer for about 1 to 2 weeks for best texture.
Nutrition: Nutrition information is an estimate and may vary depending on the ingredients and brands used.
Related Recipe Ideas
- Banana nice cream
- Dark chocolate avocado mousse
- Frozen yogurt bark
- Peanut butter banana frozen bites