In a world brimming with complex skincare routines and expensive products, sometimes the best solutions are found right in nature. What if we told you that a humble garden vegetable, often celebrated for its culinary uses, holds a surprising secret for beautifully hydrated and healthy-looking skin? We’re talking about okra! Yes, the same okra you might enjoy in a stew can be transformed into a nourishing, DIY botanical skincare treat: a homemade face gel that many are calling ‘okra collagen gel’.
At Healthy Roots, we believe in embracing natural wellness and simple, practical ways to enhance your well-being, inside and out. This article will guide you through creating your own natural anti-aging gel alternative, focusing on hydration and supporting your skin’s natural vitality with a simple okra skincare recipe. Get ready to discover the magic of okra gel for skin!
What Makes Okra Popular in DIY Skincare?
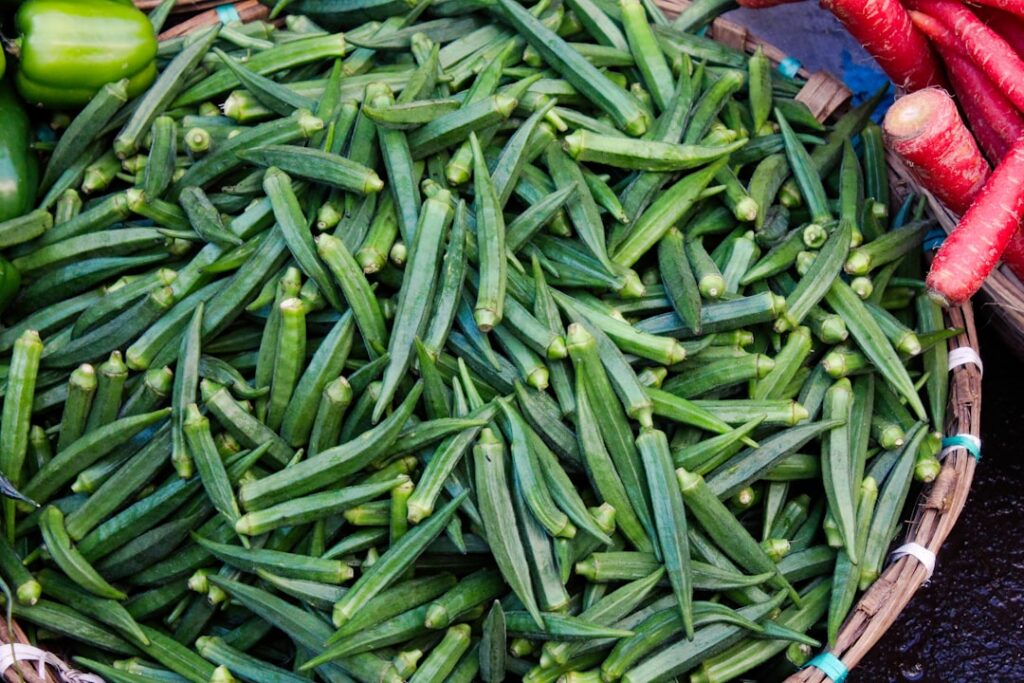
Okra, scientifically known as Abelmoschus esculentus, might seem like an unusual choice for a face gel, but its unique properties make it a fantastic ingredient for DIY botanical skincare. The secret lies in its mucilage – the gooey substance that gives okra its characteristic texture when cooked. This mucilage is rich in polysaccharides, which are complex carbohydrates known for their hydrating and soothing properties.
Beyond its mucilaginous texture, okra is a powerhouse of nutrients. It contains a wealth of antioxidants, including flavonoids and polyphenols, which help protect the skin from environmental stressors. It’s also a good source of Vitamin C, a crucial nutrient for skin health that supports a brighter, more even complexion. The combination of these elements makes okra a fascinating ingredient for those looking for a natural approach to skincare.
Skin Benefits of Okra
While the term “okra collagen gel” is popular, it’s important to clarify that okra does not contain animal collagen. Instead, its benefits stem from its ability to support skin health in ways that can contribute to a plumper, more youthful appearance. Here’s a closer look at what okra can do for your skin:
- Intense Hydration: The mucilage in okra acts as a natural humectant, drawing moisture from the air and locking it into the skin. This deep hydration is crucial for maintaining skin elasticity and a supple feel, making it an excellent hydrating face gel.
- Soothing and Calming: Okra’s natural compounds have soothing properties that can help calm irritated skin, reducing redness and discomfort.
- Antioxidant Protection: Rich in antioxidants, okra helps to combat free radicals, which are unstable molecules that can damage skin cells and contribute to visible signs of aging. This protective action supports overall skin health and resilience.
- Supports Skin Elasticity: By providing ample hydration and antioxidant support, okra helps maintain the skin’s natural barrier function and elasticity, which contributes to a firm, smooth complexion.
- Natural Glow: With regular use, the hydrating and nourishing properties of okra can help improve skin texture and tone, leading to a natural, healthy glow.
Benefits of Aloe Vera Gel
Aloe vera is a legendary skincare ingredient, celebrated for centuries. Its gel is packed with vitamins, enzymes, minerals, sugars, lignins, saponins, salicylic acids, and amino acids. When combined with okra, it amplifies the soothing and hydrating effects of our DIY collagen gel.
- Powerful Hydrator: Like okra, aloe vera is an excellent humectant, providing intense hydration without feeling greasy.
- Anti-inflammatory Properties: Aloe vera is well-known for its ability to reduce inflammation and soothe skin irritations, sunburns, and minor cuts.
- Healing and Regenerative: It promotes cell regeneration, which can aid in the healing of blemishes and minor skin damage, contributing to a smoother complexion.
- Lightweight and Non-comedogenic: Aloe vera gel is easily absorbed and won’t clog pores, making it suitable for most skin types, including oily and acne-prone skin.
Benefits of Vitamin E
Vitamin E is a fat-soluble antioxidant that plays a crucial role in skin health. Adding a vitamin E capsule to your homemade face gel provides an extra boost of nourishment and protection.
- Potent Antioxidant: Vitamin E helps to neutralize free radicals, protecting the skin from oxidative stress and environmental damage. This contributes to a more resilient and youthful appearance.
- Moisturizing and Healing: It helps to strengthen the skin’s barrier function, reducing moisture loss and keeping the skin hydrated. It also aids in the healing process, reducing the appearance of scars and promoting smoother skin.
- Preservative-like Qualities: While not a true preservative, Vitamin E can help extend the shelf life of natural oils and products by preventing oxidation, which is a beneficial addition to a DIY botanical skincare recipe.
Ingredients for Your DIY Okra Collagen Gel
Creating your own okra gel for skin is surprisingly simple and requires just a few key ingredients. Here’s what you’ll need for your natural anti-aging gel alternative:
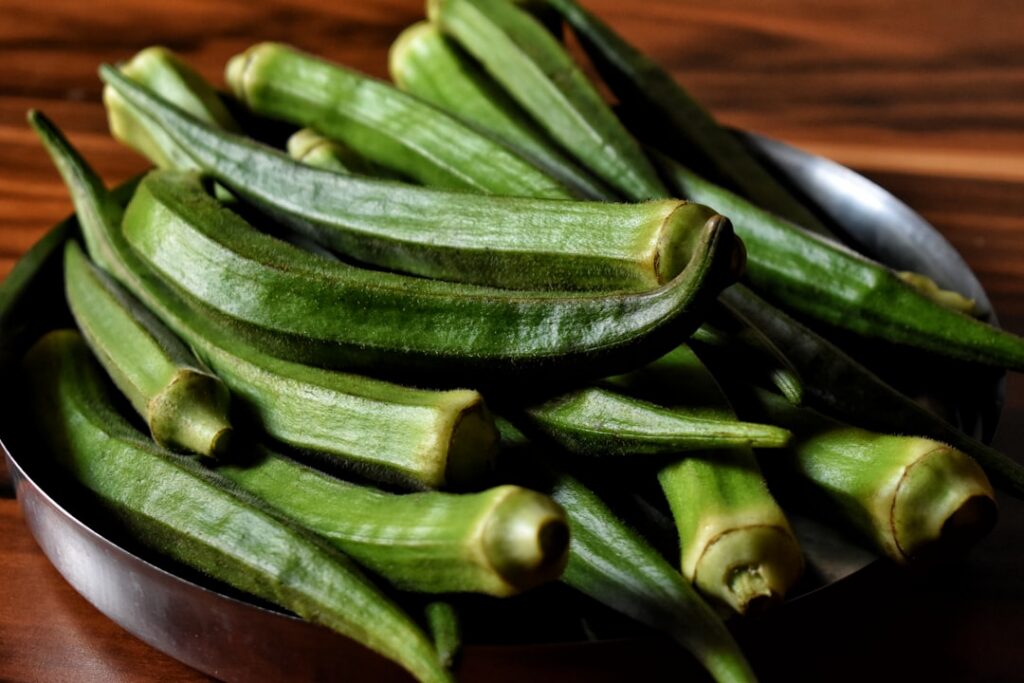
- 5 fresh okra pods: Choose firm, vibrant green pods without blemishes.
- 2 tablespoons pure aloe vera gel: Opt for 99-100% pure aloe vera gel with minimal additives.
- 1 vitamin E capsule: You can find these at any pharmacy or health food store.
- Optional: 2 drops glycerin: Glycerin is a powerful humectant that can further boost hydration, but it’s not essential.
Step-by-Step Recipe: How to Make Your Hydrating Face Gel
Follow these easy steps to create your own natural okra gel for skin:
-
Prepare the Okra
Wash the 5 fresh okra pods thoroughly under cold running water to remove any dirt or residue. Slice the okra into small rounds, about 1/4 inch thick. This increases the surface area, allowing the mucilage to release more easily.
-
Boil the Okra
Place the sliced okra into a small saucepan with 1 cup of filtered water. Bring the water to a boil, then reduce the heat to a simmer. Let it gently boil for 8-10 minutes. You’ll notice the water becoming thicker and more viscous as the mucilage releases. Stir occasionally.
-
Cool and Blend
Remove the saucepan from the heat and allow the okra mixture to cool slightly. It doesn’t need to be completely cold, but cool enough to handle safely. Once cooled, pour the okra and its liquid into a blender or food processor. Blend until the mixture is smooth and consistent, resembling a thick, gooey liquid.
-
Strain the Gel
This is a crucial step to achieve a smooth, lump-free gel. Place a fine-mesh sieve or a piece of cheesecloth over a clean bowl. Pour the blended okra mixture into the sieve/cheesecloth. Using a spoon or spatula, press down firmly to extract as much of the liquid gel as possible. Discard the leftover fibrous pulp.
-
Add Additional Ingredients
You should now have a bowl of smooth, clear okra gel. Add 2 tablespoons of pure aloe vera gel and squeeze the oil from 1 vitamin E capsule into the okra gel. If you’re using it, add 2 drops of glycerin. Mix all ingredients thoroughly until well combined and uniform.
-
Transfer to a Container
Pour your freshly made DIY collagen gel into a clean, airtight container. A small jar with a lid or a pump bottle is ideal. Ensure your container is sterilized to maintain the gel’s freshness.
How to Store the Gel
Since this okra collagen gel is made with natural ingredients and no harsh preservatives, proper storage is key to extending its shelf life and maintaining its efficacy. Always store your homemade face gel in an airtight container in the refrigerator. The cool temperature helps slow down bacterial growth and keeps the gel fresh and potent.
Shelf Life
Due to its natural composition, the shelf life of your DIY okra collagen gel is relatively short. When stored correctly in the refrigerator, it typically lasts for up to one week. If you notice any changes in color, smell, or consistency, it’s best to discard it and make a fresh batch. Making small batches frequently ensures you’re always using a fresh, active product.
How to Apply Your Okra Gel for Skin
Applying your okra gel for skin is simple and can easily fit into your existing skincare routine:
- Cleanse Your Face: Start with a clean face. Wash away makeup, dirt, and impurities with your regular gentle cleanser.
- Tone (Optional): If you use a toner, apply it after cleansing.
- Apply the Gel: Take a small amount of the okra gel (a pea-sized amount is usually sufficient for your entire face and neck) and gently massage it into your skin using upward, circular motions.
- Allow to Absorb: Let the gel fully absorb into your skin for a few minutes before applying any other products. You’ll feel a refreshing and hydrating sensation.
- Follow with Moisturizer (Optional): If your skin tends to be drier, you can follow up with your favorite lightweight moisturizer after the gel has absorbed.
Morning vs. Night Use
This hydrating face gel can be used both in the morning and at night, depending on your preferences and skin needs:
- Morning Use: Applied in the morning, the okra gel provides a refreshing boost of hydration and helps create a smooth canvas for makeup application. Its light texture won’t feel heavy under foundation.
- Night Use: Using it at night allows the gel to work its hydrating and nourishing magic while you sleep. It can be a wonderful addition to your evening routine, especially for supporting skin recovery.
Patch Test Instructions
Even natural ingredients can sometimes cause a reaction, especially if you have sensitive skin or specific allergies. It’s always wise to perform a patch test before applying any new product to your entire face.
- Choose a Small Area: Select an inconspicuous area of skin, such as behind your ear or on the inside of your forearm.
- Apply a Small Amount: Dab a tiny amount of the okra gel onto this chosen area.
- Wait and Observe: Leave the gel on for 24 hours. During this time, look for any signs of redness, itching, burning, swelling, or irritation.
- Proceed if Clear: If no reaction occurs, the gel is likely safe for you to use on your face. If you experience any irritation, rinse the area immediately and discontinue use.
Frequently Asked Questions About DIY Okra Collagen Gel
Q: Can I use frozen okra for this recipe?
A: Yes, you can use frozen okra, but fresh okra is generally preferred for its vibrant nutrients and optimal mucilage content. If using frozen, ensure it’s plain okra without any added salt or seasonings.
Q: Will this DIY collagen gel really boost collagen in my skin?
A: While okra doesn’t contain animal collagen, its rich content of Vitamin C and antioxidants supports your skin’s natural health and resilience. These components are vital for maintaining skin structure and elasticity, which can contribute to a more plump and youthful appearance over time. Think of it as supporting your skin’s natural processes, rather than directly boosting collagen levels.
Q: Is this okra gel suitable for all skin types?
A: Generally, yes. Okra gel is known for being gentle and hydrating. However, as with any new product, a patch test is highly recommended, especially for sensitive or acne-prone skin.
Q: How long does it take to see results?
A: Consistency is key! While some people might notice immediate hydration and a refreshed feeling, visible improvements in skin texture and tone usually take a few weeks of consistent use. Remember, natural skincare works gradually to support your skin’s health.
Q: Can I add other essential oils to this gel?
A: We recommend keeping this recipe simple and pure to minimize the risk of irritation. If you choose to add essential oils, use only 1-2 drops of skin-safe oils like lavender or frankincense, and always perform an additional patch test.
Final Thoughts
Embracing natural wellness means looking for simple, effective solutions that work with your body, not against it. This DIY okra collagen gel is a testament to the power of nature, offering a wonderfully hydrating and nourishing option for your skin. It’s an accessible way to experience the benefits of a homemade face gel, supporting your skin’s vitality and natural glow without harsh chemicals or complicated routines.
Give this okra skincare recipe a try and share your experience with the Healthy Roots community. Your journey to healthy, radiant skin starts with simple, mindful choices!
Medical Disclaimer
The information provided in this article is for general informational purposes only and does not constitute medical advice. It is not intended to diagnose, treat, cure, or prevent any disease. Always consult with a qualified healthcare professional or dermatologist before starting any new skincare regimen, especially if you have pre-existing skin conditions, allergies, or concerns. Healthy Roots is not responsible for any adverse effects that may result from the use of the recipes or information presented herein.