Are you ready to add a little heat and a lot of flavor to your home-cooked meals? Growing your own chili peppers is an incredibly rewarding experience, offering fresh, vibrant, and sometimes fiery ingredients right from your garden. Whether you’re a seasoned gardener or just starting out, this comprehensive guide will walk you through every step of cultivating your very own chili peppers.
Imagine plucking a ripe chili pepper, still warm from the sun, and adding it to your favorite dish. The satisfaction of a homegrown harvest is unmatched, and with chilies, you get both culinary delight and a beautiful, productive plant. Let’s dig in!
Why Grow Your Own Chili Peppers?
Beyond the undeniable fresh taste, growing chili peppers offers several benefits:
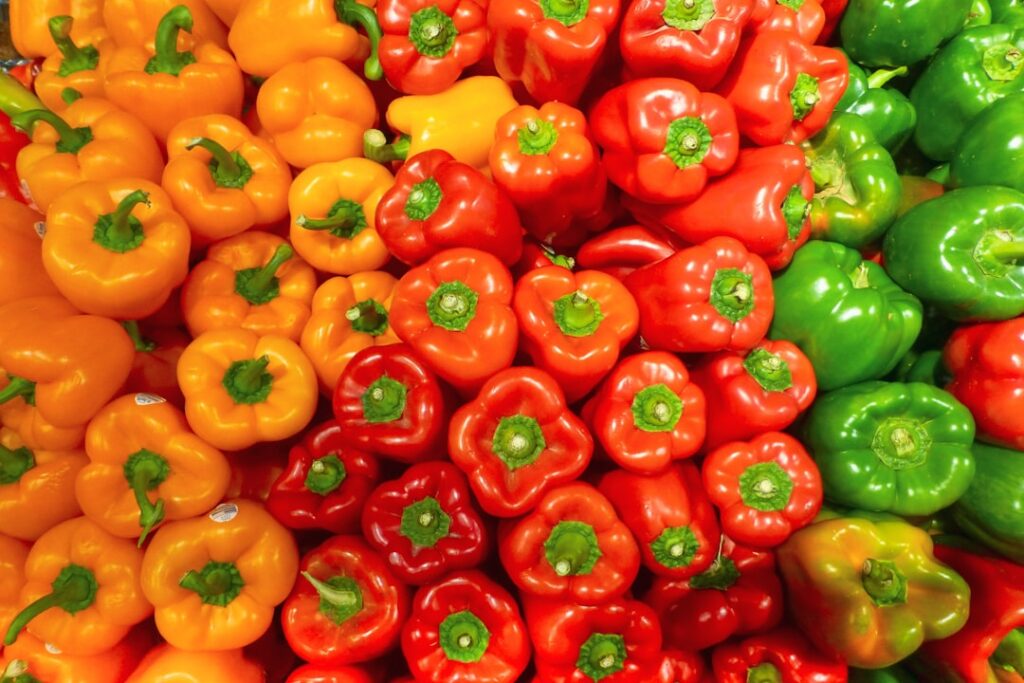
- Variety: Access to a vast array of chili types not often found in stores, from mild bell peppers to scorching Carolina Reapers.
- Freshness: Enjoy peppers at their peak ripeness and flavor, free from transport and storage damage.
- Cost-Effective: Over time, growing your own can be more economical than continuously buying them.
- Satisfaction: The joy of nurturing a plant from seed to harvest is truly fulfilling.
- Control: You decide what goes into your plants, ensuring they are organic and free from unwanted chemicals.
Getting Started: Essential Supplies
Before you embark on your chili-growing journey, gather these basic supplies:
- Chili Seeds or Seedlings: Choose varieties suitable for your climate and spice preference.
- Pots or Garden Space: Chilies thrive in containers (at least 6-inch diameter) or garden beds with well-draining soil.
- Potting Mix: A good quality, well-draining potting mix is crucial for container growing. For garden beds, amend with compost.
- Gardening Tools: Trowel, watering can, gardening gloves.
- Sunny Location: Chilies love sun!
Step-by-Step Guide to Growing Chili Peppers
Step 1: Choosing Your Chili Variety
This is where the fun begins! Consider:
- Spice Level: From mild (e.g., Bell, Poblano) to medium (e.g., Jalapeño, Serrano) to hot (e.g., Habanero, Scotch Bonnet) and super hot (e.g., Ghost Pepper, Carolina Reaper).
- Growth Habit: Some grow bushier, others taller. This affects spacing.
- Local Climate: Some varieties prefer warmer, longer growing seasons.
Step 2: Sowing Seeds or Planting Seedlings
From Seeds:
- Start seeds indoors 8-12 weeks before the last frost date in your area.
- Plant seeds about 1/4 inch deep in seed-starting mix.
- Keep soil consistently moist and warm (75-85°F or 24-29°C is ideal for germination). A heat mat can help.
- Once seedlings emerge and have a few sets of true leaves, transplant them into larger pots.
From Seedlings:
If you bought young plants, you can skip the seed-starting phase. Plant them directly into their final containers or garden bed after the danger of frost has passed.
Step 3: Providing the Right Environment
Sunlight
Chili plants are sun-worshippers! They need at least 6-8 hours of direct sunlight per day. Choose the sunniest spot in your garden or balcony.
Soil and Water
- Soil: Well-draining soil is paramount. For containers, use a high-quality potting mix. For garden beds, ensure the soil is rich in organic matter and drains well to prevent root rot.
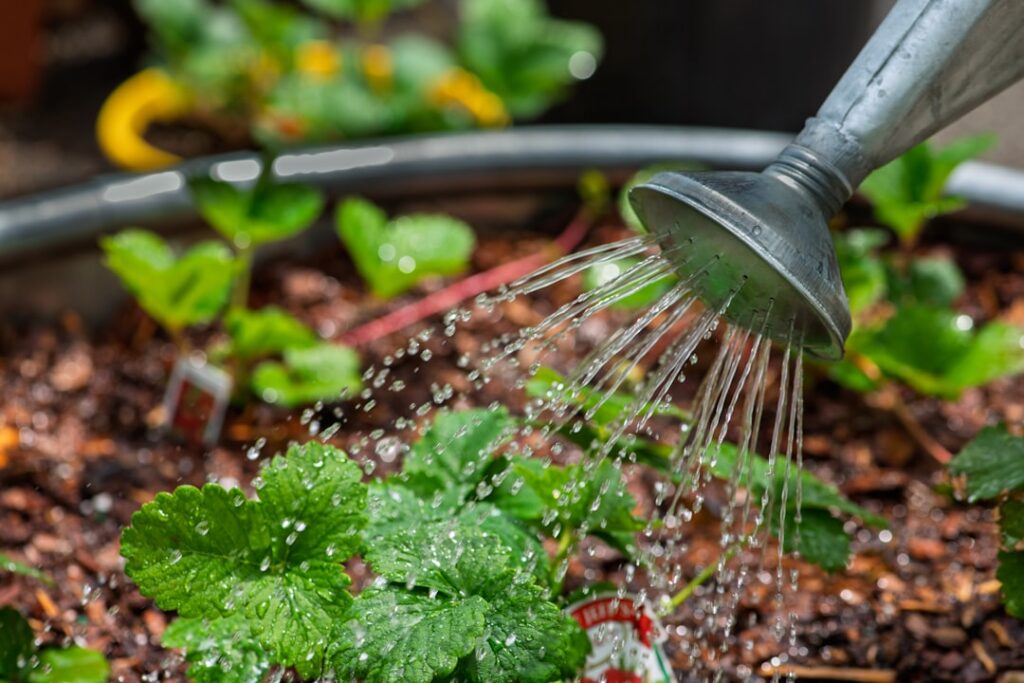
- Watering: Keep the soil consistently moist but not waterlogged. Water deeply when the top inch of soil feels dry. Reduce watering slightly as peppers ripen to intensify flavor.
Step 4: Feeding and Care
Fertilizing
Once your plants start producing flowers and fruits, feed them with a balanced fertilizer that is slightly higher in phosphorus and potassium (the ‘P’ and ‘K’ in N-P-K ratios) to encourage fruiting. Do this every 2-4 weeks according to product instructions.
Pruning and Support
Some gardeners choose to ‘top’ their chili plants when they are young (around 6-8 inches tall) by pinching off the main stem tip. This encourages bushier growth and more fruit. Taller varieties might benefit from staking to support heavy fruit production.
Step 5: Pest and Disease Management
Keep an eye out for common pests like aphids, spider mites, and whiteflies. Treat with organic insecticidal soap or neem oil if infestations occur. Good air circulation and proper watering can help prevent fungal diseases.
Step 6: Harvesting Your Chili Peppers
Chili peppers are generally ready for harvest when they reach their full size and have changed color (from green to red, orange, yellow, or even purple, depending on the variety). Use sharp pruning shears or a knife to cut the stem just above the pepper, being careful not to damage the plant.
Harvesting regularly encourages the plant to produce more peppers!
Enjoy Your Homegrown Heat!
Growing chili peppers is an incredibly rewarding endeavor that brings flavor and satisfaction to your kitchen. With a little care and attention, you can enjoy a continuous harvest of these spicy gems throughout the growing season. So, get your hands dirty, follow these steps, and prepare to elevate your culinary creations with the vibrant taste of your very own homegrown chilies!
What’s your favorite chili variety to grow? Share your tips and experiences in the comments below!