Hey beauty besties! Are you dreaming of that fresh, glowing, and wonderfully youthful skin? We all want to turn back the clock a little, or at least keep our skin looking its absolute best, without breaking the bank or slathering on harsh chemicals. What if I told you that the secret to a firmer, more radiant complexion might be hiding in your garden (or local grocery store)?
Today, we’re diving into the magic of nature with a super simple, yet incredibly powerful, homemade Aloe Vera Anti-Aging Gel! Get ready to discover how this humble plant can become your new secret weapon against fine lines and dullness. It’s time to whip up some natural goodness!
The Anti-Aging Superpower of Aloe Vera
Aloe vera isn’t just for sunburns anymore! This succulent plant is packed with over 75 active compounds, including vitamins, enzymes, minerals, sugars, lignin, saponins, salicylic acids, and amino acids. When it comes to anti-aging, here’s why aloe vera is a true superstar:
- Deep Hydration: Dehydrated skin often looks duller and emphasizes fine lines. Aloe vera is a natural humectant, meaning it draws moisture into the skin, plumping it up and making lines less noticeable.
- Collagen Boost: It contains compounds that stimulate fibroblast cells, which produce collagen and elastin fibers. These are the building blocks that keep our skin firm and elastic, essential for preventing sagging.
- Antioxidant Rich: Aloe vera is loaded with antioxidants like Vitamin C, E, and beta-carotene, which help fight off free radicals. Free radicals are unstable molecules that damage skin cells, leading to premature aging.
- Reduces Inflammation: Chronic inflammation can accelerate skin aging. Aloe vera’s anti-inflammatory properties can calm the skin and reduce redness, promoting a more even and youthful complexion.
- Speeds Cell Turnover: It gently exfoliates, helping to shed dead skin cells and reveal fresher, brighter skin underneath.
Crafting Your Own Youth-Boosting Aloe Vera Gel
Ready to create your own elixir of youth? This recipe is simple, uses minimal ingredients, and is incredibly effective. The best part? You know exactly what’s going onto your skin!
What You’ll Need:
- Fresh Aloe Vera Leaf: Look for a plump, healthy leaf. If you have an aloe plant, even better!
- Vitamin E Oil: (Optional, but highly recommended) This antioxidant powerhouse helps preserve the gel and boosts its skin-loving benefits. You can get this from capsules.
- Clean Bowl and Spoon: For mixing.
- Airtight Container: A small, clean glass jar or pump bottle is perfect for storage.
Step-by-Step Instructions:
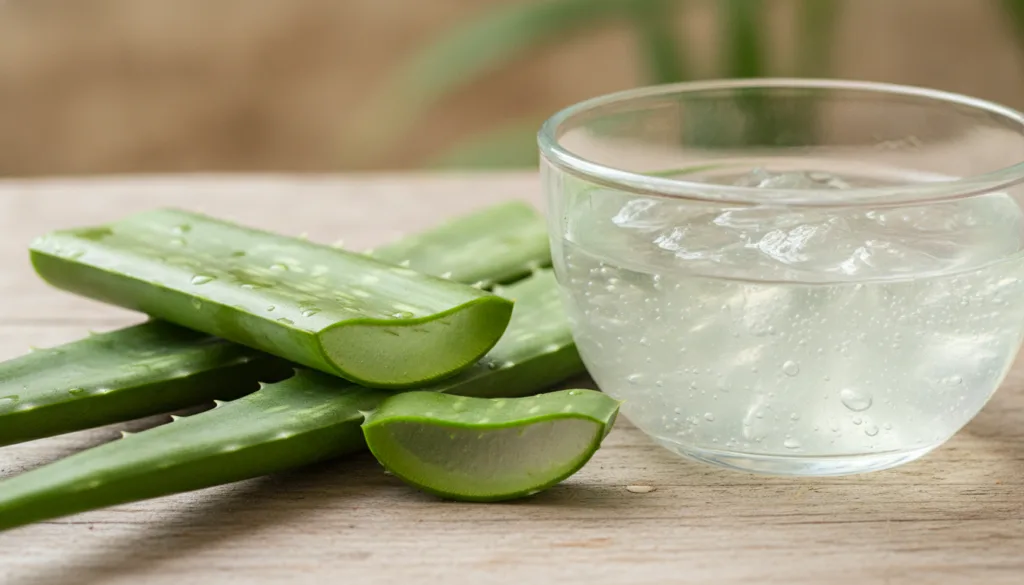
- Prepare the Aloe Leaf: Cut a 6-8 inch section from the base of a fresh aloe vera leaf. Wash it thoroughly and place it upright in a glass for about 10-15 minutes. This allows the yellow sap (aloin), which can be irritating, to drain out.
- Extract the Gel: Lay the leaf flat and carefully trim off the thorny edges. Using a spoon or a dull knife, scoop out the clear inner gel. Try to avoid getting any of the yellow or green parts of the leaf, as they can also cause irritation.
- Blend for Smoothness: Place the scooped-out gel into a clean bowl. For a smoother consistency, you can lightly whisk it with a fork or use a hand blender for a few seconds. You want a consistent, gel-like texture without lumps.
- Add Vitamin E (Optional): If using, pierce a Vitamin E capsule and squeeze out the oil into the aloe vera gel. About 1-2 capsules per half cup of aloe gel is a good ratio. Mix well. Vitamin E acts as a natural preservative and offers additional antioxidant benefits.
- Store Your Gel: Transfer your homemade anti-aging gel into your clean, airtight container.
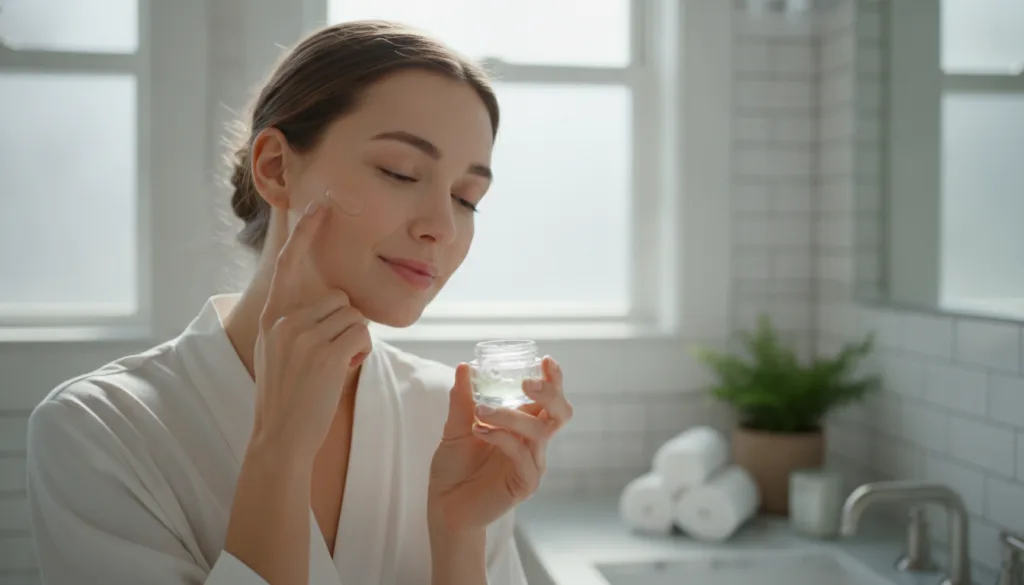
How to Use Your DIY Anti-Aging Gel for Best Results
- Cleanse First: Always apply the gel to freshly cleansed skin.
- Small Amount: A pea-sized amount is usually enough for your entire face and neck.
- Gentle Massage: Gently massage the gel into your skin using upward circular motions until fully absorbed.
- Frequency: Use it once or twice daily, as part of your morning and/or evening skincare routine. It can be used as a serum before your regular moisturizer, or even as a light moisturizer itself if your skin isn’t too dry.
- Patch Test: Always do a patch test on a small area of your skin (like behind your ear or on your inner arm) before applying it all over your face, especially if you have sensitive skin.
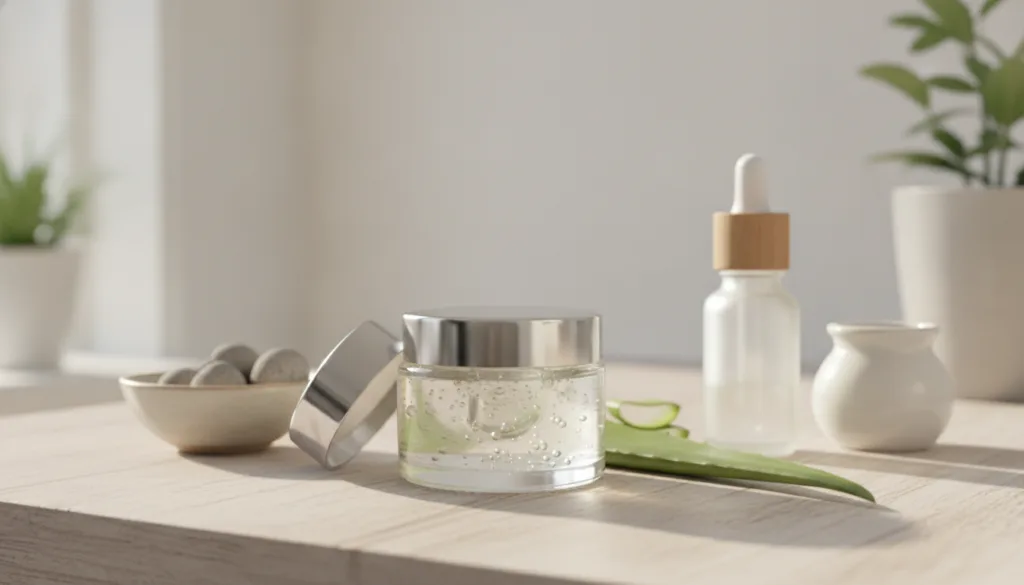
Tips for Success & Storage:
- Refrigerate: Store your homemade aloe vera gel in the refrigerator. This keeps it fresh for longer (up to 1-2 weeks) and provides a wonderfully cooling sensation when applied.
- Patience is Key: Natural remedies work best with consistent use. Don’t expect overnight miracles, but with regular application, you’ll start to notice smoother, brighter, and more youthful-looking skin.
- Listen to Your Skin: If you experience any irritation, discontinue use.
There you have it, gorgeous! A simple, natural, and effective way to infuse your skin with youth-boosting benefits right from your home. Give this DIY Aloe Vera Anti-Aging Gel a try and let us know how your skin transforms. Share your glow-up stories in the comments below!