Dreaming of fresh, homegrown potatoes but think you don’t have enough space? Think again! Growing your own potatoes can be incredibly simple, even if you only have a small patio, balcony, or limited garden space. Our favorite method? The super affordable and effective $5 bucket method! It’s perfect for beginners and seasoned gardeners alike, offering a bountiful harvest with minimal fuss.
Why Grow Potatoes in 5-Gallon Buckets?
Using 5-gallon buckets for your potato patch offers a surprising number of advantages:
- Space-Saving: Perfect for small spaces, urban gardens, or even patios and balconies.
- Pest and Disease Control: Isolates plants, making it easier to manage soil-borne diseases and pests.
- Easy Harvesting: No more back-breaking digging! Just tip the bucket over when it’s harvest time.
- Portability: Move your potato plants to catch the best sun or protect them from unexpected frost.
- Affordable: Often, you can find used buckets for free or very cheap, making it a budget-friendly project.
Gather Your Supplies for Bucket Potato Growing
Before you dive in, make sure you have everything you need. The good news is, the list is short and sweet!
- 5-Gallon Buckets: One or more. Look for food-grade buckets if possible, or clean any used buckets thoroughly.
- Drill: To create drainage holes.
- Seed Potatoes: Certified disease-free seed potatoes from a garden center or online supplier. Avoid grocery store potatoes as they may be treated with sprout inhibitors or carry diseases.
- Potting Mix: A good quality, well-draining potting mix.
- Compost: A few shovelfuls of well-rotted compost for extra nutrients.
- Water: For regular watering.
- Shovel/Trowel: For handling soil.
Step-by-Step Guide: Planting Potatoes in Buckets
1. Prepare Your Buckets
Drainage is crucial for healthy potato growth. Using your drill, make several (5-8) holes around the bottom edges of each 5-gallon bucket. These holes will prevent waterlogging, which can lead to rotten potatoes.
2. Chit Your Seed Potatoes (Optional but Recommended)
Chitting is simply pre-sprouting your potatoes before planting. Place seed potatoes in a cool, bright spot (not direct sun) for a couple of weeks until they develop short, stout sprouts (chits) about half an inch long. This can give them a head start and potentially increase your yield.
3. Initial Planting
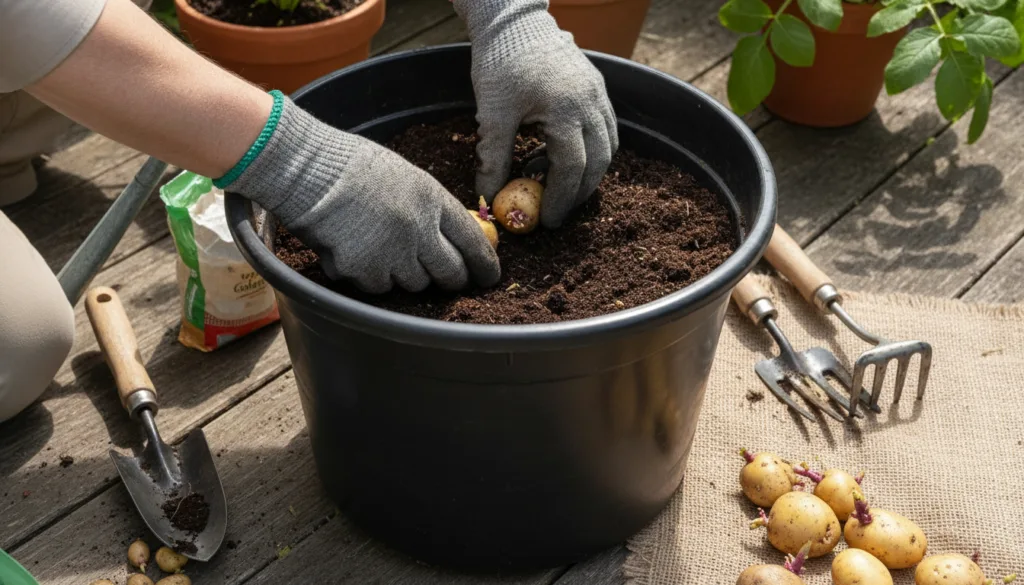
Start by adding about 4-6 inches of your potting mix, enriched with some compost, to the bottom of each bucket. Place 1-2 chitted seed potatoes (depending on their size – 2 for smaller varieties, 1 for larger) on top of the soil, ensuring the sprouts are pointing upwards. Cover them with another 4-6 inches of soil mix.
4. The “Hilling Up” Process
This is the most critical step for a good potato harvest. As your potato plants grow and reach about 6-8 inches tall, add more potting mix around the stems, leaving only the top few inches of foliage exposed. This encourages the plant to produce more tubers along the buried stem. Repeat this