There’s nothing quite like the satisfaction of cooking with ingredients you’ve grown yourself. And when it comes to versatile, essential vegetables, onions top many lists! Imagine slicing into a sweet, pungent onion knowing it came straight from your garden. Growing your own onions from sets (small bulbs) is a rewarding and relatively simple process, perfect for both seasoned gardeners and enthusiastic beginners. Join us on this green journey from a tiny bulb to a delicious harvest!
Choosing Your Onion Starts: Sets, Seeds, or Transplants?
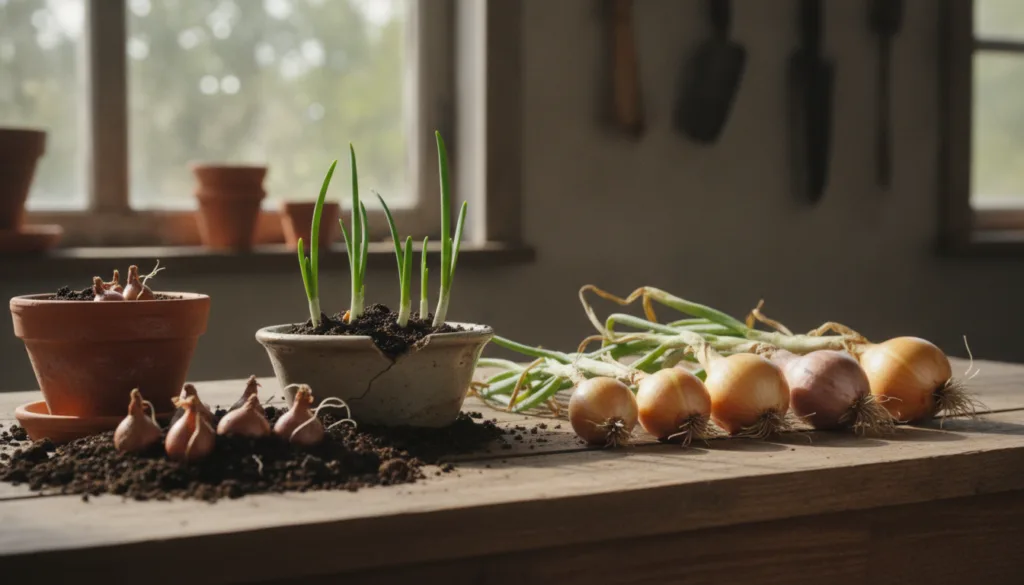
While you can grow onions from seeds or transplants, starting with onion sets is often the easiest and quickest method, especially for beginners. Onion sets are small, immature onion bulbs that were grown from seed the previous year and then harvested and dried. They are less prone to disease and tend to mature faster than onions grown from seed.
- Onion Sets: Small bulbs, easy to plant, faster maturity, less susceptible to pests/diseases. Ideal for beginners.
- Onion Seeds: Offer the widest variety, but require a longer growing season and more delicate care.
- Onion Transplants: Young onion plants, a good middle ground between sets and seeds, offering variety and faster growth than seeds.
Preparing Your Garden Bed for Success
Onions thrive in well-draining, fertile soil with a slightly acidic to neutral pH (6.0-7.0). They also love sunshine!
Location and Sunlight
Choose a spot in your garden that receives at least 6-8 hours of direct sunlight per day. Onions are sun-worshippers!
Soil Preparation
Before planting, prepare your soil by loosening it to a depth of at least 6-8 inches. Incorporate plenty of organic matter like compost or well-rotted manure. This improves drainage, aeration, and fertility, giving your onions the best possible start.
Planting Onion Sets: The Right Way
Timing is key! Plant onion sets in early spring as soon as the soil can be worked, typically a few weeks before your last anticipated frost. They can tolerate light frosts.
Spacing and Depth
- Gently press each onion set into the prepared soil, ensuring the pointed end faces upwards.
- Plant them about 1-2 inches deep, just enough so the top of the bulb is covered by a thin layer of soil.
- Space them 4-6 inches apart in rows, with rows about 12-18 inches apart. If you’re growing smaller onions for scallions, you can plant them closer, around 2-3 inches apart.
- After planting, water thoroughly to settle the soil around the bulbs.
Care and Maintenance: Nurturing Your Onions
Watering
Onions need consistent moisture, especially during their active growth period. Aim for about an inch of water per week, either from rain or irrigation. Avoid overwatering, which can lead to rot, but don’t let the soil dry out completely.
Weeding
Onions are poor competitors with weeds. Keep your garden bed free of weeds, as they steal vital nutrients and moisture. Hand-weeding is often best to avoid disturbing shallow onion roots.
Fertilizing
If your soil is rich in organic matter, additional fertilization might not be necessary. However, if your soil is less fertile, you can apply a balanced fertilizer (like a 10-10-10) or a nitrogen-rich fertilizer every few weeks during the early growth stages to encourage strong top growth. Stop fertilizing once the bulbs begin to swell.
Pest and Disease Management
While onion sets are generally hardy, keep an eye out for common garden pests like onion thrips or diseases like downy mildew. Good air circulation, proper spacing, and healthy soil are your best defenses. Organic pest control methods, like neem oil or insecticidal soap, can be used if infestations occur.
Harvesting Onions: The Grand Finale!
The moment you’ve been waiting for! Onions are typically ready for harvest when their tops (the green foliage) start to yellow and fall over naturally. This usually happens in mid to late summer, about 3-4 months after planting onion sets.
How to Harvest
- Once about half to three-quarters of the onion tops have fallen over, you can gently bend over any remaining upright tops to encourage uniform ripening.
- Wait about a week or two after the tops have fallen, then carefully loosen the soil around the bulbs with a garden fork.
- Gently pull the onions from the ground. Avoid bruising them.
Curing and Storage for Long-Lasting Freshness
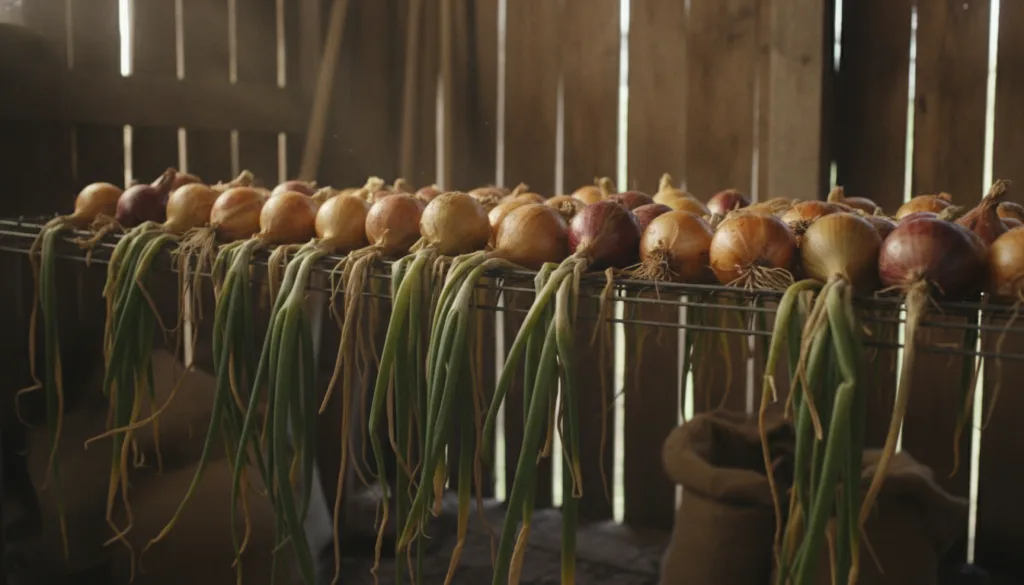
Curing is a crucial step that prepares your onions for long-term storage, preventing rot and extending their shelf life.
Curing Process
- Lay the harvested onions in a single layer in a warm (75-80°F or 24-27°C), dry, and well-ventilated area for 2-4 weeks. A shed, garage, or even a covered porch works well.
- Allow the necks to dry completely and the outer skin to form a papery layer. The tops should shrivel and become completely dry.
- Once cured, clip off the dry tops (leaving about an inch) and trim the roots.
Storage
Store cured onions in a cool (40-50°F or 4-10°C), dry, dark, and well-ventilated place. Mesh bags, old nylon stockings, or slatted crates are ideal, allowing air to circulate. Properly stored onions can last for several months!
Enjoy Your Homegrown Harvest!
From the moment you tuck those small sets into the soil to the delicious crunch of a homegrown onion in your meal, the journey of growing your own onions is incredibly satisfying. It’s a testament to patience, care, and the simple joys of connecting with nature. So, roll up your sleeves, get your hands dirty, and embark on your own onion-growing adventure. Happy gardening!