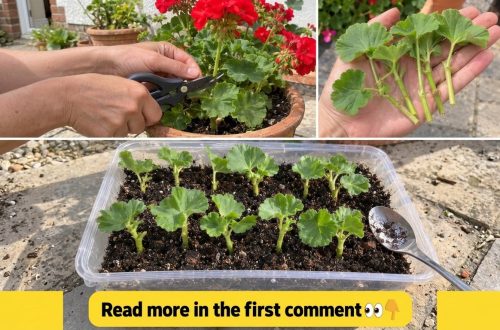
Is your beloved Christmas cactus (Schlumbergera) overflowing its pot, perhaps becoming a bit leggy or simply begging for a fresh start? Or maybe you just want to share its beauty with friends and family? The good news is that multiplying this vibrant, holiday-blooming houseplant is incredibly simple and rewarding. Propagation allows you to create healthy new plants, rejuvenate an older specimen, or expand your own collection with ease.
While the prospect of ‘cloning’ your favorite plant might sound intimidating, propagating Christmas cactus is one of the most straightforward gardening tasks you can undertake. With just a few simple steps and a bit of patience, you’ll be nurturing new little cacti into thriving, blooming beauties. Let’s dive into how you can easily multiply your Christmas cactus and enjoy its festive charm for years to come.
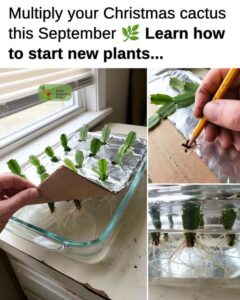
The Magic of Christmas Cactus Propagation
Christmas cacti, along with their cousins the Thanksgiving and Easter cacti, belong to the genus Schlumbergera. These aren’t your typical desert cacti with sharp spines; instead, they are epiphytic, meaning they naturally grow on trees in tropical rainforests. This unique background explains their preference for well-draining soil, bright indirect light, and higher humidity than most desert cacti. Their segmented stems are perfectly designed for easy propagation, as each segment is essentially a potential new plant.
Multiplying your Christmas cactus offers several benefits. It’s a cost-effective way to get more plants, a thoughtful gift for fellow plant lovers, and a fantastic way to refresh an older plant that might be losing its vigor or becoming too large. Plus, it’s an incredibly satisfying process to watch new roots and growth emerge from a simple cutting.
When to Propagate Your Christmas Cactus
While Christmas cactus can be propagated almost any time of year, the best window is typically after its blooming period, from late winter through spring or early summer. This timing allows the plant to recover from flowering and puts its energy into vegetative growth. Avoid propagating during its active blooming phase or when it’s just setting buds, as this can stress the parent plant and reduce your chances of success.
Look for healthy, mature stems that have at least two to four segments. These cuttings will have enough energy stored to initiate root development. If your plant is getting leggy or has stems that look a bit scraggly, those are often perfect candidates for pruning and propagation.
Step-by-Step Guide to Water Propagation
Water propagation is a popular and visually satisfying method for Christmas cactus, allowing you to watch the roots develop.
Choosing and Taking Cuttings
The success of your propagation starts with healthy cuttings. Select stem sections that are firm, plump, and free from any signs of disease or pests. Aim for cuttings that are 2-4 segments long.
- Preparation: Use clean, sharp scissors or a knife to make a precise cut. Sterilizing your tools with rubbing alcohol before and after use minimizes the risk of introducing diseases.
- Making the Cut: Gently twist or cut a stem section off at a joint, where two segments meet. This often creates a cleaner break than cutting through the middle of a segment.
- Quantity: It’s always a good idea to take several cuttings, as not all of them may root successfully.
The Crucial Callus
This step is vital for preventing rot, especially when propagating in water or soil. Freshly cut plant tissue is vulnerable to fungal and bacterial infections.
- Air Dry: After taking your cuttings, lay them in a cool, dry place out of direct sunlight for 2-5 days. This allows the cut end to form a protective callus (a dry, hardened layer). Think of it as a plant’s natural scab.
- Visual Check: The cut end should appear dry and slightly tougher than the rest of the stem.
Setting Up for Success
Once your cuttings have callused, they’re ready for their rooting environment.
- Container: Choose a small glass jar, bottle, or even a shot glass. It should be wide enough to hold the cutting without it touching the bottom, but not so wide that the cutting topples over.
- Water: Fill the container with clean, room-temperature water. Tap water is usually fine, but if your tap water is heavily chlorinated, let it sit out for 24 hours to allow the chlorine to dissipate.
- Placement: Place the callused end of the cutting into the water, ensuring that at least one segment joint is submerged. Keep the rest of the cutting above water.
- Light: Position your rooting station in a location that receives bright, indirect light. Avoid direct, harsh sunlight, which can cook the cuttings or encourage algae growth in the water.
Watching for Roots
Patience is key during this phase!
- Water Changes: Change the water every 3-5 days, or whenever it starts to look cloudy. This replenishes oxygen and prevents bacterial buildup.
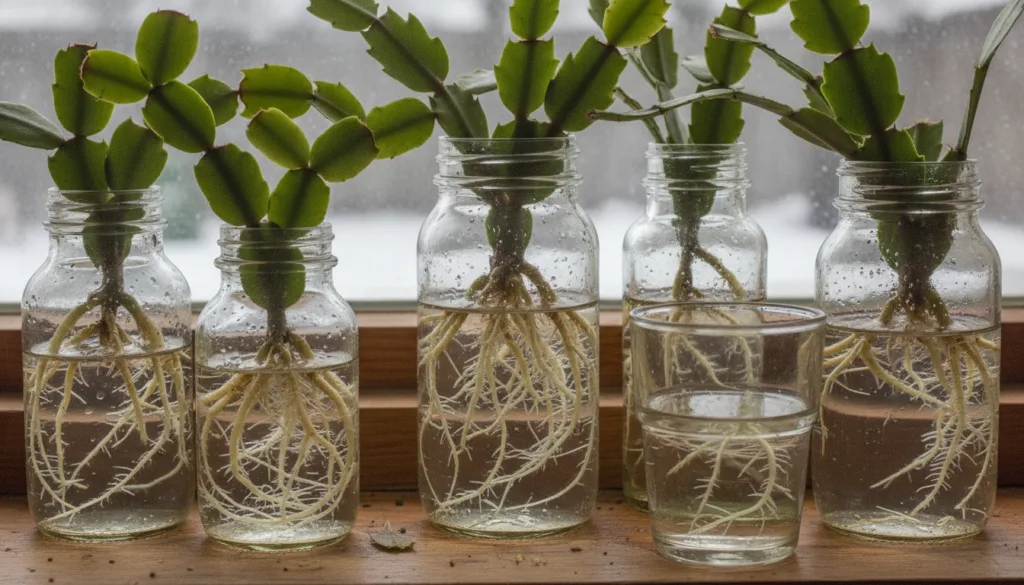
- Root Development: You should start to see tiny white roots emerging from the submerged joint within 2-4 weeks. Some cuttings might take a bit longer, up to 6 weeks.
- Ready for Soil: Allow the roots to grow to about 1/2 to 1 inch long before you think about potting them up. This ensures they are robust enough to establish in soil.
Transitioning to Soil
Once your cuttings have developed a good network of roots, it’s time to move them into a more permanent home.
- Potting Mix: Christmas cacti thrive in well-draining, airy soil. A mix formulated for cacti and succulents, amended with some perlite or fine orchid bark, works wonderfully. Avoid heavy potting soils that retain too much moisture.
- Pot Size: Start with small pots, about 3-4 inches in diameter, especially if you’re planting multiple cuttings together. Overly large pots hold too much moisture, which can lead to root rot.
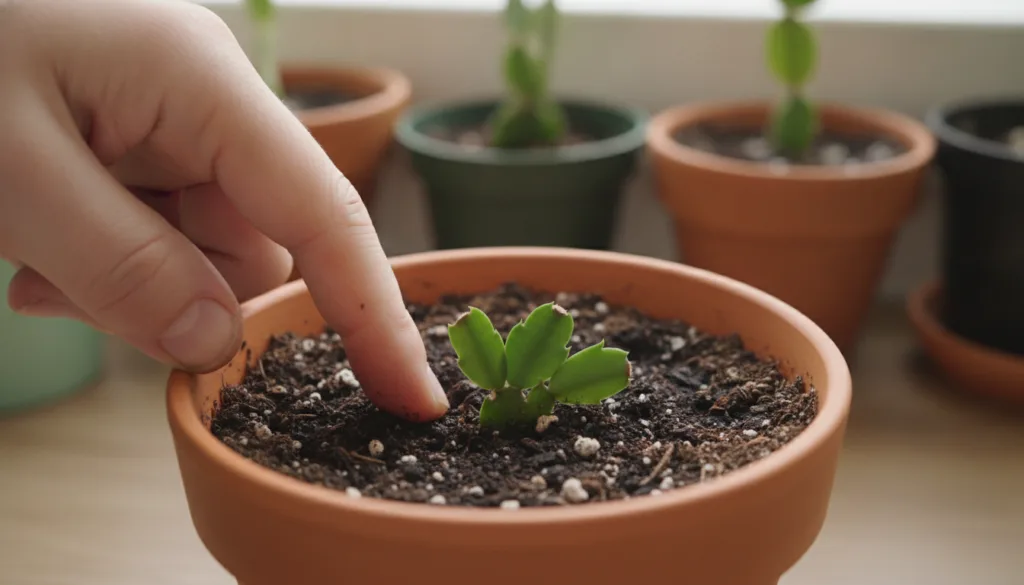
- Planting: Gently make a small hole in the center of the potting mix. Carefully place the rooted cutting into the hole, ensuring the roots are spread out and covered with soil. Plant the bottom segment or two just below the soil surface. You can plant multiple cuttings in one pot for a fuller look.
- Initial Watering: Water sparingly immediately after potting. The soil should be just barely moist, not soggy. The new roots are delicate and prone to rot if overwatered.
Care for Your New Christmas Cactus Plants
Once established in soil, your new Christmas cacti will thrive with proper care.
- Sunlight: Provide bright, indirect light. An east-facing window is often ideal. Avoid direct, scorching afternoon sun, which can burn their delicate stems.
- Watering: Water thoroughly when the top 1-2 inches of soil feel dry to the touch. Allow excess water to drain completely from the bottom of the pot. Never let your Christmas cactus sit in standing water.
- Humidity: As rainforest natives, they appreciate higher humidity. You can mist them occasionally, place them on a pebble tray with water, or group them with other plants.
- Temperature: Maintain typical indoor temperatures, ideally between 65-75°F (18-24°C). Protect them from cold drafts.
- Fertilizing: Once the plant has established itself and started putting out new growth (usually after a month or two), you can begin feeding it with a balanced, diluted liquid fertilizer during its active growing season (spring through summer).
- Blooming Tips: To encourage those beautiful holiday blooms, provide a period of shorter days and cooler nights (around 50-55°F or 10-13°C) for 6-8 weeks in the fall, along with reduced watering.
Common Mistakes to Avoid
Even with an easy plant like Christmas cactus, a few missteps can hinder your propagation success:
- Planting Fresh Cuttings Immediately: Skipping the callusing step is a common cause of rot. Always let those cut ends dry!
- Overwatering: Both in water propagation (not changing water) and in soil (keeping soil constantly wet) can lead to fungal issues and rot.
- Too Much Direct Sun: While they like bright light, direct afternoon sun can scorch the tender cuttings and new plants.
- Impatience: Rooting takes time. Don’t constantly pull up cuttings to check for roots, as this can damage delicate new growth.
- Wrong Soil Mix: Heavy, moisture-retentive soils are a death sentence for these epiphytic cacti. Ensure excellent drainage.
Beyond Water: Propagating in Soil
While water propagation is visually appealing, you can also root Christmas cactus cuttings directly in soil. The process is similar:
- Take 2-4 segment cuttings and allow them to callus for 2-5 days.
- Fill a small pot with a well-draining cactus/succulent potting mix.
- Insert the callused end of the cutting about 1 inch deep into the soil. You can use a rooting hormone, but it’s often not necessary for Christmas cacti.
- Water very sparingly, just enough to slightly moisten the soil around the cutting.
- Place in bright, indirect light.
- Maintain light moisture, but do not let the soil become soggy. After 3-6 weeks, gently tug on a cutting; if you feel resistance, it has rooted.
Cultivating New Life from Your Christmas Cactus
Propagating your Christmas cactus is more than just making new plants; it’s a connection to the lifecycle of your garden and a chance to share the joy of growing. Whether you choose water or soil methods, the process is straightforward, requiring minimal tools and a dash of horticultural patience. Soon, you’ll have a collection of vibrant Schlumbergera, ready to brighten your home or become cherished gifts. Embrace the rewarding journey of plant propagation and watch your Christmas cactus family grow!