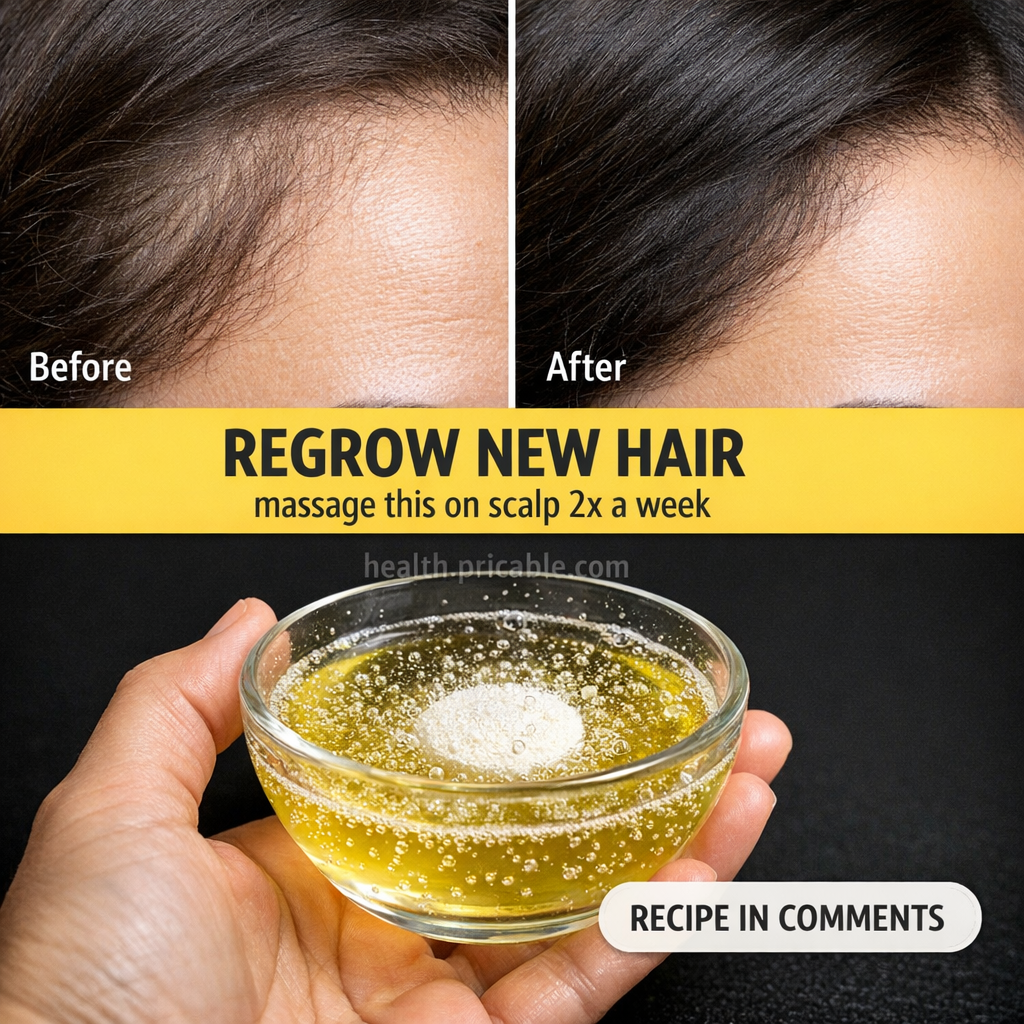
If you’ve been searching for a DIY hair growth oil to massage into your scalp a couple of times a week, this is the kind of recipe that feels easy enough to actually stick with. It combines rich carrier oils with a few optional vitamin capsules to create a scalp oil blend many people like to use for dry areas, fragile edges, and hair that feels thinner than it used to.
The appeal is simple: one small bottle, a few minutes of scalp massage, and a routine that feels more targeted than just applying random oils and hoping for the best. It is not about overnight transformation. It is about building a consistent scalp care habit that may help support softer, healthier-looking hair over time.
DIY Hair Growth Oil Recipe
This version makes a 100 ml batch, which is enough for regular scalp use without sitting around too long.
Ingredients
- 40 ml cold-pressed castor oil
- 25 ml virgin coconut oil
- 20 ml jojoba oil
- 15 ml argan oil
- 3 vitamin E capsules
- 2 biotin capsules, optional
- 2 vitamin D3 softgels, optional
- 5 to 6 drops rosemary essential oil, optional
Why these oils are so popular
Castor oil gives the blend body and richness, which is why it often shows up in recipes for thinning edges and dry scalp care.
Coconut oil helps add softness and slip, especially for hair that feels dry or rough.
Jojoba oil is lighter than castor oil, so it helps balance the texture and makes the blend easier to spread across the scalp.
Argan oil is often used in hair care for a smoother, softer finish and a less heavy feel.
Rosemary essential oil is a common add-in for scalp massage blends, but only in small diluted amounts.
Adding Vitamin Capsules to Hair Oil
Vitamin capsules are an easy way to enrich a DIY scalp oil without making the recipe complicated. They’re affordable, widely available, and simple to use. Just pierce each capsule with a clean pin and squeeze the contents directly into the oil blend.
For most people, the best approach is to keep it simple and use only a few add-ins that work well in an oil base.
Vitamin E
Vitamin E is one of the most popular ingredients in homemade hair oil blends. It may help support the scalp barrier and adds antioxidant support to the formula. It also gives the blend a richer, more nourishing feel.
Biotin
Biotin is strongly associated with hair care, so it often gets added to DIY scalp oils. In a recipe like this, it works best as an optional supportive ingredient rather than something you rely on by itself.
Vitamin D3
Some people like to include vitamin D3 softgels in small amounts as part of a scalp oil routine. It is best treated as an optional add-in for a more fortified blend, not a required step.
What about other vitamins?
Some DIY recipes call for vitamin A, vitamin C, or fish oil capsules, but those are usually less beginner-friendly.
- Vitamin A is best used very cautiously in DIY blends.
- Vitamin C does not mix as smoothly into oil and may be too sharp for some scalps.
- Fish oil can smell strong and shorten shelf life.
If you want a scalp oil that feels pleasant and easy to use consistently, vitamin E plus one or two optional extras is usually enough.
How to Make DIY Hair Growth Oil
You only need about 5 minutes and a clean bottle.
Step-by-step method
- Add the castor oil, coconut oil, jojoba oil, and argan oil to a clean bowl or measuring cup.
- Pierce the vitamin capsules and squeeze the contents into the oil.
- Add the rosemary essential oil, if using.
- Stir until the blend looks smooth and evenly mixed.
- Pour into a clean 100 ml dark glass bottle or dropper bottle.
If your coconut oil is solid, warm it gently just until it melts. Do not overheat it.
How to Use It on Your Scalp
This recipe works best as a scalp treatment, not as a heavy all-over hair soak.
Simple 2-times-a-week routine
- Part your hair into sections.
- Apply a small amount directly to the scalp.
- Focus on dry spots, sparse-looking areas, or the hairline.
- Massage gently with fingertips for 5 to 10 minutes.
- Leave it on for 30 minutes before washing.
- Use it 2 times a week.
Some people also like leaving it on overnight, but a lighter application is usually the better choice if you want to avoid buildup on the scalp.
DIY Hair Growth Oil for Thinning Hair: What It May Help With
A good scalp oil routine can feel useful when your hair care needs more consistency and less guesswork. People often use a blend like this for:
- dry scalp that feels tight or flaky
- brittle-looking edges
- hair that feels stressed from heat styling
- a weekly scalp massage routine
- extra softness before wash day
It works best as part of a broader routine. Gentle styling, regular cleansing, and patience usually matter just as much as the oil itself.
Common Mistakes That Make Hair Oil Less Effective
Using too much oil
A small amount goes a long way. Overapplying can leave the scalp greasy, weigh down roots, and make wash day harder.
Adding too many capsules
More ingredients do not always make a better formula. Too many add-ins can make the blend heavy, messy, or irritating.
Using essential oils without enough dilution
Rosemary essential oil should only be used in small amounts mixed into carrier oils. Adding too much can make the scalp feel uncomfortable.
Massaging too aggressively
Scalp massage should feel gentle, not rough. Tugging at the hairline can do more harm than good.
Leaving it on too long without washing properly
If your scalp is prone to buildup, it is better to use this as a pre-shampoo treatment rather than leaving layers of oil on for days.
Safety Note Before You Try It
Always patch test a new DIY hair oil before using it all over your scalp.
Keep these basics in mind:
- avoid applying essential oils directly to the scalp
- do not use on irritated, broken, or inflamed skin
- stop if your scalp feels itchy, hot, or unusually sensitive
- use less product if your scalp tends to get oily quickly
If you’re trying a scalp oil for the first time, start with a smaller amount and see how your skin responds.
How to Store Homemade Hair Oil
Because this recipe includes capsule contents and natural oils, storage matters.
Best storage tips
- keep it in a dark glass bottle
- store it away from direct sunlight and heat
- close the bottle tightly after every use
- avoid getting water into the mixture
- use within 4 to 6 weeks for best freshness
Small batches are usually the better option for DIY scalp oils because they stay fresher and are easier to finish.
Best Hair Types for This Recipe
This blend is usually a better match for:
- dry scalp
- dry or coarse hair
- brittle ends
- dry hairlines and edges
- anyone who likes pre-wash scalp oiling
If your scalp gets oily fast, use a smaller amount or look for a lighter option with more jojoba and less castor oil.
Buying Guide: What to Look for If You Don’t Want to Make It Every Time
Even if you enjoy a DIY hair growth oil, there are times when buying a ready-made scalp oil is just easier. If you’re comparing store-bought options, look for features that match the feel of this recipe without making the scalp too heavy.
What to look for
- a dropper bottle for scalp application
- castor oil, jojoba oil, argan oil, or rosemary oil in the ingredient list
- a lightweight or medium-weight formula if you have fine hair
- minimal fragrance if your scalp is sensitive
- a formula labeled for dry scalp, thinning hair, or scalp massage use
Ingredients to avoid if your scalp is sensitive
- very strong fragrance
- high amounts of alcohol
- undiluted essential oils
- thick waxy formulas that are hard to wash out
Best option for beginners
A beginner-friendly option is usually a simple scalp oil with a short ingredient list and a lighter texture. If you are new to scalp oiling, that is often a better choice than a very thick blend that leaves buildup.
Price range
- Budget-friendly option: basic carrier oil blends
- Mid-range option: scalp oils with rosemary or argan in dropper bottles
- Premium option: multi-oil blends with specialty botanical ingredients
A Simple Weekly Routine That Pairs Well With This Oil
Using a DIY hair growth oil consistently usually works better than using it heavily once in a while.
Easy routine
Day 1
Apply the oil, massage for 5 to 10 minutes, leave on for 30 minutes, then shampoo.
Day 4 or 5
Repeat the same routine and avoid tight hairstyles afterward.
Good habits to pair with it
- reduce very tight ponytails or buns
- use lower heat when styling
- wash the scalp well after oiling
- choose a gentle shampoo for regular use
- keep your routine steady for a few weeks before changing products
FAQ
1. What is the best DIY hair growth oil recipe?
A simple blend of castor oil, coconut oil, jojoba oil, and argan oil with vitamin E capsules is one of the easiest and most popular options for scalp massage.
2. Can I use vitamin capsules in homemade hair oil?
Yes, many people add vitamin E and sometimes biotin or vitamin D3 softgels to DIY hair oil blends. The key is to keep the formula balanced and not overload it with too many extras.
3. How often should I use DIY hair growth oil?
Twice a week is a practical starting point for most people. That schedule is often enough to build consistency without making the scalp feel overloaded.
4. Can I leave hair oil on overnight?
Yes, but use a small amount. For many people, a 30-minute pre-wash treatment is the simpler and cleaner option.
5. Which oil is best for thinning hair?
Many people like castor oil for richness, while jojoba and argan help keep the blend easier to spread and less heavy on the scalp.
6. Is rosemary oil necessary in homemade hair oil?
No. It is optional. Some people like adding a few drops to a scalp massage blend, but the carrier oils do most of the work in terms of texture and routine.
7. How long does DIY hair growth oil last?
A small homemade batch is usually best used within 4 to 6 weeks when stored properly in a cool, dark place.
8. What should I look for when buying a scalp oil?
Look for a formula that matches your scalp type, uses a manageable texture, and includes ingredients you actually want to use consistently.
A DIY hair growth oil does not need to be complicated to feel useful. A balanced mix of nourishing oils, a few carefully chosen capsule add-ins, and a consistent scalp massage routine can make hair care feel more intentional, more practical, and easier to keep up with week after week.