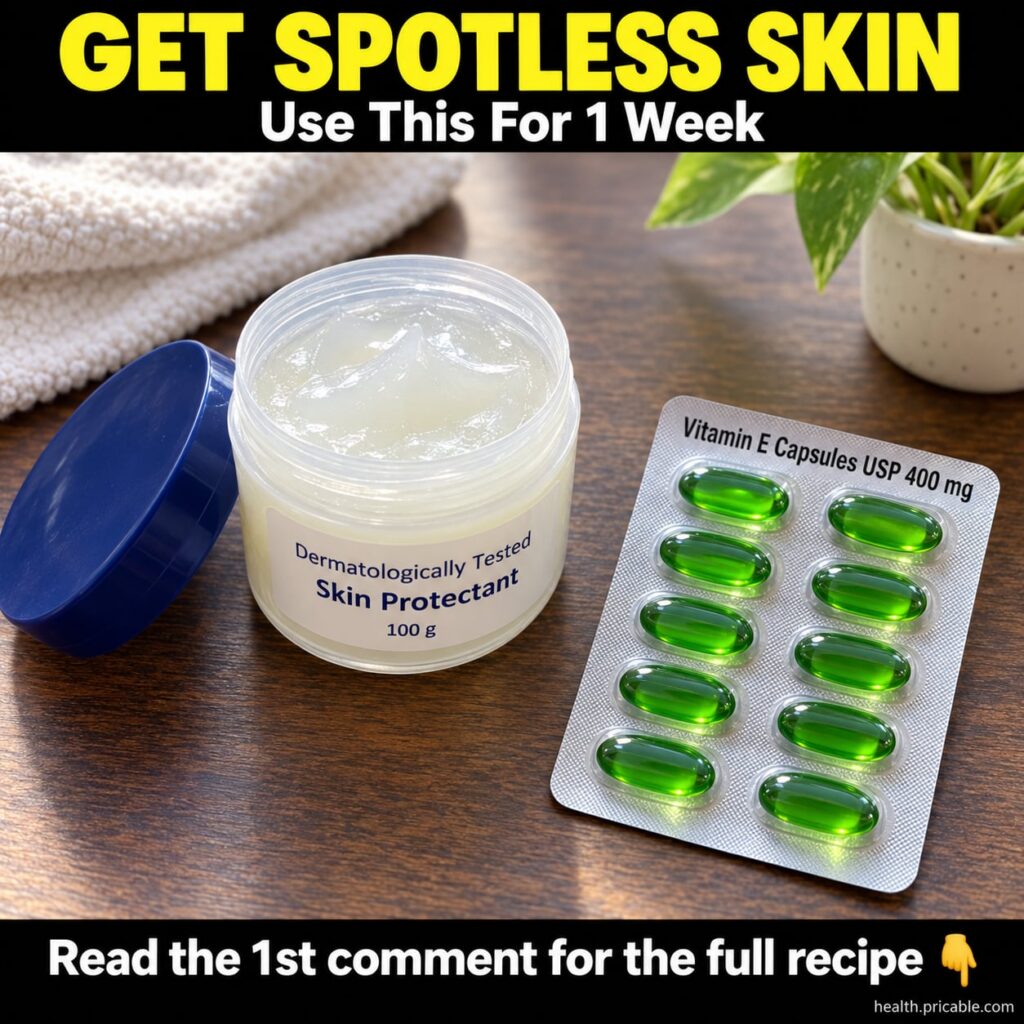
Hey beauty besties! Are you dreaming of clear, glowing, and spotless skin without breaking the bank? We’ve got a secret weapon for you today that uses two ingredients you probably already have in your home: Vaseline and Vitamin E capsules! This DIY cream is a game-changer for many, offering hydration and nourishment to help you achieve that radiant complexion you’ve always wanted.
It’s all about natural beauty and simple remedies, and this one ticks all the boxes. So, grab your ingredients, and let’s get mixing!
Why These Two Ingredients Are Your Skin’s New Best Friends
Before we dive into the recipe, let’s understand why Vaseline and Vitamin E are such a powerful duo for your skin.
Vaseline (Petroleum Jelly): The Ultimate Moisture Lock
-
Intense Hydration: Vaseline is an occlusive, meaning it creates a protective barrier on your skin. This barrier helps to lock in moisture, preventing water loss and keeping your skin hydrated and plump.
-
Healing Properties: It’s fantastic for soothing dry, chapped, or irritated skin, helping to accelerate the natural healing process.
-
Skin Protection: It shields your skin from harsh environmental elements, making it a great ally, especially in dry or cold weather.
Vitamin E: The Antioxidant Powerhouse
-
Antioxidant Boost: Vitamin E is a potent antioxidant that fights off free radicals, which are responsible for premature aging and skin damage.
-
Fades Scars and Spots: Many people swear by Vitamin E for its ability to help reduce the appearance of scars, dark spots, and hyperpigmentation over time, leading to more even-toned skin.
-
Nourishment and Repair: It promotes healthy skin cell regeneration and can help improve skin texture and elasticity, giving you that youthful glow.
DIY Vaseline and Vitamin E Spotless Skin Cream Recipe
Ready to whip up your own batch of skin magic? Here’s how!
What You’ll Need:
- 1-2 tablespoons of pure Vaseline (petroleum jelly)
- 2-3 Vitamin E capsules (you can find these at any pharmacy or health store)
- A small, clean, airtight container (like a small jar or travel pot)
- A clean spoon or spatula for mixing
Step-by-Step Instructions:
-
Prepare Your Container: Make sure your small container is thoroughly cleaned and dry. Hygiene is key when making DIY skincare products!
-
Scoop the Vaseline: Place 1-2 tablespoons of Vaseline into your clean container. You can adjust the amount based on how much cream you want to make, but a small batch is always good to start with.
-
Extract the Vitamin E: Take your Vitamin E capsules. Using a clean needle or the tip of a small knife, carefully puncture each capsule and squeeze out the oil directly into the Vaseline. For a small batch, 2-3 capsules should be enough.
-
Mix Thoroughly: With your clean spoon or spatula, gently yet thoroughly mix the Vaseline and Vitamin E oil together until they are well combined and form a smooth, uniform cream. It might take a couple of minutes to get everything fully incorporated.
-
Seal and Store: Once mixed, put the lid on your container. Store your DIY cream in a cool, dry place away from direct sunlight. It typically lasts for several weeks, similar to how long an opened jar of Vaseline would.
How to Use Your DIY Spotless Skin Cream
Using this cream is simple and can easily fit into your evening skincare routine.
Application Tips:
-
Cleanse Your Face: Always start with a clean face. Wash away makeup, dirt, and impurities with your favorite gentle cleanser.
-
Tone (Optional): If you use a toner, apply it after cleansing.
-
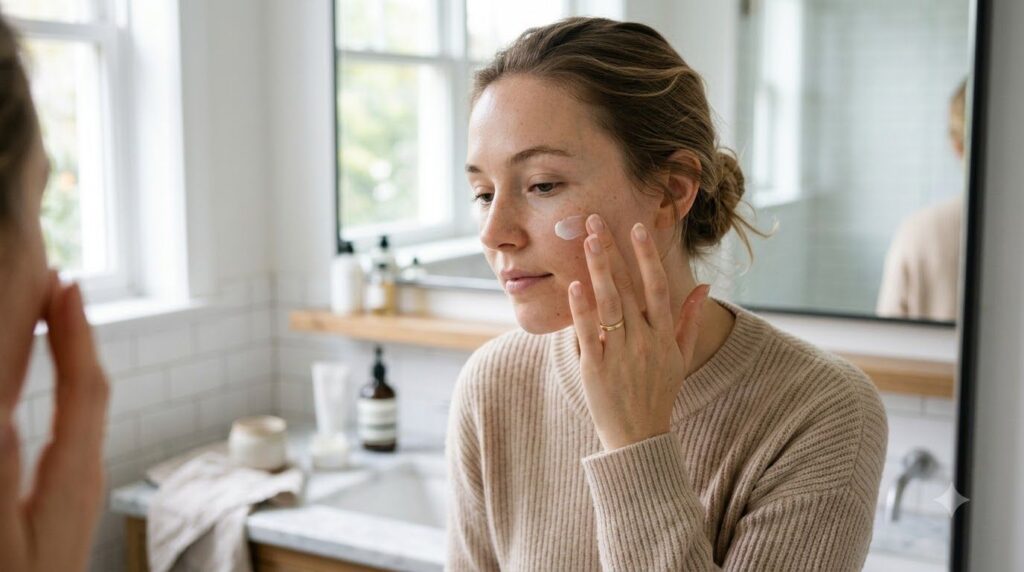
Apply the Cream: Take a very small amount of your DIY Vaseline and Vitamin E cream with your fingertip. Gently dab it onto areas where you have dark spots, scars, or areas that need extra hydration. For an all-over boost, you can apply a thin layer to your entire face, focusing on massaging it in until absorbed.
-
Night-time Use: This cream is best applied before bedtime. Its rich texture works wonderfully overnight, allowing the ingredients to penetrate and work their magic while you sleep.
-
Consistency is Key: For best results, use this cream consistently every night or every other night. You should start to see improvements in skin texture and tone over a few weeks!
Important Considerations & Tips
-
Patch Test First: Always, always perform a patch test on a small, inconspicuous area of your skin (like behind your ear or on your inner arm) 24 hours before applying it to your face. This helps ensure you don’t have any allergic reactions or sensitivities to the ingredients.
-
Less Is More: Especially if you have oily or acne-prone skin, use a very tiny amount. Vaseline is occlusive and can feel heavy if too much is applied.
-
Not for Everyone: While generally safe, if you have extremely sensitive skin or active acne breakouts, consult with a dermatologist before trying new DIY remedies.
-
Sun Protection: Remember, while Vitamin E helps repair, it doesn’t replace sun protection. Always use a broad-spectrum SPF during the day, especially when you’re working on improving skin tone and reducing spots.
Embrace Your Natural Glow!
There you have it, a simple yet powerful DIY solution to help you on your journey to spotless, glowing skin! Natural beauty doesn’t have to be complicated or expensive. With just a couple of ingredients and a few minutes of your time, you can create a nourishing cream that supports your skin’s health.
Give this recipe a try and let us know your experience in the comments below! We love hearing from our beauty community.