Hello, fellow garden enthusiasts! Have you ever dreamt of having fresh, homegrown garlic right at your fingertips? Imagine adding that pungent, savory flavor to your meals, knowing exactly where it came from. The good news is, you don’t need a sprawling backyard to make this dream a reality! Growing garlic in pots is incredibly easy and rewarding, perfect for balconies, patios, or even sunny windowsills.
At Garden – L. Quyên, we believe everyone can cultivate a greener lifestyle, and growing your own garlic is a fantastic way to start. It’s a simple project that yields delicious results, making it ideal for both beginners and seasoned gardeners looking to expand their container garden.
Why Grow Garlic in Pots?
Container gardening offers numerous benefits, especially when it comes to growing vegetables like garlic:
- Space-Saving: Perfect for urban dwellers or anyone with limited garden space.
- Pest Control: Easier to monitor and protect your plants from common garden pests.
- Soil Control: You can create the perfect soil mix, ensuring optimal growing conditions for your garlic.
- Flexibility: Move your pots to follow the sun or protect plants from harsh weather.
- Freshness Guaranteed: Enjoy the freshest garlic possible, harvested right when you need it.
What You’ll Need
Gathering your supplies is the first step to a successful garlic harvest. Here’s what you’ll need:
- Garlic Cloves: Opt for organic, untreated garlic from a garden center or farmer’s market. Avoid supermarket garlic that might be treated to prevent sprouting. Hardneck varieties often do well in colder climates, while softneck varieties are more common and store longer.
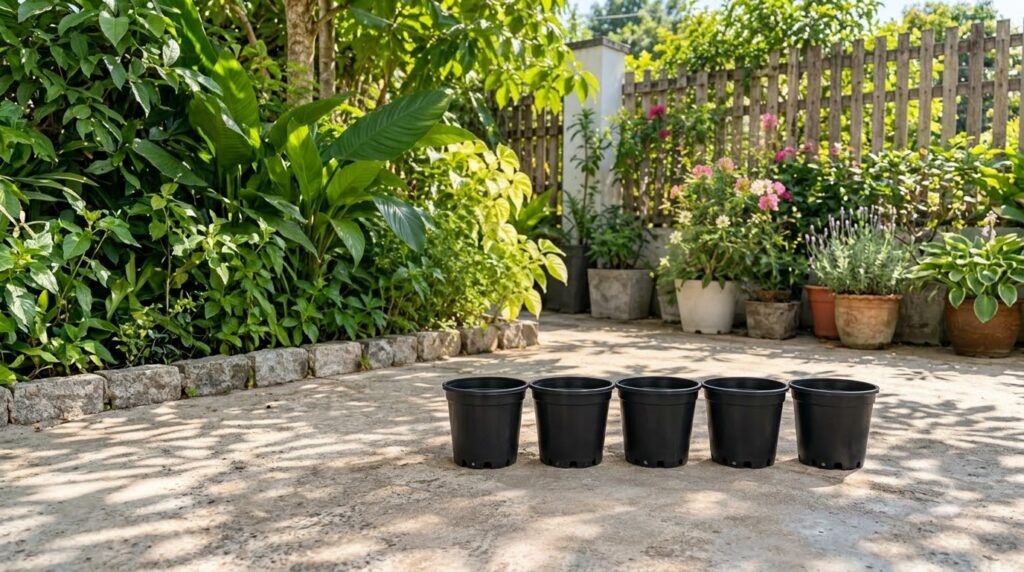
- Pots/Containers: Choose pots at least 8-10 inches deep and 6-8 inches wide for each clove. Ensure they have drainage holes! Larger containers can accommodate multiple cloves (e.g., a 12-inch pot can hold 3-4 cloves).
- Potting Mix: A high-quality, well-draining potting mix is crucial. You can amend it with some compost for extra nutrients.
- Watering Can: For gentle and consistent watering.
- Small Trowel or Hand Rake: For digging and mixing soil.
- Optional: Organic fertilizer (balanced granular or liquid), mulch (straw, wood chips).
Step-by-Step Guide to Growing Garlic in Pots
1. Prepare Your Cloves
Gently separate the garlic bulb into individual cloves. Choose the largest, healthiest-looking cloves for planting. Don’t peel them!
2. Prepare Your Pots and Soil
Fill your chosen pots with the potting mix, leaving about an inch of space from the rim. If using a balanced organic fertilizer, mix it into the top few inches of soil now, following package directions.
3. Plant the Cloves
With the flat, root-end down and the pointed end facing up, plant each clove about 2-3 inches deep. Space them 4-6 inches apart if planting multiple cloves in one larger container. Cover them with soil.
4. Water Thoroughly
After planting, water the pots thoroughly until water drains from the bottom. This helps settle the soil around the cloves.
5. Provide Sunlight
Place your pots in a location that receives at least 6-8 hours of direct sunlight per day. Garlic loves sunshine!
6. Ongoing Care
- Watering: Keep the soil consistently moist but not waterlogged. Water when the top inch of soil feels dry. Reduce watering as harvest approaches.
- Fertilizing: If you didn’t amend the soil initially, you can feed your garlic with a balanced liquid organic fertilizer every 2-4 weeks during its active growing phase (spring).
- Mulching: In colder climates, a layer of straw or leaves on top of the soil can help insulate the cloves through winter and conserve moisture.
7. Harvesting Your Garlic
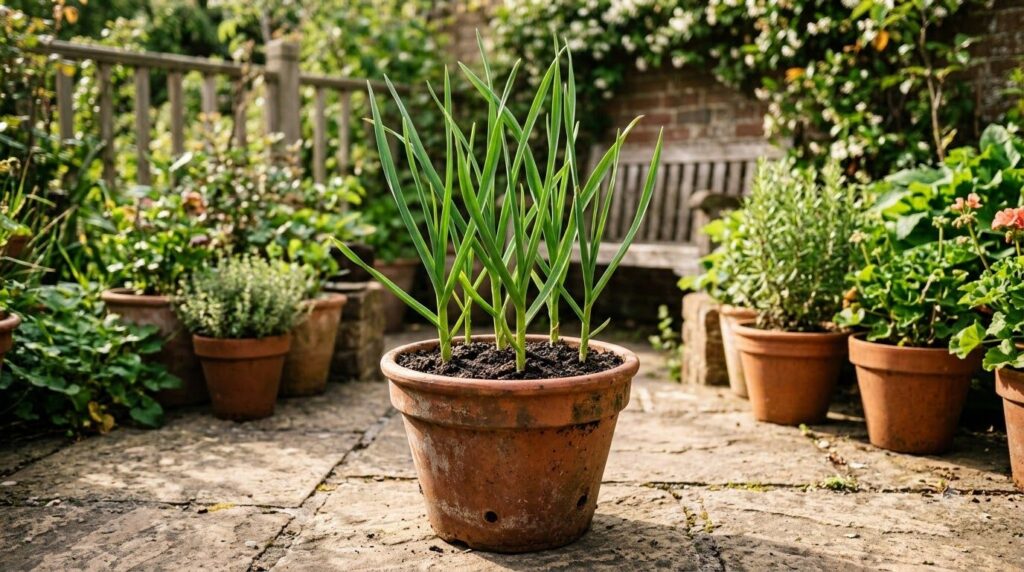
Garlic typically takes 8-9 months to mature. You’ll know it’s ready when the lower leaves start to turn yellow and brown, but there are still 4-5 green leaves at the top. This usually happens in late spring or early summer, depending on when you planted.
To harvest, gently loosen the soil around the bulb with a trowel and carefully pull the entire plant out. Avoid pulling too hard on the stalk, as it can separate from the bulb.
8. Curing and Storing
Curing is essential for proper storage. Brush off excess dirt, but don’t wash the bulbs. Hang them in a cool, dry, well-ventilated area (like a garage or shed) for 2-4 weeks until the outer wrappers are papery dry and the neck is firm.
Once cured, trim the roots and cut the stalks to about an inch above the bulb. Store your homegrown garlic in a cool, dark, and dry place. Softneck varieties can be braided for a beautiful and practical storage solution!
Tips for Success
- Planting Time: For most regions, fall (September to November) is the best time to plant garlic for a summer harvest. In warmer climates, late winter might be more suitable.
- Patience is Key: Garlic takes its time, but the wait is absolutely worth it!
- Rotation: If you grow garlic in the same pot year after year, replenish the soil or use fresh potting mix to prevent nutrient depletion and disease buildup.
Growing your own garlic is an incredibly rewarding experience that connects you closer to your food. With these simple steps, you’re well on your way to enjoying fresh, flavorful garlic straight from your very own container garden.
Happy gardening!