Are you ready to transform your kitchen into a bustling bakery, filled with the aroma of freshly baked goods? Mastering a few key versatile dough recipes is your secret weapon. From comforting sweet treats to delicious savory meals, these fundamental doughs will empower you to create an incredible array of homemade delights with ease.
At Glowra Health, we believe that cooking from scratch can be both simple and incredibly rewarding. We’ve put together six essential dough recipes that are designed for versatility and ease, ensuring you always have the perfect base for your baking adventures. Get ready to mix, knead, and bake your way to deliciousness!
Quick Overview
- Main topic: Versatile Dough Recipes
- Best for: Home bakers, beginners, meal prep
- Number of recipes: 6
- Prep style: Mixing, kneading, baking
- Reader benefit: Learn foundational doughs for diverse baking applications
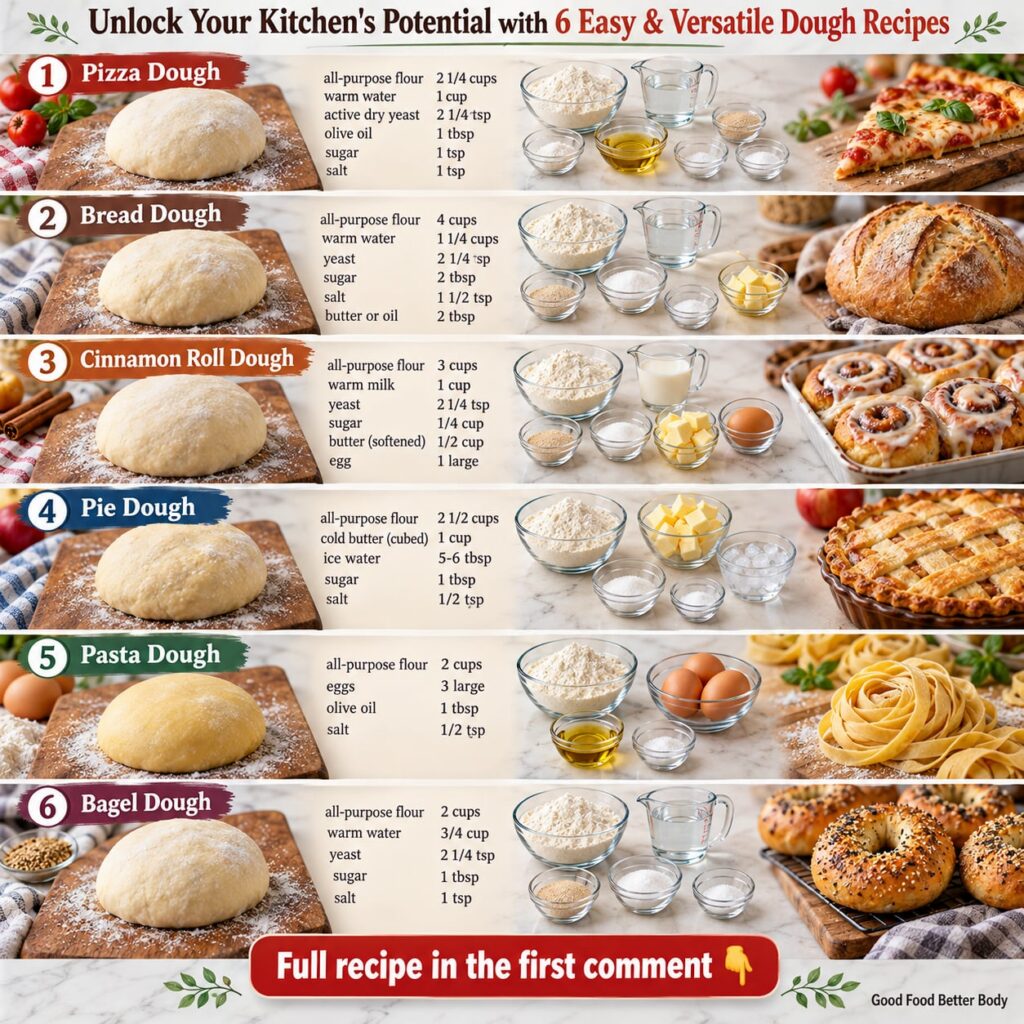
Recipe 1: Classic Yeast Pizza Dough
This foundational pizza dough is perfect for thin or thick crusts, allowing you to customize your homemade pizzas to perfection. It’s a true crowd-pleaser and remarkably easy to work with.
Servings: 2 (12-inch pizzas)
Prep time: 20 minutes
Cook / chill / rest time: 1.5-2 hours (rise time) + 10-15 minutes (bake time)
Ingredients:
- 1 cup warm water (105-115°F / 40-46°C)
- 1 teaspoon active dry yeast
- 1 teaspoon granulated sugar
- 2 ½ cups all-purpose flour, plus more for dusting
- 1 teaspoon salt
- 2 tablespoons olive oil, plus more for bowl
Instructions:
- In a large bowl, combine warm water, yeast, and sugar. Let sit for 5-10 minutes until foamy.
- Stir in the olive oil and salt. Gradually add the flour, mixing until a shaggy dough forms.
- Turn the dough out onto a lightly floured surface and knead for 5-7 minutes until smooth and elastic.
- Lightly oil a clean bowl, place the dough in it, and turn to coat. Cover with plastic wrap and let rise in a warm place for 1-1.5 hours, or until doubled in size.
- Punch down the dough and divide it into two equal balls. Let rest for 10 minutes before shaping your pizzas.
Storage / Serving / Usage Note: Dough can be stored in an airtight container in the refrigerator for up to 2 days before use. Freeze dough balls for up to 3 months.
Recipe 2: Sweet & Soft Cinnamon Roll Dough
This enriched dough yields incredibly soft and fluffy cinnamon rolls, perfect for a cozy breakfast or a delightful dessert. It’s a wonderful dough to master for sweet baking.

Servings: 12 rolls
Prep time: 30 minutes
Cook / chill / rest time: 2-2.5 hours (rise time) + 20-25 minutes (bake time)
Ingredients:
- ¾ cup warm milk (105-115°F / 40-46°C)
- 2 ¼ teaspoons active dry yeast
- ¼ cup granulated sugar
- 1 large egg, lightly beaten
- ¼ cup unsalted butter, melted
- 2 ½ cups all-purpose flour, plus more for dusting
- ½ teaspoon salt
Instructions:
- In a large bowl, combine warm milk, yeast, and 1 tablespoon of the sugar. Let sit for 5-10 minutes until foamy.
- Stir in the egg, melted butter, remaining sugar, and salt. Gradually add the flour, mixing until a soft dough forms.
- Turn the dough out onto a lightly floured surface and knead for 8-10 minutes until smooth and elastic.
- Lightly oil a clean bowl, place the dough in it, and turn to coat. Cover with plastic wrap and let rise in a warm place for 1-1.5 hours, or until doubled in size.
- Punch down the dough gently and roll it out into a rectangle for your cinnamon rolls.
Storage / Serving / Usage Note: Unbaked rolls can be covered and refrigerated overnight for baking the next morning. Baked rolls are best fresh but can be stored in an airtight container at room temperature for 2-3 days.
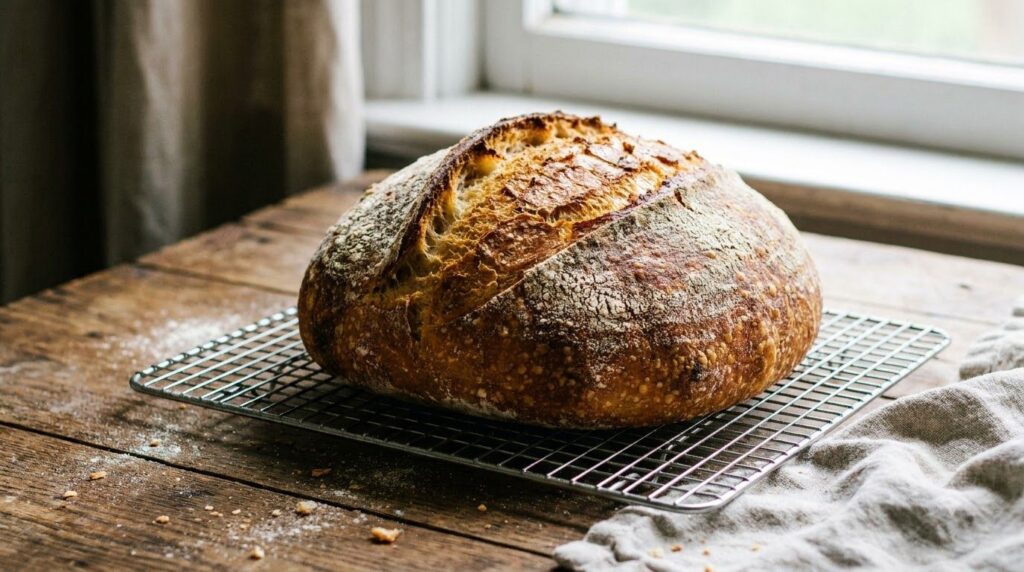
Recipe 3: Everyday All-Purpose Bread Dough
This simple yeast dough is incredibly versatile, serving as the base for loaves of bread, dinner rolls, focaccia, and more. It’s an essential skill for any home baker.
Servings: 1 large loaf or 12 rolls
Prep time: 20 minutes
Cook / chill / rest time: 1.5-2 hours (rise time) + 30-40 minutes (bake time)
Ingredients:
- 1 ½ cups warm water (105-115°F / 40-46°C)
- 2 ¼ teaspoons active dry yeast
- 1 teaspoon granulated sugar (optional, for yeast activation)
- 4 cups all-purpose flour, plus more for dusting
- 1 ½ teaspoons salt
- 2 tablespoons olive oil
Instructions:
- In a large bowl, combine warm water, yeast, and sugar (if using). Let sit for 5-10 minutes until foamy.
- Stir in the olive oil and salt. Gradually add the flour, mixing until a shaggy dough forms.
- Turn the dough out onto a lightly floured surface and knead for 8-10 minutes until smooth and elastic.
- Lightly oil a clean bowl, place the dough in it, and turn to coat. Cover with plastic wrap and let rise in a warm place for 1-1.5 hours, or until doubled in size.
- Punch down the dough and shape it into a loaf or individual rolls. Allow a second rise for 30-45 minutes before baking.
Storage / Serving / Usage Note: Freshly baked bread is best served warm. Store leftovers in a bread box or airtight container at room temperature for up to 3-4 days. It also freezes well.
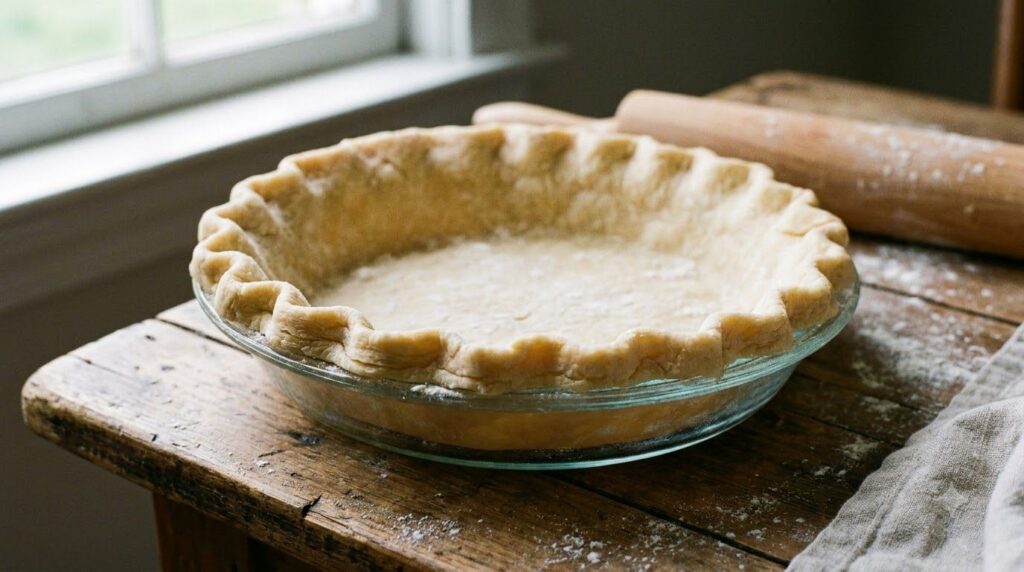
Recipe 4: Flaky All-Butter Pie Crust
Achieve consistently flaky pie crusts for both sweet and savory pies, tarts, and quiches. This recipe relies on cold butter and minimal handling for perfect results.
Servings: 1 (9-inch) double crust or 2 single crusts
Prep time: 15 minutes
Cook / chill / rest time: 30 minutes (chill time) + baking time (as per pie recipe)
Ingredients:
- 2 ½ cups all-purpose flour
- 1 teaspoon salt
- 1 cup (2 sticks) unsalted butter, very cold and cut into ½-inch cubes
- ½ cup ice water, plus more if needed
Instructions:
- In a large bowl, whisk together the flour and salt.
- Add the cold butter cubes and cut them into the flour using a pastry blender or your fingertips until the mixture resembles coarse crumbs with some pea-sized butter pieces.
- Gradually add the ice water, 1 tablespoon at a time, mixing gently until the dough just comes together. Be careful not to overmix.
- Divide the dough into two equal discs, wrap tightly in plastic wrap, and refrigerate for at least 30 minutes before rolling.
Storage / Serving / Usage Note: Dough can be stored in the refrigerator for up to 3 days or frozen for up to 2 months. Thaw frozen dough in the refrigerator before using.
Recipe 5: Quick & Easy Buttermilk Biscuit Dough
These light and fluffy biscuits are incredibly quick to make and require no yeast. They are perfect for a savory meal side or a sweet treat with jam.

Servings: 8-10 biscuits
Prep time: 15 minutes
Cook / chill / rest time: 12-15 minutes (bake time)
Ingredients:
- 2 cups all-purpose flour
- 1 tablespoon baking powder
- ½ teaspoon baking soda
- 1 teaspoon salt
- ½ cup (1 stick) unsalted butter, very cold and cubed
- ¾ cup cold buttermilk, plus more for brushing
Instructions:
- Preheat oven to 425°F (220°C). In a large bowl, whisk together flour, baking powder, baking soda, and salt.
- Add the cold butter cubes and cut them into the flour using a pastry blender or your fingertips until the mixture resembles coarse crumbs.
- Make a well in the center and pour in the buttermilk. Mix gently with a fork until just combined, being careful not to overmix.
- Turn the dough out onto a lightly floured surface and gently pat or roll to ¾-inch thickness. Use a biscuit cutter to cut out biscuits.
- Place biscuits on a baking sheet, brush tops with a little extra buttermilk, and bake for 12-15 minutes, or until golden brown.
Storage / Serving / Usage Note: Best served warm. Store leftover biscuits in an airtight container at room temperature for up to 2 days.
Recipe 6: Simple No-Yeast Flatbread Dough
This incredibly fast and easy dough doesn’t require yeast or rising time, making it perfect for quick weeknight meals or last-minute appetizers. Ideal for wraps, dippers, or mini pizzas.

Servings: 4-6 flatbreads
Prep time: 10 minutes
Cook / chill / rest time: 15-20 minutes (cook time)
Ingredients:
- 2 cups all-purpose flour, plus more for dusting
- 1 teaspoon baking powder
- ½ teaspoon salt
- ¾ cup warm water
- 2 tablespoons olive oil, plus more for cooking
Instructions:
- In a large bowl, whisk together flour, baking powder, and salt.
- Add warm water and olive oil, mixing until a shaggy dough forms.
- Turn the dough out onto a lightly floured surface and knead for 2-3 minutes until smooth.
- Divide the dough into 4-6 equal balls. Roll each ball into a thin flatbread (about 6-8 inches in diameter).
- Heat a lightly oiled non-stick skillet or griddle over medium-high heat. Cook each flatbread for 2-3 minutes per side, until puffed and lightly browned.
Storage / Serving / Usage Note: Serve immediately with dips, as wraps, or as a side dish. Leftovers can be stored in an airtight container at room temperature for up to 1 day, or frozen for longer storage.
Simple Tips for Best Results
- Measure Accurately: For baking, especially with doughs, precise measurements are key. Use a kitchen scale for flour if possible.
- Don’t Overmix: Overmixing can lead to tough doughs. Mix until just combined, and knead only as much as required for elasticity.
- Temperature Matters: Warm liquids activate yeast, while cold butter creates flaky crusts. Pay attention to temperature cues in recipes.
- Practice Patience: Yeast doughs need time to rise. Don’t rush the process, as proper rising is crucial for texture and flavor.
FAQ
What does ‘versatile dough’ mean?
Versatile dough refers to a basic dough recipe that can be adapted to create a variety of different baked goods, both sweet and savory. For example, a single bread dough can be used for loaves, rolls, or pizza crusts.
Can I make these doughs ahead of time?
Many doughs, especially yeast-based ones, can be prepared in advance and refrigerated for a day or two, or even frozen for longer storage. This makes meal prep and future baking much easier.
What’s the best way to store homemade dough?
Dough should be stored in an airtight container or wrapped tightly in plastic wrap to prevent it from drying out. Refrigerate for short-term storage or freeze for longer periods. Always bring refrigerated dough to room temperature before shaping and baking.
Final Thoughts
Mastering these versatile dough recipes is a game-changer for anyone who loves to bake. With a little practice, you’ll be able to whip up everything from delicious homemade pizzas to comforting cinnamon rolls, bringing wholesome, scratch-made goodness to your table. Enjoy the journey of discovering your kitchen’s full potential!