Harvesting Nature’s Bounty: How to Save Bell Pepper Seeds for Your Garden
There’s immense joy in harvesting your own fresh vegetables, but imagine the satisfaction of growing them from seeds you saved yourself! Saving seeds from your favorite bell peppers is a wonderful way to embrace sustainable living, ensure a continuous supply of delicious produce, and even preserve unique varieties that thrive in your garden. It’s a simple process that connects you more deeply to the gardening cycle and helps you become more self-sufficient.
Here at Garden – L. Quyên, we believe in empowering every gardener, from beginner to expert, with easy-to-understand tips and inspiring ideas. Saving bell pepper seeds is a fantastic step towards a truly sustainable and rewarding gardening journey!
Why Save Your Own Bell Pepper Seeds?
Beyond the sheer satisfaction, there are several practical reasons why saving bell pepper seeds is a brilliant idea:
- Cost-Effective: Buying seed packets every year can add up. Saving your own seeds is completely free!
- Preserve Favorite Varieties: If you’ve found a bell pepper variety that tastes amazing or grows exceptionally well in your climate, saving its seeds allows you to keep growing it year after year.
- Self-Sufficiency: It reduces your reliance on external seed suppliers and makes your garden more resilient.
- Adaptation: Over time, seeds saved from plants grown in your specific garden can adapt better to your local conditions, potentially leading to stronger, more productive plants.
- Knowledge and Connection: It deepens your understanding of plant life cycles and fosters a greater connection to your food source.
Choosing the Right Bell Peppers for Seed Saving
Before you start, it’s important to select the right bell peppers:
1. Opt for Open-Pollinated Varieties
This is crucial! Only save seeds from open-pollinated or heirloom bell pepper varieties. Seeds from hybrid (F1) plants will not reliably produce plants identical to the parent plant. They might produce something completely different, or even sterile plants. Always check your seed packet or plant tag to confirm if your bell pepper is open-pollinated.
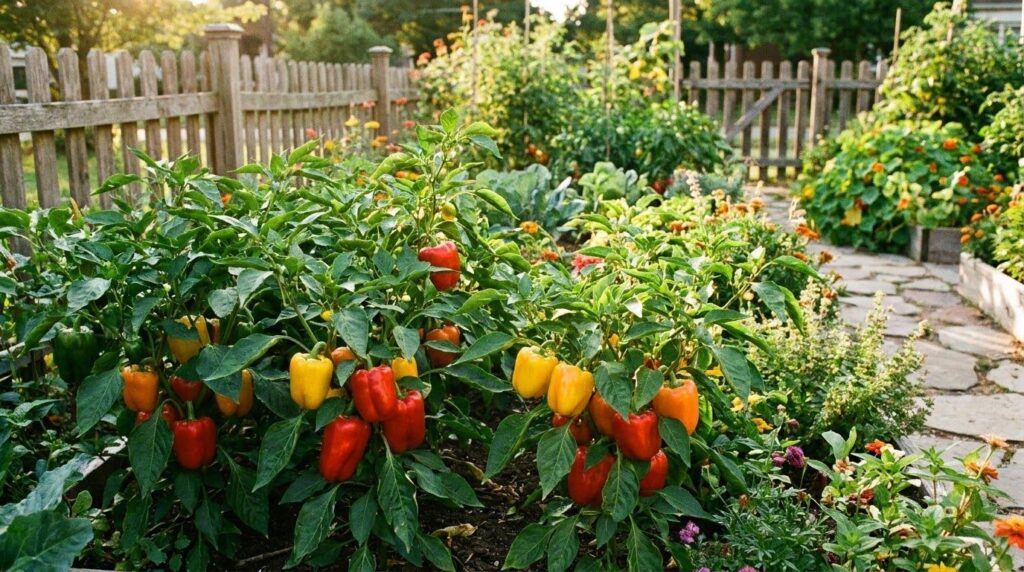
2. Choose Healthy, Ripe Peppers
Select peppers from your healthiest, most vigorous plants. These are the plants that have shown good disease resistance and produced the best fruit. The bell pepper itself should be fully ripe, meaning it has reached its final color (red, yellow, orange, etc.) and has started to soften slightly, indicating the seeds inside are mature. Avoid any peppers that show signs of disease or pest damage.
Step-by-Step Guide to Saving Bell Pepper Seeds
Saving bell pepper seeds is quite straightforward. Here’s how you can do it:
Step 1: Gather Your Tools
You’ll need a sharp knife, a cutting board, a small bowl for seeds, and a clean, dry surface (like a plate, paper towel, or fine mesh screen) for drying.
Step 2: Extract the Seeds
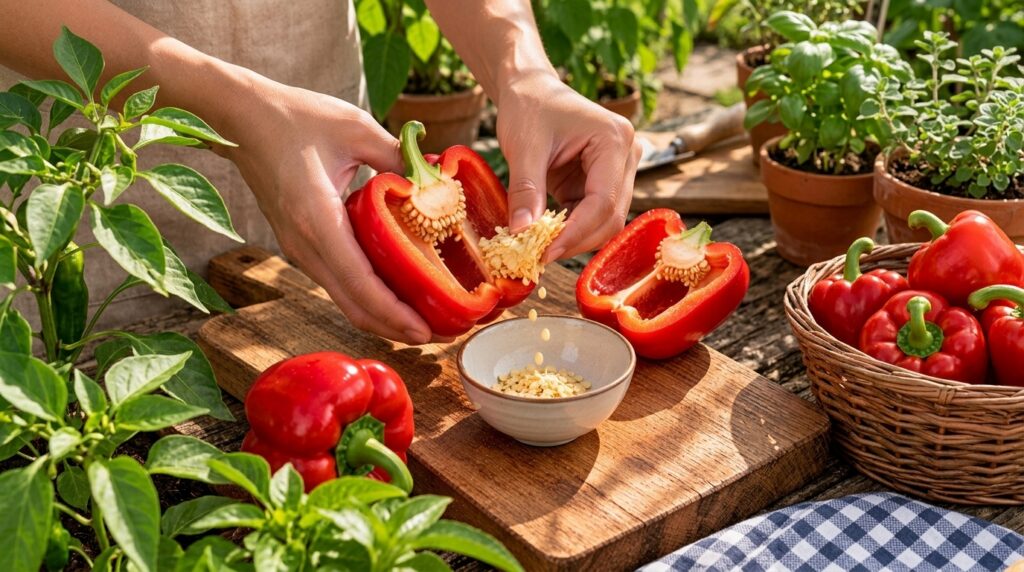
- Carefully slice the bell pepper in half lengthwise.
- Gently open the pepper and you’ll see the core with many seeds attached.
- Using your fingers or a small spoon, carefully scrape the seeds into a small bowl. Try to separate them from any excess pulp or membrane.
Step 3: Dry the Seeds Thoroughly
This is perhaps the most critical step for successful seed saving. Improperly dried seeds will mold and become unviable.
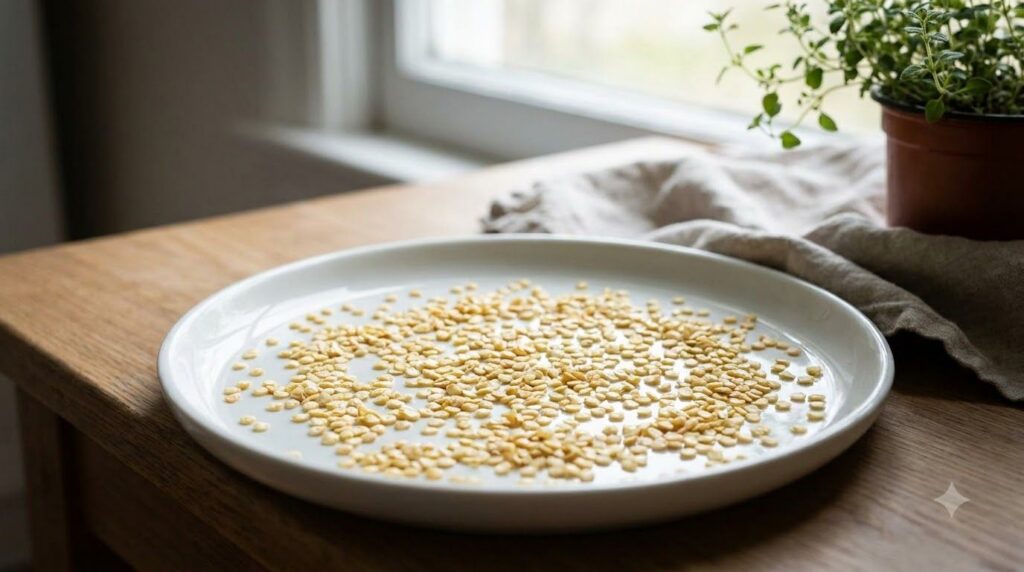
- Spread the seeds in a single layer on a non-stick surface like a ceramic plate, parchment paper, or a fine mesh screen. Paper towels can work, but sometimes seeds stick to them.
- Place the drying seeds in a warm, dry area away from direct sunlight. Good air circulation is key. A spare room, a countertop, or even a window sill (if not too humid) works well.
- Allow the seeds to dry completely for 1-2 weeks. You’ll know they’re dry enough when they feel hard, brittle, and snap rather than bend. There should be no moisture or stickiness.
Step 4: Store Your Dried Seeds
Once completely dry, proper storage will ensure your seeds remain viable for future planting.
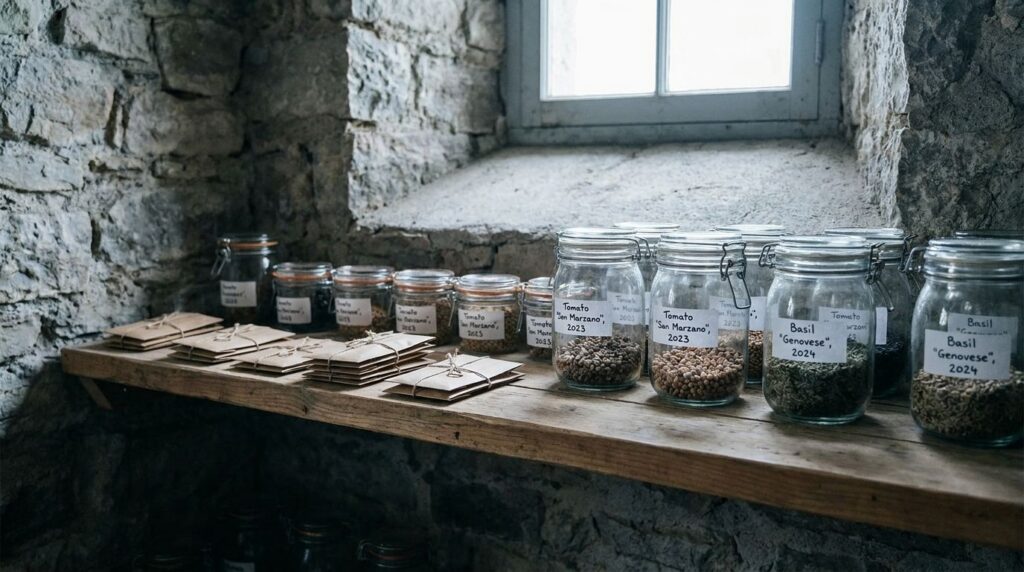
- Labeling is Key: Place your dried seeds into small paper envelopes, glass jars, or airtight containers. Label each container clearly with the type of pepper (e.g., ‘Red Bell Pepper – California Wonder’), and the date you saved the seeds (e.g., ‘August 2024’).
- Cool, Dark, Dry Place: Store your labeled containers in a cool, dark, and dry location. A cupboard, closet, or even a drawer works perfectly. Consistent temperatures and low humidity are ideal.
- Longevity: Properly stored bell pepper seeds can remain viable for 2-5 years, sometimes even longer!
Tips for Success in Seed Saving
- Avoid Cross-Pollination: If you grow multiple varieties of bell peppers (or other peppers) close together, they can cross-pollinate. If you want to ensure your saved seeds grow true-to-type, you might need to isolate varieties by distance or hand-pollinate and bag blossoms. For most home gardeners, this isn’t a major concern unless preserving specific traits is paramount.
- Patience is a Virtue: Don’t rush the drying process. Incomplete drying is the most common reason for seed saving failure.
- Test Viability (Optional): Before planting a large batch, you can do a germination test. Place a few seeds on a damp paper towel, fold it, put it in a plastic bag, and keep it warm. Check after a week or two to see how many sprout.
Saving bell pepper seeds is a rewarding practice that closes the loop in your gardening cycle, allowing you to enjoy the fruits of your labor for seasons to come. It’s an easy, budget-friendly, and incredibly satisfying way to expand your garden and your gardening knowledge!
Have you tried saving bell pepper seeds before? Share your experiences and tips with us in the comments below! Happy gardening!