Don’t Toss Those Dull Kitchen Shears!
We’ve all been there: your once-sharp kitchen shears are now dull, covered in sticky residue, and just not performing like they used to. Before you relegate them to the junk drawer or, worse, the trash can, know this: a simple, budget-friendly hack using common pantry staples can make them sparkle and cut like new! You don’t need fancy tools or harsh chemicals; just a few everyday ingredients are all it takes to bring your kitchen workhorses back to life.
This ingenious method taps into the power of a few household heroes to cut through grime, dissolve sticky build-up, and even tackle minor rust, making your kitchen chores a breeze again. Get ready to transform those neglected shears into a gleaming, efficient tool!
Why Your Kitchen Shears Need a Refresh
Kitchen shears endure a lot. From snipping herbs and opening packages to spatchcocking poultry, they handle a variety of tasks that can leave them coated in grease, food particles, and sticky residues. Over time, this build-up can not only dull the blades and make them less effective but also harbor bacteria and contribute to unpleasant odors. Regular cleaning is crucial for hygiene and to maintain their performance and longevity.
The Power Trio: Baking Soda, Salt, and Vinegar
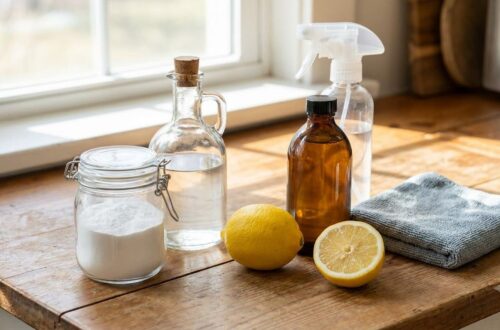
The secret to sparkling clean shears lies in a powerful yet gentle combination of household staples. Each ingredient plays a vital role:
- Baking Soda: This mild abrasive is fantastic for scrubbing away grime and residue without scratching surfaces. It’s also a natural deodorizer, helping to eliminate any lingering food odors.
- Salt: Acting as an additional abrasive, salt helps to scour away stubborn gunk and can even aid in removing light rust when combined with the other ingredients.
- White Vinegar: The acetic acid in white vinegar is a cleaning powerhouse. It cuts through grease, dissolves mineral deposits, and has natural sanitizing properties, leaving your shears clean and gleaming.
Your Step-by-Step Guide to Sparkling Shears
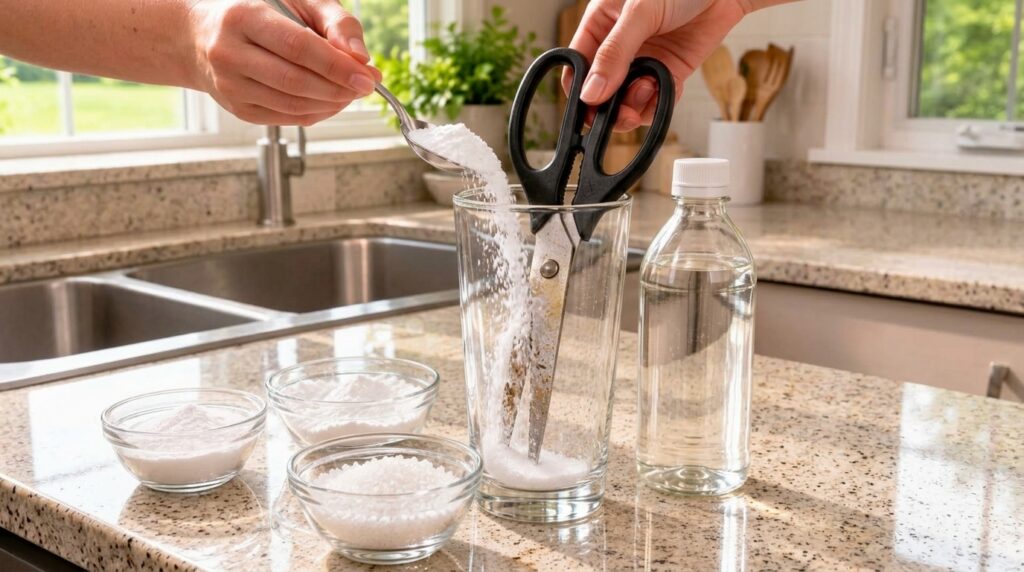
What You’ll Need:
- ¼ cup baking soda
- 1 tablespoon salt
- ¼ cup white vinegar (approximate)
- A small bowl or glass (large enough to submerge shear blades)
- An old toothbrush or a non-abrasive sponge
- Warm water
- Clean towel
The Cleaning Process:
- Create the Paste: In a small bowl, combine the baking soda and salt. Slowly add white vinegar, stirring until a thick paste forms. The mixture will fizz, which is a normal reaction! Adjust vinegar as needed to achieve a spreadable consistency.
- Apply the Paste: Take your kitchen shears and separate the blades if possible. If not, open them as wide as they go. Apply a generous amount of the paste to all surfaces of the blades, paying extra attention to sticky spots, pivot points, and any areas with visible grime or rust.
- Let it Sit: Allow the paste to sit on the shears for at least 15-30 minutes. For heavily soiled or rusted shears, you can let it sit for an hour or even overnight.
- Scrub Away Grime: After the waiting period, use an old toothbrush or a non-abrasive sponge to thoroughly scrub the shears. The baking soda and salt will act as gentle abrasives, while the vinegar continues to work on dissolving grime. Get into all the nooks and crannies.
- Rinse Thoroughly: Rinse the shears under warm running water, ensuring all traces of the paste and loosened grime are washed away.
- Dry Completely: Immediately dry the shears completely with a clean towel. This is crucial to prevent rust, especially after they’ve been wet.
- Optional: Oil and Test: For very old or stiff shears, a tiny drop of food-grade mineral oil at the pivot point can help restore smooth operation. Test your newly refreshed shears – they should be noticeably cleaner and glide more smoothly!
Why This DIY Method Works Wonders
This hack isn’t just about saving money; it’s about using the natural chemical reactions and abrasive qualities of everyday items to achieve a deep clean. The fizzing action of the baking soda and vinegar helps to lift and break down stubborn residues, while the salt provides the necessary scrubbing power. It’s a non-toxic, eco-friendly approach to home maintenance that delivers real results.
Important Safety and Maintenance Tips
- Always dry your kitchen shears immediately after washing to prevent rust.
- For heavily rusted shears, multiple applications or a longer soaking time might be necessary.
- Store your shears in a dry place, preferably on a magnetic strip or in a knife block, to protect their blades and keep them accessible.
- Regular cleaning after each use, even with just soap and water, can prevent heavy build-up and extend the life of your shears.
Give this simple hack a try and say goodbye to dull, grimy kitchen shears. You’ll be amazed at how easily you can restore them to their former glory, proving that some of the best home solutions are often found right in your pantry!