Are you looking for a way to give your plants an all-natural boost without relying on synthetic chemicals? Imagine lush green leaves, vibrant blooms, and stronger, healthier plants, all thanks to a simple, homemade solution. In the world of organic gardening, one secret weapon stands out: alfalfa. Rich in essential nutrients, alfalfa can transform your garden, providing a gentle yet powerful fertilizer that your plants will love. And the best part? You can easily make it yourself!
This comprehensive guide will walk you through the process of creating your own alfalfa plant booster, transforming humble forage into a potent elixir for your garden. From harvesting to application, we’ll cover everything you need to know to cultivate a thriving, chemical-free haven.
 From field to fertilizer: The journey of making your own natural plant booster.
Why Alfalfa? The Powerhouse Plant for Your Garden
Alfalfa (Medicago sativa) is more than just livestock feed; it’s a goldmine of plant-beneficial nutrients. Here’s why it’s a fantastic choice for your homemade plant booster:
- Rich in Nitrogen: Alfalfa is a legume, known for its ability to fix atmospheric nitrogen into the soil. Nitrogen is crucial for lush, green, leafy growth.
- Contains Micronutrients: It’s packed with essential trace minerals like iron, zinc, manganese, and boron, which are vital for overall plant health and preventing deficiencies.
- Natural Growth Hormones: Alfalfa contains triacontanol, a natural plant growth regulator that promotes robust root development, increased branching, and greater yields.
- Improves Soil Structure: When incorporated into the soil (even as a liquid), it contributes organic matter, enhancing soil aeration, water retention, and microbial activity.
- Eco-Friendly & Sustainable: Using a readily available natural resource reduces your reliance on synthetic fertilizers, making your gardening practices more sustainable.
Alfalfa vs. Alfalfa Meal
While you can buy commercially prepared alfalfa meal, making your own ensures you know exactly what goes into your booster. Homemade versions often provide a fresher, more potent extract, and it’s incredibly satisfying to use something you’ve created from scratch!
What You’ll Need: Gathering Your Supplies
Before you begin, gather these simple items:
- Fresh Alfalfa or Clover: Enough to fill a large bucket when chopped. Look for healthy, green plants without signs of disease or pests.
- Large Bucket (5-gallon recommended): For brewing your tonic.
- Water: Non-chlorinated water is best (rainwater or aged tap water).
- Sharp Shears or Knife: For harvesting and chopping.
- Mesh Strainer or Cheesecloth: To separate solids from the liquid.
- Measuring Cup or Container: For diluting and applying.
- Gloves (Optional): For harvesting.
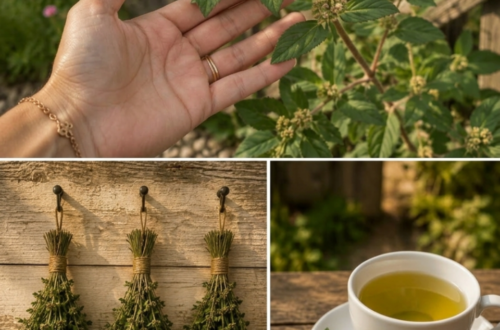
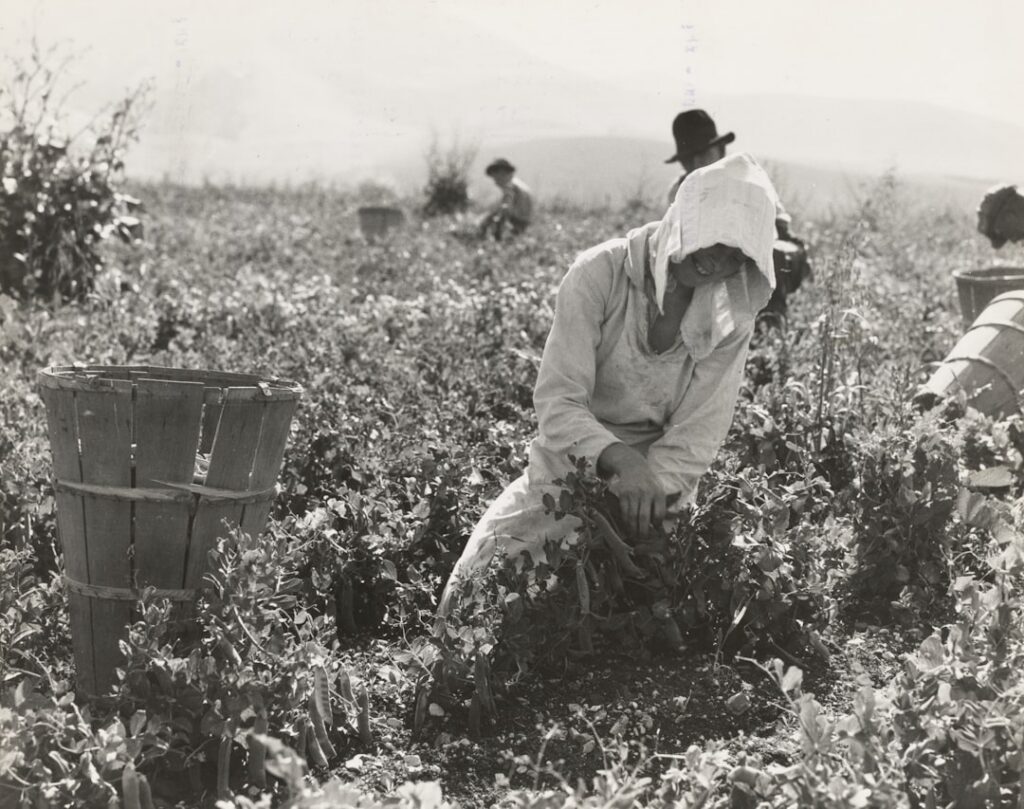 Harvesting fresh alfalfa: The first step to a thriving garden.
Step-by-Step Guide: Crafting Your Alfalfa Plant Booster
Step 1: Harvest Your Alfalfa (or Clover)
Choose a sunny day to harvest. Cut fresh alfalfa or clover from your garden or a clean, pesticide-free area. Aim for the top 6-12 inches of the plant. You’ll need enough to loosely fill about half of your bucket once chopped. Remember, if you’re using clover, the process is largely the same, yielding similar benefits.
Step 2: Dry and Process (Optional, but Recommended)
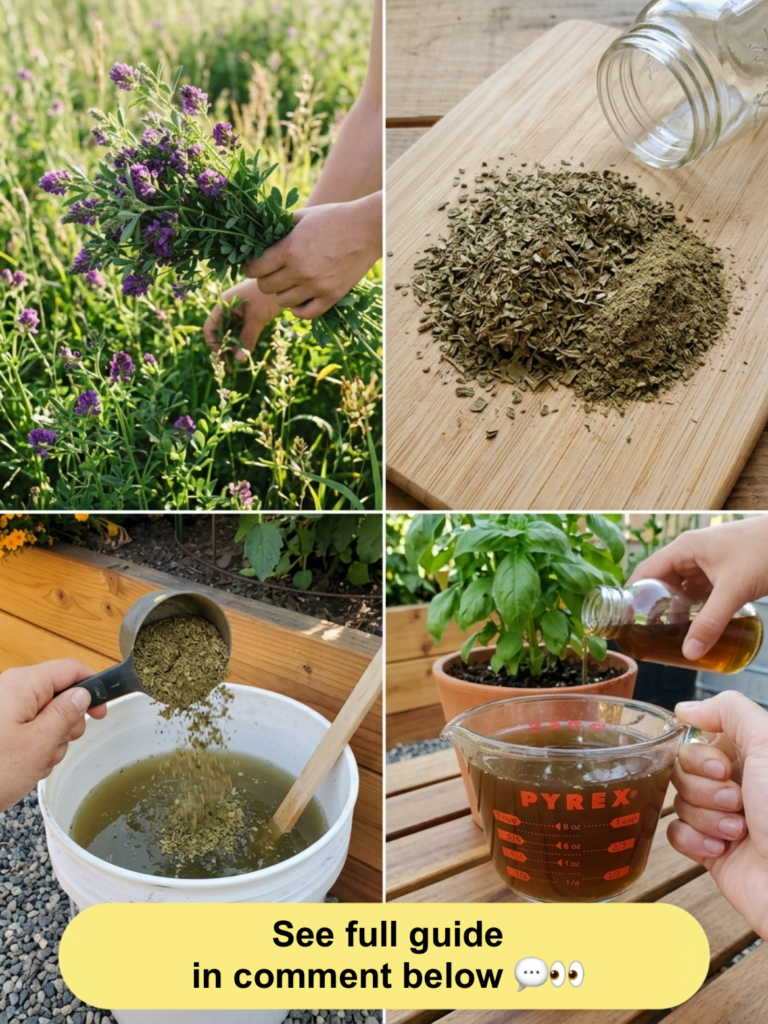
While you can use fresh alfalfa, drying it slightly first can concentrate nutrients and make the brewing process more manageable. Spread the harvested plants in a thin layer in a well-ventilated, shaded area for a few days until they are wilted but not completely brittle. Once wilted, chop the plants into smaller pieces (1-2 inches). This increases the surface area for nutrient extraction.
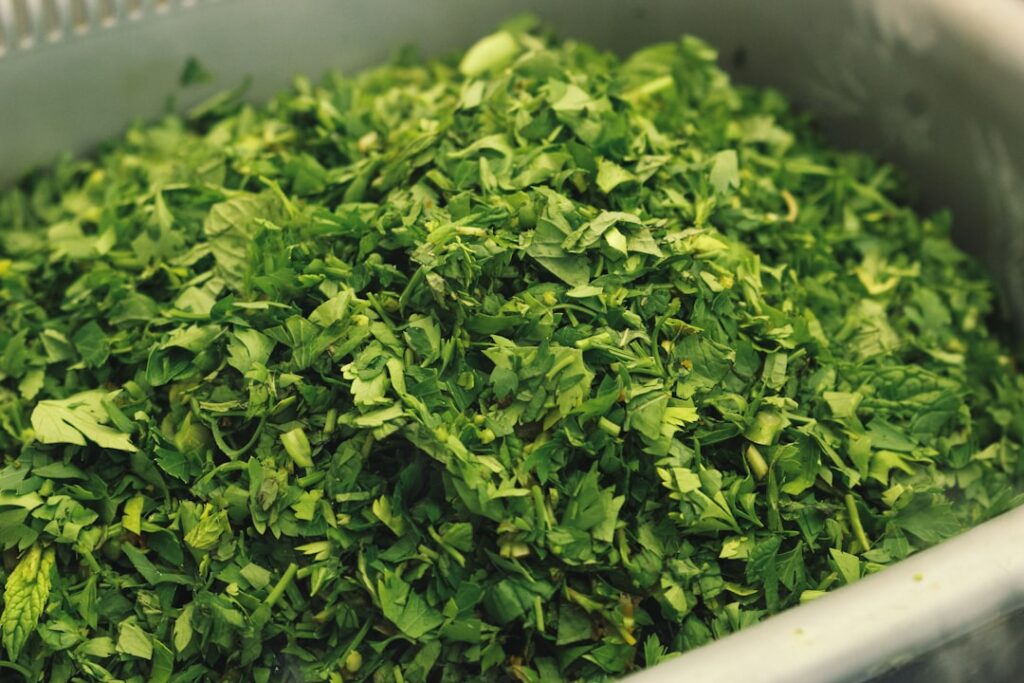 Processing alfalfa for optimal nutrient release.
Step 3: Brew Your Alfalfa Tonic
- Fill the Bucket: Place your chopped alfalfa into the 5-gallon bucket. Fill it roughly one-third to half full.
- Add Water: Fill the rest of the bucket with non-chlorinated water, leaving about 4-6 inches of space from the top.
- Steep: Stir gently. Cover the bucket loosely (to allow for air circulation and gas escape) and place it in a shaded area. Let it steep for 3-5 days. You’ll notice a distinct, somewhat earthy smell, which is normal. Stir the mixture once a day to help the extraction process.
- Observe: The water will change color, becoming amber or brownish. The plant material will also start to decompose.
 The brewing begins: Alfalfa steeping in water to create a nutrient-rich tonic.
Step 4: Strain and Dilute
After 3-5 days, your alfalfa concentrate is ready. Use a mesh strainer or cheesecloth to separate the liquid from the solid plant material. The solids can be added to your compost pile, where they will continue to break down and enrich your compost.
The resulting liquid is a concentrate and needs to be diluted before use. A common dilution ratio is 1 part alfalfa tea to 5-10 parts water. For example, if you have 1 cup of alfalfa tea, mix it with 5-10 cups of water. You can adjust this ratio based on the observed strength of your tea and the needs of your plants.
Step 5: Apply to Your Plants
Now for the rewarding part! Use your diluted alfalfa plant booster to water your plants. This can be applied to:
- Vegetable Gardens: Especially beneficial for leafy greens, corn, and fruiting vegetables during their growth stages.
- Flower Beds: Promotes vibrant blooms and healthy foliage.
- Potted Plants: Give your houseplants and container gardens a natural pick-me-up.
- Seedlings: Use a very diluted solution (1:20) for young plants to encourage strong root development.
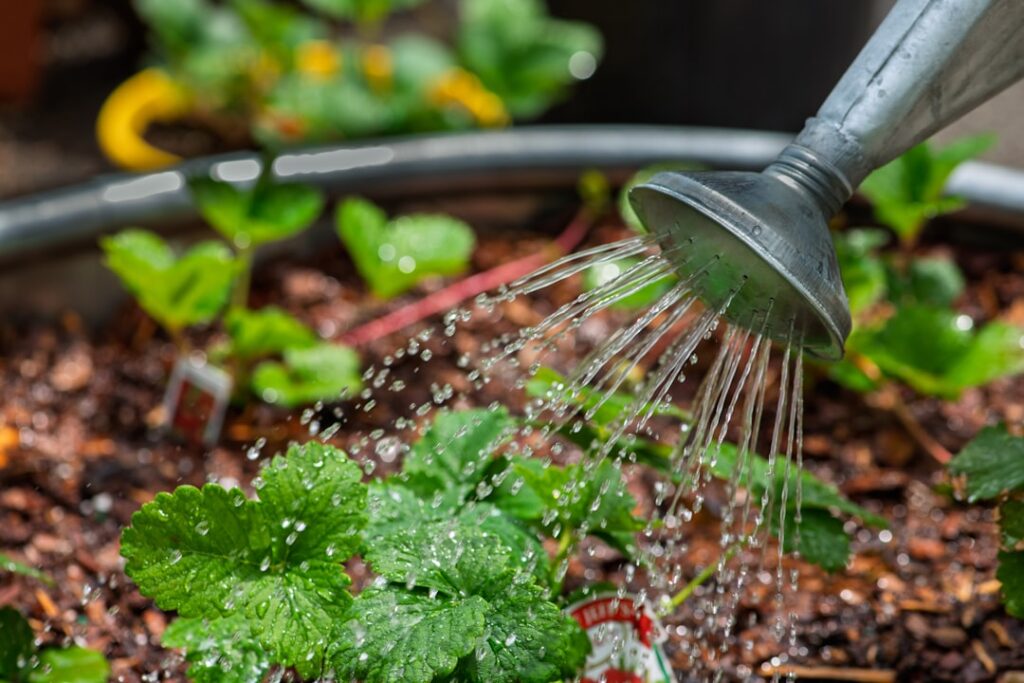 Nourish your plants: Applying the homemade alfalfa booster.
Tips for Success
- Frequency: Apply your alfalfa booster every 2-4 weeks during the active growing season. Observe your plants for signs of improvement.
- Morning Application: Water your plants in the morning to allow the nutrients to be absorbed throughout the day and to prevent fungal issues.
- Storage: Store any leftover concentrate in a sealed container in a cool, dark place for up to a few weeks. It might develop a stronger odor over time, which is normal.
- Experiment: Different plants have different needs. Start with a more diluted solution and gradually increase concentration if your plants respond well.
- Listen to Your Garden: Pay attention to how your plants react. Healthy, vigorous growth is your best indicator of success.
Conclusion
Creating your own natural alfalfa plant booster is a rewarding and effective way to practice sustainable gardening. Not only does it provide your plants with a wealth of essential nutrients, but it also reduces waste and connects you more deeply with the natural cycles of your garden. Embrace this simple DIY method and watch your plants flourish with newfound vitality. Happy gardening!