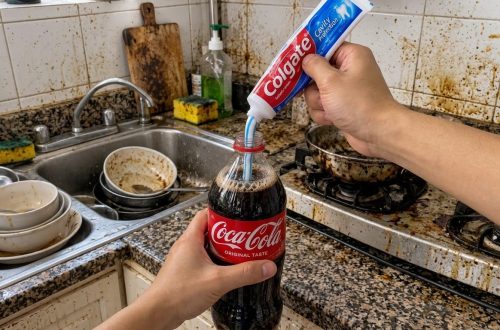
Stubborn burnt-on food, grease, and dark residue can turn even the most cherished pan into a frustrating mess. We’ve all been there, scrubbing endlessly with little success. Before you banish that pan to the back of the cupboard or consider replacing it, there’s a surprisingly effective and budget-friendly DIY cleaning solution hiding in your pantry and bathroom!
This ingenious home hack combines the power of everyday household items: Coca-Cola, toothpaste, dish soap, and baking soda. Together, these ingredients create a potent mixture that helps loosen tough grime, making your scrubbing efforts far more productive. Get ready to reclaim your burnt pans and make them shine again!
The Science Behind the Shine: Why This Mix Works
It might seem like a strange combination, but each ingredient plays a crucial role in tackling burnt-on messes:
- Coca-Cola: This popular soft drink isn’t just for quenching thirst. It contains phosphoric acid, a mild acid commonly found in rust removers and certain cleaning products. This acid works by breaking down burnt residues and rust, helping to dissolve tough stains. The carbonation also aids in loosening particles.
- White Toothpaste: Beyond fresh breath, toothpaste contains mild abrasives (like hydrated silica or calcium carbonate) that gently scrub away grime without scratching your pan’s surface. Many toothpastes also include detergents, similar to those found in soap, which help lift and emulsify grease.
- Liquid Dish Soap: The undisputed champion of grease cutting, dish soap’s surfactants break down oily and greasy buildup, allowing water to rinse away the loosened dirt and food particles.
- Baking Soda: A true home cleaning hero, baking soda acts as a gentle abrasive, helping to scour away burnt bits. It’s also a mild alkali that can react with acids (like the phosphoric acid in cola), creating a fizzing action that further helps to lift and separate stubborn residue from the pan’s surface.
What You’ll Need
- 1 cup Coca-Cola (Classic works best, diet may not have the same acidic punch)
- 1 tablespoon white toothpaste (gel toothpaste may not work as effectively)
- 1 tablespoon liquid dish soap
- 1 tablespoon baking soda
- A mixing container (like a bowl or larger measuring cup)
- 1 non-scratch sponge or scrub brush
- Clean water for rinsing
- Optional: Cleaning gloves for hand protection
Step-by-Step Guide to Restoring Your Burnt Pan
-
Step 1: Mix the Coca-Cola and Toothpaste
Pour the Coca-Cola into your chosen mixing container. Add 1 tablespoon of white toothpaste to the cola. Stir until the toothpaste is mostly dispersed through the liquid. You may notice some light foam forming; this is a normal part of the reaction.
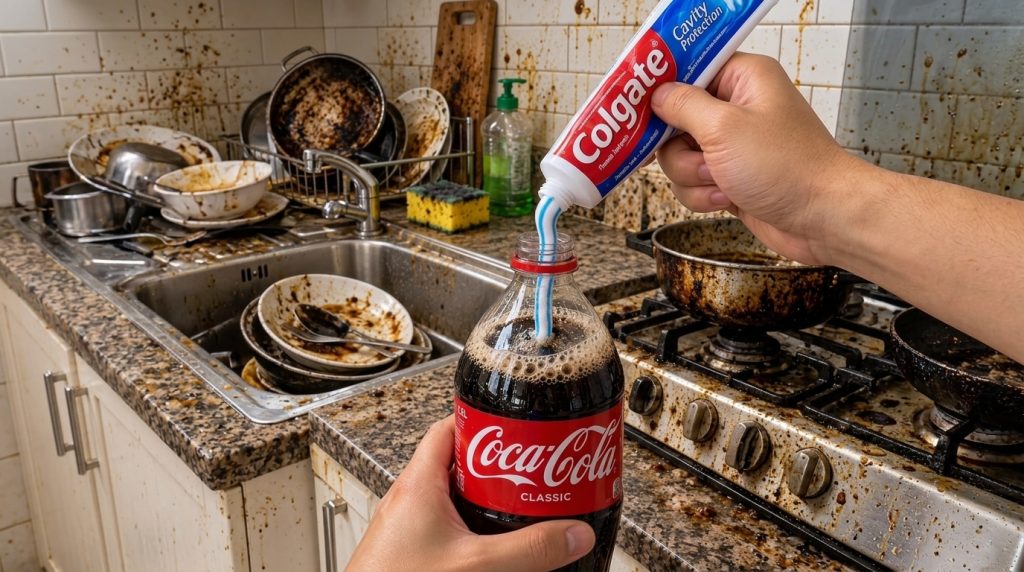
The initial fizzing reaction as toothpaste meets Coca-Cola is a sign this powerful cleaning duo is getting to work. -
Step 2: Incorporate the Dish Soap
Next, add 1 tablespoon of liquid dish soap to the mixture. Stir gently. The dish soap not only helps with greasy buildup but also makes the mixture easier to spread evenly over the dirty surface of your pan.
-
Step 3: Add the Baking Soda
Slowly add 1 tablespoon of baking soda to the concoction. Mix gently until all ingredients are well combined. Be mindful not to overfill your container, as the mixture may foam slightly due to the reaction between the acidic cola and alkaline baking soda. This effervescence is part of its cleaning power!
-
Step 4: Apply to the Burnt Pan
Pour the entire mixture over the burnt areas of your pan. Ensure all stubborn grime is completely covered. For very tough, baked-on messes, you can use a spray bottle to evenly coat the surface if you prefer.
-
Step 5: Let It Sit
Allow the cleaning mixture to sit on the pan for at least 15-30 minutes. For extremely stubborn stains, you might extend this time to an hour or even overnight. The longer it sits, the more time the acids, abrasives, and detergents have to break down and loosen the residue.
-
Step 6: Scrub and Rinse
Once the sitting time is up, put on your cleaning gloves if desired. Use a non-scratch sponge or scrub brush to scrub the burnt areas vigorously. You should find that the grime now comes off much more easily than before. For truly tough spots, a bit more elbow grease might be required.
-
Step 7: Final Rinse
Thoroughly rinse the pan with clean, warm water until all traces of the cleaning mixture and loosened grime are gone. Inspect your pan; if any small spots remain, you can repeat the process or target those areas with a fresh application of the mixture.
Tips for Best Results & Safety Notes
- Test First: If you’re concerned about the finish of a particular pan, especially non-stick or specialty coatings, test a small, inconspicuous area first.
- Gloves Recommended: While these ingredients are common household items, wearing cleaning gloves is always a good idea to protect your hands from prolonged exposure to cleaning solutions.
- Ventilation: Ensure good ventilation in your kitchen, especially when mixing, although this particular solution doesn’t produce harsh fumes.
- Avoid Metal Scourers: Always use a non-scratch sponge or brush to prevent damaging your pan’s surface.
- Prevention is Key: To avoid future burnt-on messes, always use appropriate heat settings, stir frequently, and don’t let food sit unattended on high heat.
Say goodbye to those frustrating burnt-on messes and hello to gleaming pans! This budget-friendly and surprisingly effective DIY solution harnesses the power of everyday items to tackle one of the most common kitchen conundrums. Give this ultimate kitchen experiment a try, and you might just find your new favorite pan-cleaning hack!