 A simple three-ingredient DIY skin recipe using everyday household items.
Many people are looking for ways to make their skin look smoother and more radiant without spending a lot of money. A popular do-it-yourself idea uses three common household products: baby oil, petroleum jelly, and baking soda. This article explains what the mixture is, how it is typically used, the safety points to keep in mind, and when it makes more sense to talk with a professional.
What Is This DIY Skin Glow Recipe?
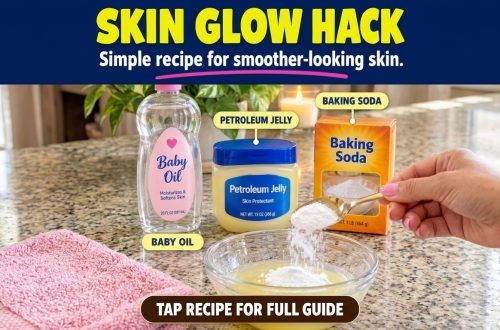
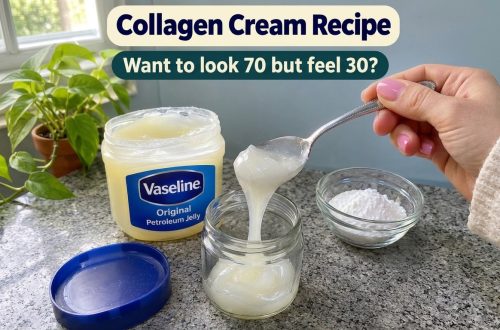
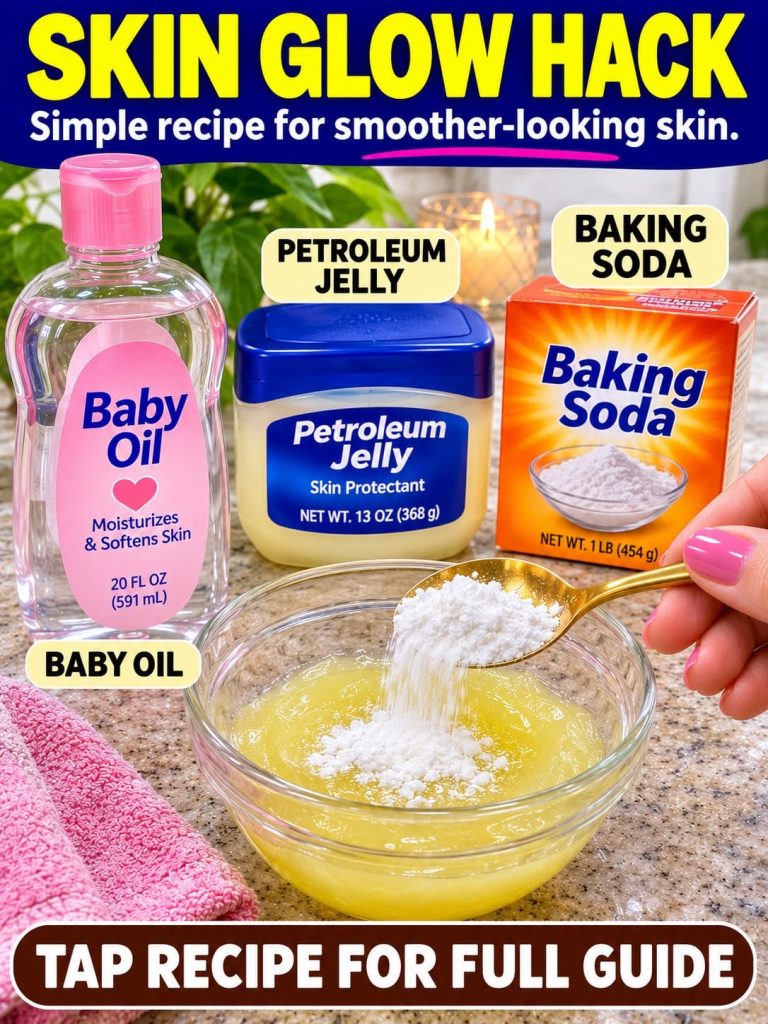
The recipe combines a moisturizing oil, a protective emollient, and a mildly abrasive powder. Baby oil and petroleum jelly both help hold moisture on the surface of the skin, which can leave it feeling softer and looking more hydrated. Baking soda is a fine powder that can gently loosen dead skin cells when it is rubbed on the skin, so the mixture is often described as a light scrub.
Ingredients You Will Need
- Baby oil, a few tablespoons
- Petroleum jelly, about one tablespoon
- Baking soda, about one teaspoon
- A clean glass bowl and a clean spoon
Use fresh, clean containers and avoid sharing the mixture with others. Small amounts are enough for one use, so you can prepare only what you need.
How to Prepare the Mixture
- Wash and dry your hands and the bowl thoroughly.
- Add the baby oil and petroleum jelly to the bowl and stir until smooth.
- Sprinkle in a small amount of baking soda and mix gently until it is evenly combined.
- Check the texture. It should feel like a soft paste, not a gritty mixture.
How to Use It Safely
Because baking soda is abrasive, gentle handling matters. Follow these guidelines to reduce the risk of irritation:
- Perform a patch test on a small area of skin, such as the inner forearm, and wait 24 hours before using it on your face or larger areas.
- Apply the mixture with light, circular motions for no more than a minute or two.
- Avoid the delicate skin around the eyes, cuts, scrapes, sunburn, and areas with active acne or rashes.
- Rinse thoroughly with lukewarm water and pat the skin dry with a clean towel.
- Stop using the mixture if you notice stinging, redness, burning, or swelling.
What Results to Expect
Many people notice that their skin feels softer and looks more even right after use, mainly because of the moisturizing effect and the removal of loose surface cells. Results are usually temporary and depend on your skin type, climate, and daily routine. This recipe is not a cure for dark spots, deep wrinkles, or other skin conditions, and it should not be treated as a replacement for medical care.
Who Should Be Careful
People with sensitive, reactive, or easily irritated skin should be cautious with any abrasive product. Those with eczema, rosacea, psoriasis, or a history of allergic reactions should speak with a dermatologist before trying this recipe. Petroleum jelly and oils can also feel heavy and may contribute to clogged pores for some people, particularly those prone to breakouts.
Tips for Getting the Best Experience
- Use the mixture no more than once or twice a week at first.
- Choose a time when your skin is clean and calm, not right after shaving or waxing.
- Store any leftover mixture in a clean, covered container away from heat and moisture.
- Follow with a gentle moisturizer if your skin still feels dry.
Final Thoughts
This simple DIY skin glow recipe is an affordable, easy way to experiment with softening and smoothing your skin using items you may already have at home. Used gently and with a patch test first, it can be a pleasant part of a self-care routine. If you have a specific skin concern or notice any irritation, consult a qualified professional for personalized advice. We would love to hear about your go-to DIY beauty hack in the comments, and sharing your experience can help others decide what works best for them.