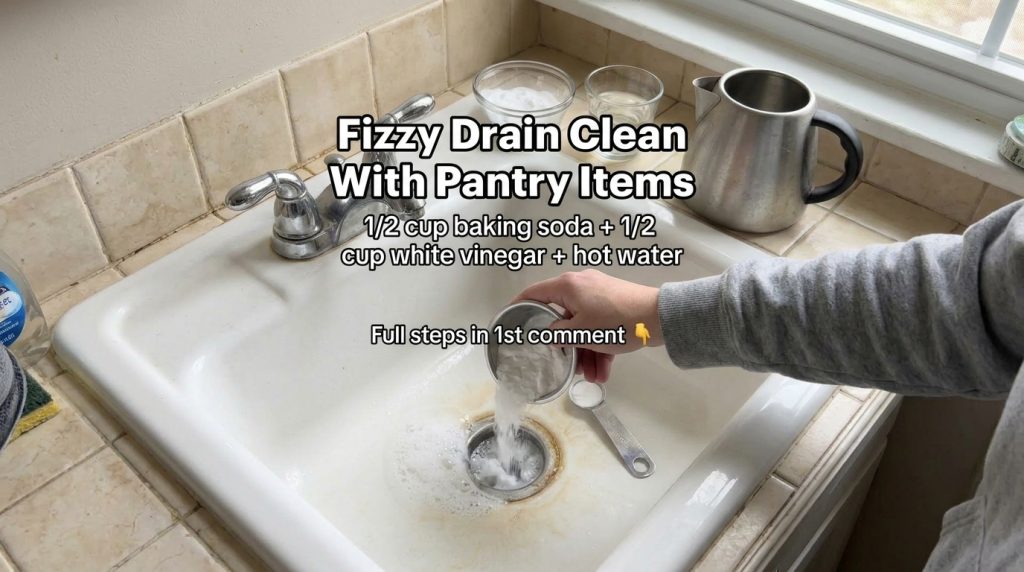
A slow or grimy sink drain is one of those small bathroom problems that quietly gets worse. Hair, soap residue and toothpaste build up along the drain stopper, and the basin starts to look dull even after a quick wipe. A foaming cleaner applied directly into the drain can be a simple, low-effort way to tackle that buildup without scrubbing for long stretches.
This guide walks through how to use a foaming sink cleaner with a precision tube, what to prepare, and what results are realistic for a routine drain clean.
What You’ll Need
Cleaning Supplies
- A foaming drain or sink cleaner in an aerosol can with an extension tube (or a similar foaming cleaner labeled safe for sinks)
- Warm tap water for a rinse
- A small old toothbrush or brush for the stopper and drain rim
- Microfiber cloth or paper towels
Optional Extras
- Rubber gloves
- A dry cloth for polishing the chrome faucet and basin afterward
Why This Method Can Help
Foaming cleaners cling to vertical and curved surfaces better than thin liquids. When you apply foam directly over the drain opening and stopper, the product stays in place longer, giving it more contact time with the grime around the rim. The thin extension tube helps you aim the foam exactly where it’s needed instead of spraying the whole basin.
Foam is also convenient for a quick routine clean. It doesn’t require mixing, and a little product goes a long way when it’s applied with control.
How to Make It
There’s no mixing involved with a ready-to-use aerosol foam. The preparation is simply getting the area and product ready:
- Read the product label first to confirm it is meant for sinks and drains and to check any specific instructions or warnings.
- Remove any standing water from the basin and clear loose hair or debris from the drain stopper.
- Put on rubber gloves if you have sensitive skin.
- Attach the extension tube securely to the can nozzle so you can direct the foam precisely.
How to Use It
- Hold the can upright and aim the tube at the drain opening and the stopper area.
- Dispense a generous layer of foam over the drain, covering the stopper and the rim where grime tends to collect. Avoid spraying the faucet, tile or painted surfaces.
- Let the foam sit for the time listed on the label, usually several minutes. Do not run water during this window unless the directions say otherwise.
- Use a small brush to gently work the stopper and the drain rim while the foam is still there. This helps loosen residue that the foam has softened.
- Rinse thoroughly with warm tap water for at least a minute to flush out loosened buildup and product residue.
- Wipe the basin and faucet with a microfiber cloth to finish.
What to Expect
A foaming cleaner works best on light to moderate buildup, such as soap film, minor grime and the slight yellowing that can form around a drain. Results usually look cleaner right after rinsing, and a regular routine helps prevent heavy buildup from forming. Very stubborn clogs, deep staining or problems with water not draining may need a different approach or a plumber.
Helpful Tips
- Clean the drain stopper and rim once every week or two to keep buildup from settling in.
- If you have a pop-up stopper, lift it and clean underneath, since that is where hair and residue often collect.
- Keep the can upright and store it away from heat and direct sunlight.
- A quick wipe of the basin after the rinse makes the sink look fresh with minimal effort.
Important Notes and Safety
- Never mix foaming cleaners with other chemical cleaners, especially bleach or products containing ammonia or acids. Mixing can release dangerous fumes.
- Ventilate the bathroom by opening a window or running the exhaust fan while you work.
- Test on an inconspicuous area first if your sink has a special finish, such as a colored, enameled or natural stone surface.
- Keep the product away from children and pets, and store it in its original container.
- Stop using the product and seek professional help if you notice irritation, or if the cleaner does not clear the drain.