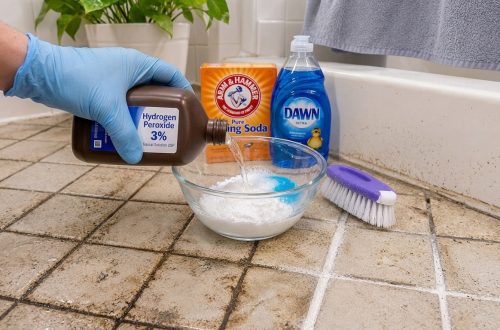
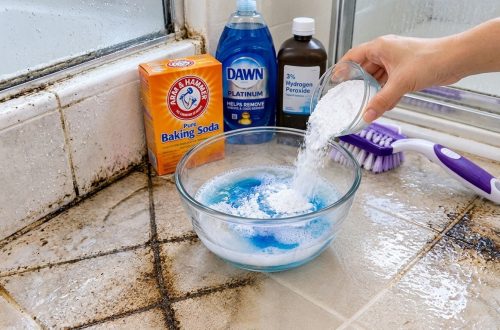
Grout tends to darken over time. Dirt, soap residue, and everyday spills settle into the porous lines between tiles, and eventually the floor looks dingy no matter how often you mop. If you want a refresh without buying a specialty product, this simple homemade grout cleaner can help lift surface grime and bring back a cleaner, brighter look.
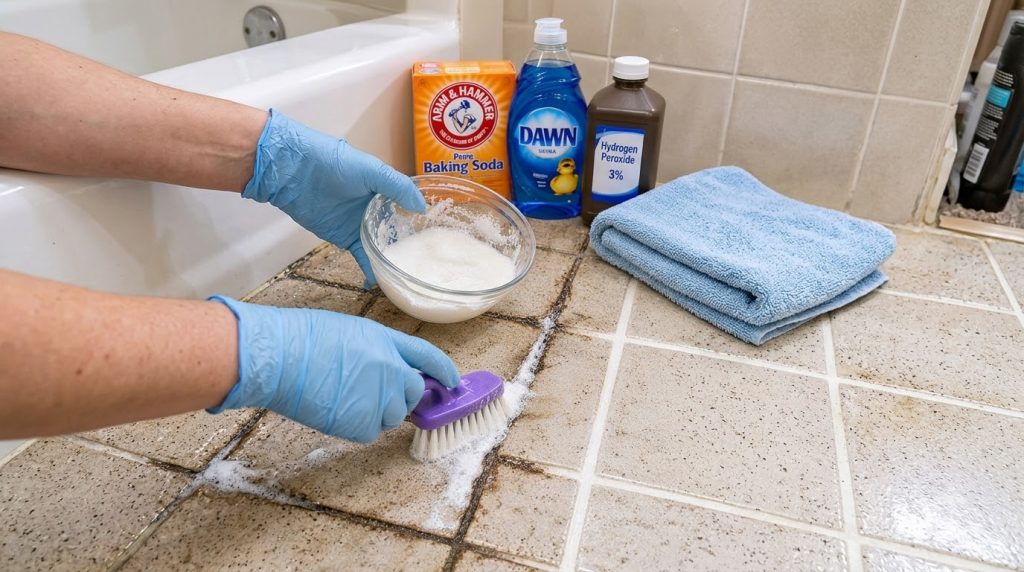
What You’ll Need
Cleaning mixture ingredients:
- Baking soda (about 1/2 cup)
- 3% hydrogen peroxide (about 1/4 cup, added slowly)
- A few drops of liquid dish soap
Tools:
- A small glass or ceramic bowl
- A stiff-bristled brush or old toothbrush
- Rubber or nitrile gloves
- A damp microfiber cloth or sponge
- A clean dry towel
Why This DIY Can Be Useful
Baking soda is mildly abrasive, which helps loosen grime sitting in grout without the heavy scrubbing that can wear down the surface. Hydrogen peroxide is a common household cleaner that can help lift some stains and discoloration. Dish soap cuts through greasy buildup and helps the mixture spread and cling to the grout lines. Together, they form a gentle, low-cost paste that works well for routine refreshing.
How to Make It
- Put the baking soda into a bowl.
- Add a few drops of dish soap and stir gently.
- Slowly pour in the hydrogen peroxide while stirring. The mixture will fizz and foam, which is normal.
- Stir until you have a thick, spreadable paste with a slightly foamy texture. If it is too runny, add a little more baking soda. If it is too dry, add a few more drops of peroxide.
- Mix only what you need for one session, since the fizzing and foam will fade as it sits.
How to Use It
- Sweep or vacuum the floor first so loose dirt does not get pushed around.
- Dampen the grout lines lightly with water. This helps the mixture stay in place.
- Apply the mixture directly onto the grout lines with a spoon or small scoop, or dip your brush into the bowl.
- Let it sit for about 10 to 15 minutes so it can loosen the buildup. For heavily soiled grout, you can leave it for up to 20 minutes, but do not let it dry out completely.
- Scrub along the grout lines with a stiff brush using short, firm strokes. Work in small sections so the mixture does not dry before you scrub it.
- Wipe the area with a damp cloth or sponge, rinsing the cloth often.
- Rinse the floor with clean water and dry it with a towel to reveal the results.
What to Expect
This method is best for light to moderate discoloration and everyday grime. You may notice that the grout looks noticeably cleaner and lighter after one pass, but very dark or old stains may need two or three rounds. Grout that has been stained for years or has cracks or crumbling areas may not fully return to its original color, and in those cases re-grouting may be the better long-term solution.
Helpful Tips
- Test the mixture on a small, hidden area of grout first to make sure the color does not change.
- Work in small sections so you can scrub and wipe before the paste dries.
- Use an old toothbrush for tight corners and edges around tile borders.
- Seal your grout once it is fully dry if you want protection against future staining.
Important Notes and Safety
- Never mix hydrogen peroxide with vinegar or other acidic cleaners, as this can create a harsh mixture.
- Do not combine this mixture with bleach or ammonia-based cleaners.
- Be cautious on natural stone such as marble, travertine, or unsealed surfaces. Test first, since acidic or peroxide-based products can etch or discolor some stone.
- Wear gloves and keep the area ventilated, especially if you are cleaning for a long time.
- Keep the peroxide in its original bottle and store it away from direct sunlight. Make the paste fresh each time instead of storing it.
- Rinse the floor well after cleaning so no residue is left behind to attract dirt.